Tutorial: Creating PBR materials
In this tutorial, we will walk you through the PBR material models in Light Tracer Render.
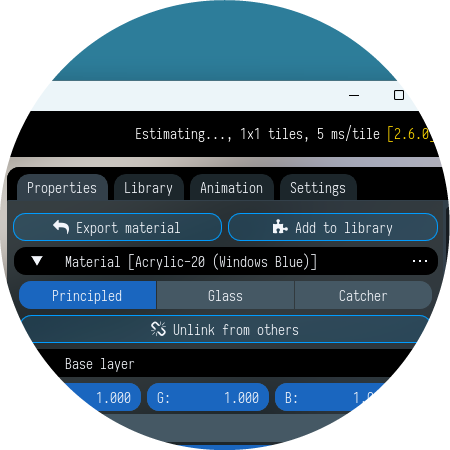
Light Tracer Render provides three PBR material models: Principled, Glass, and Shadow Catcher. You can switch between them on the Properties tab.
Each model contributes to the creation of impressive visuals for your projects. In this tutorial, we will discuss these models in detail, equipping you with the understanding and skills to make the most of Light Tracer's capabilities. Let's get started and explore the potential of these material models together.
Start using Light Tracer Render today
Principled material
Get ready to explore the Principled material! This versatile, multi-layer model simplifies your life by merging everything into one easy-to-use shader. Inspired by Disney's principled model, also referred to as the "PBR" shader, it ensures compatibility with software such as Pixar's Renderman® and Unreal Engine®. Plus, you can effortlessly drag and drop image textures created or baked with software like Substance Painter® into the relevant texture slots.
This "all-in-one" shader allows you to create a wide variety of materials. The base layer offers a user-controlled blending of Diffuse, Metallic, Specular, Sheen, and Transparency. Furthermore, you can enhance your material with additional Clearcoat and Iridescence layers. All of these settings can be configured on the Properties tab.
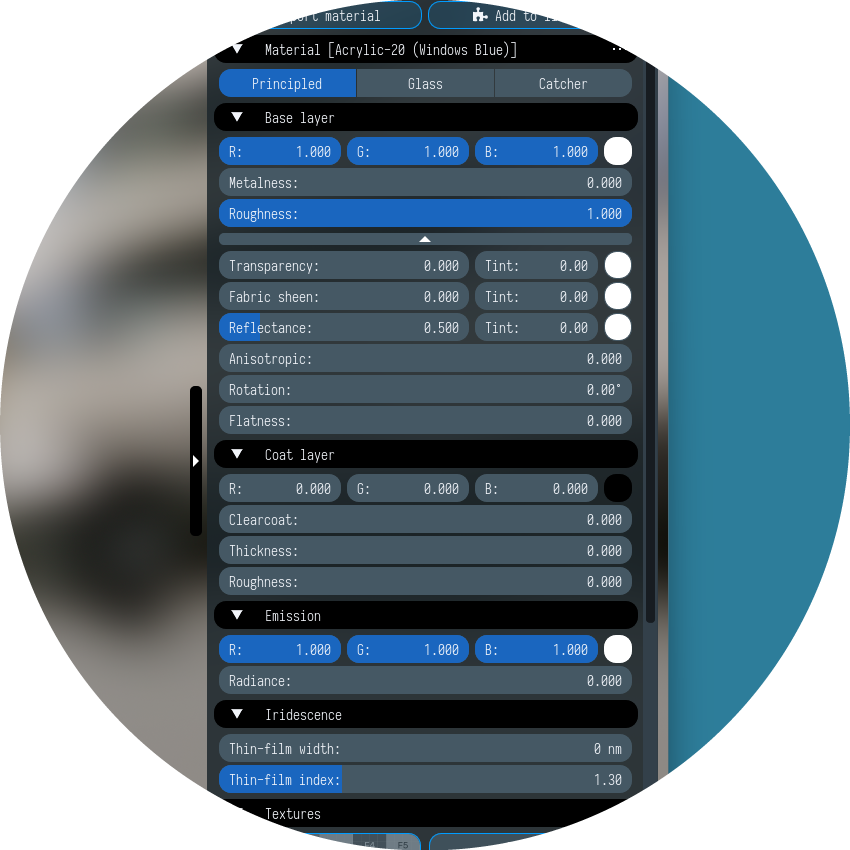
There are very few basic parameters. As for advanced ones, they are grouped into a collapsed region that can be expanded using a horizontal arrow-button.
Base layer properties
Base Color
The very first setting is responsible for the color of diffuse or metallic surfaces.
Metalness
Transitions between non-metallic (or dielectric) and metallic material models. At 1.0, the material is fully metallic that has no diffuse component and has a tinted incident specular, equal to the base color. At 0.0, the material consists of a pure diffuse base layer, topped with a dielectric specular reflection layer.
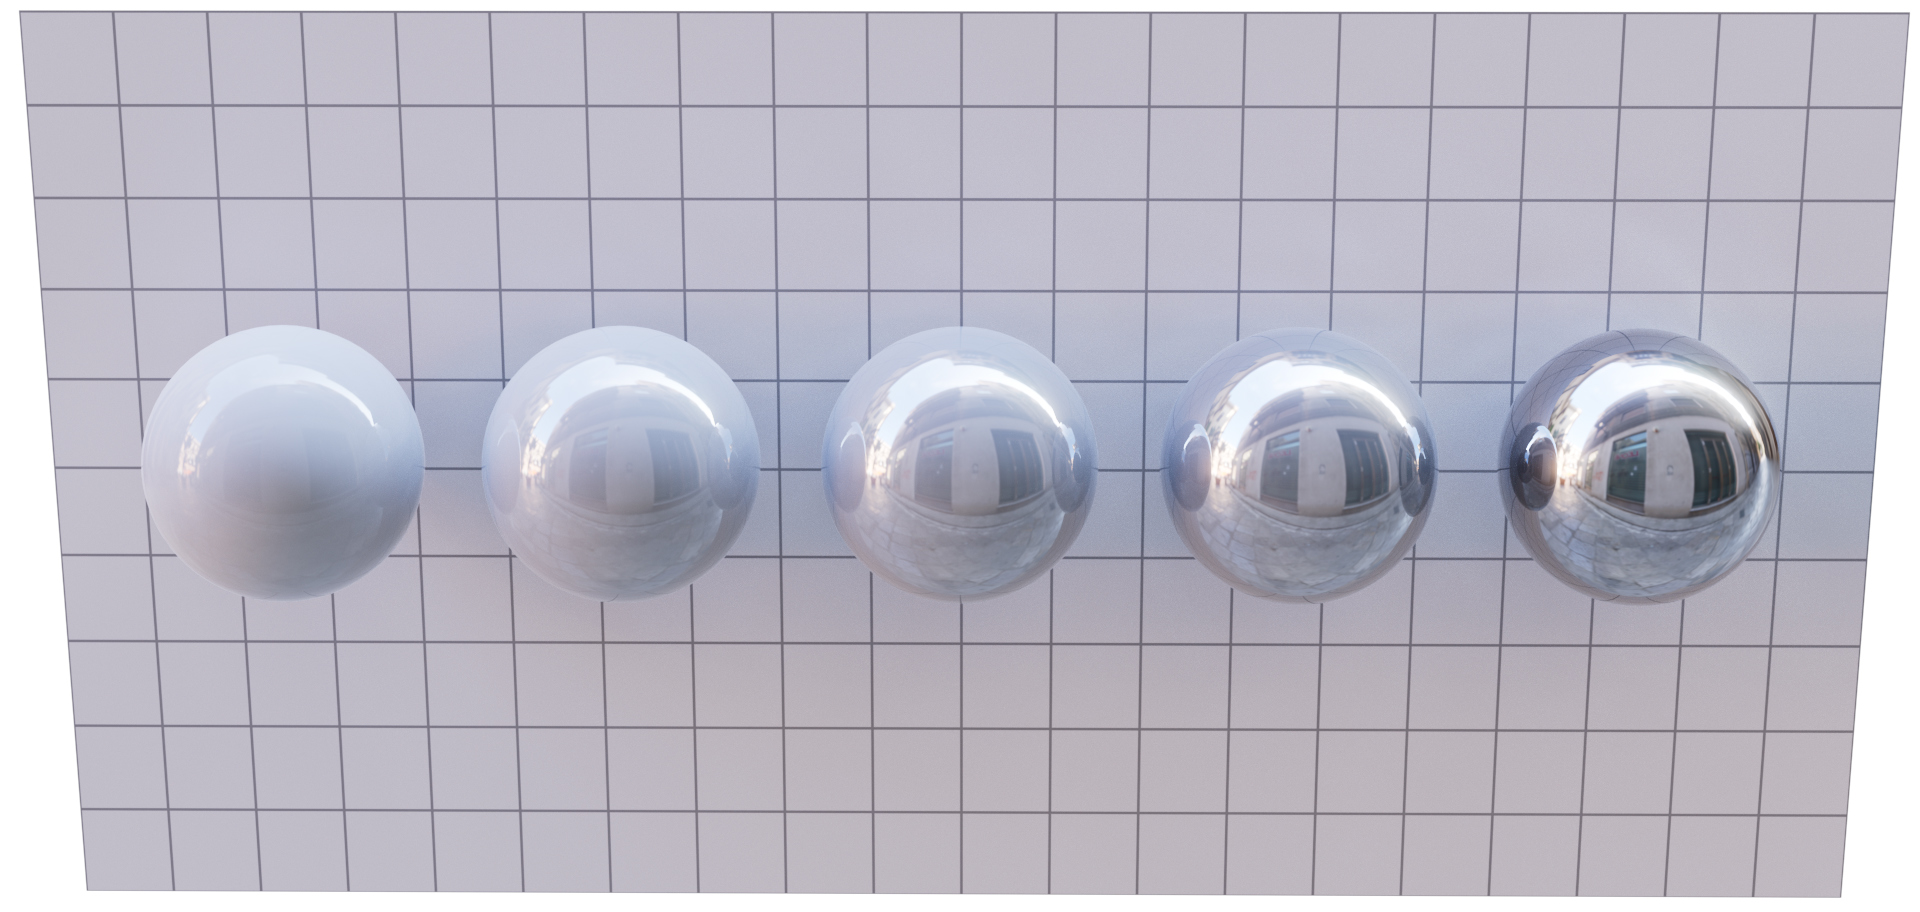
Increasing Metalness from 0.0 to 1.0
Roughness
Determines microfacet surface roughness for diffuse and specular reflection (we use GGX microfacet distribution which is one of the most widely used in the rendering industry).
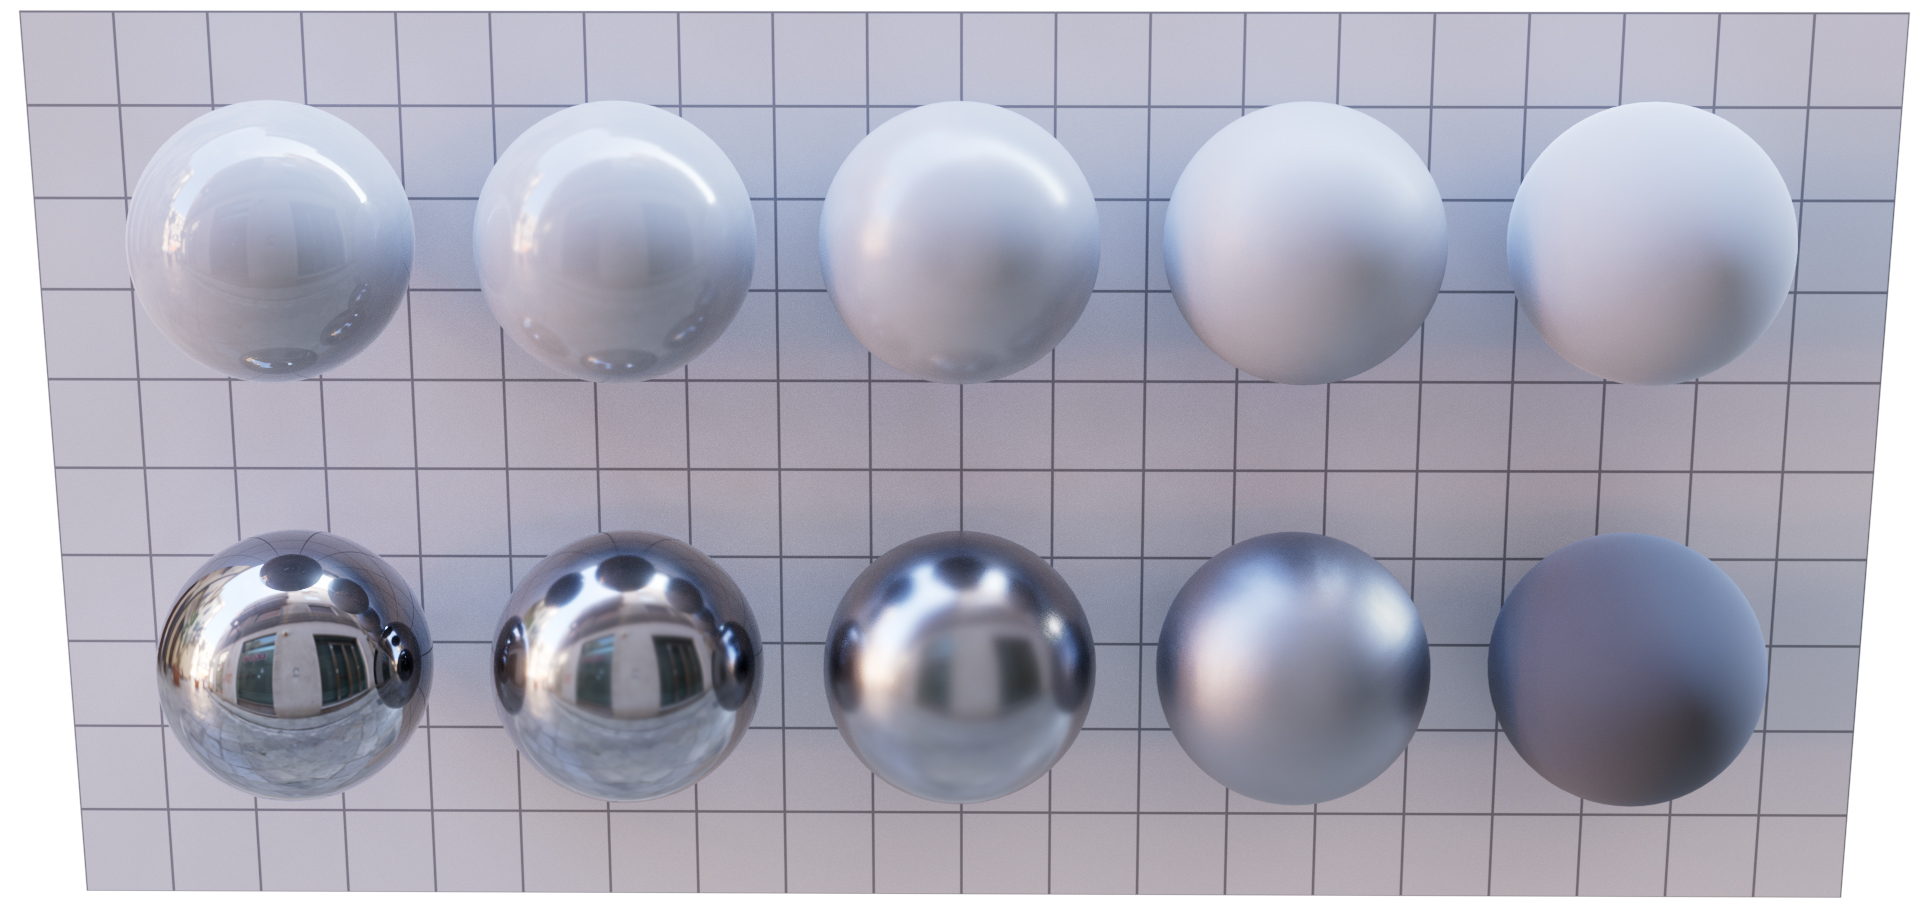
Increasing Roughness from 0.0 to 1.0. Top row: 0.0 metalness, bottom row: 1.0 metalness
Advanced Base layer properties
Transparency
Blends between a completely opaque surface at 0.0 and fully transparent at 1.0. This simple transparency does not model light refraction but is very useful in practice for modeling decals, foliage, vegetation, and thin (architectural) glass. To make architectural glass look realistic, such material must also be covered with a layer of varnish so that it reflects part of the light (or just use Thin glass preset from the Library).
Transparency Tint
Blends between white and base color for transparency. Useful for stained glass windows.
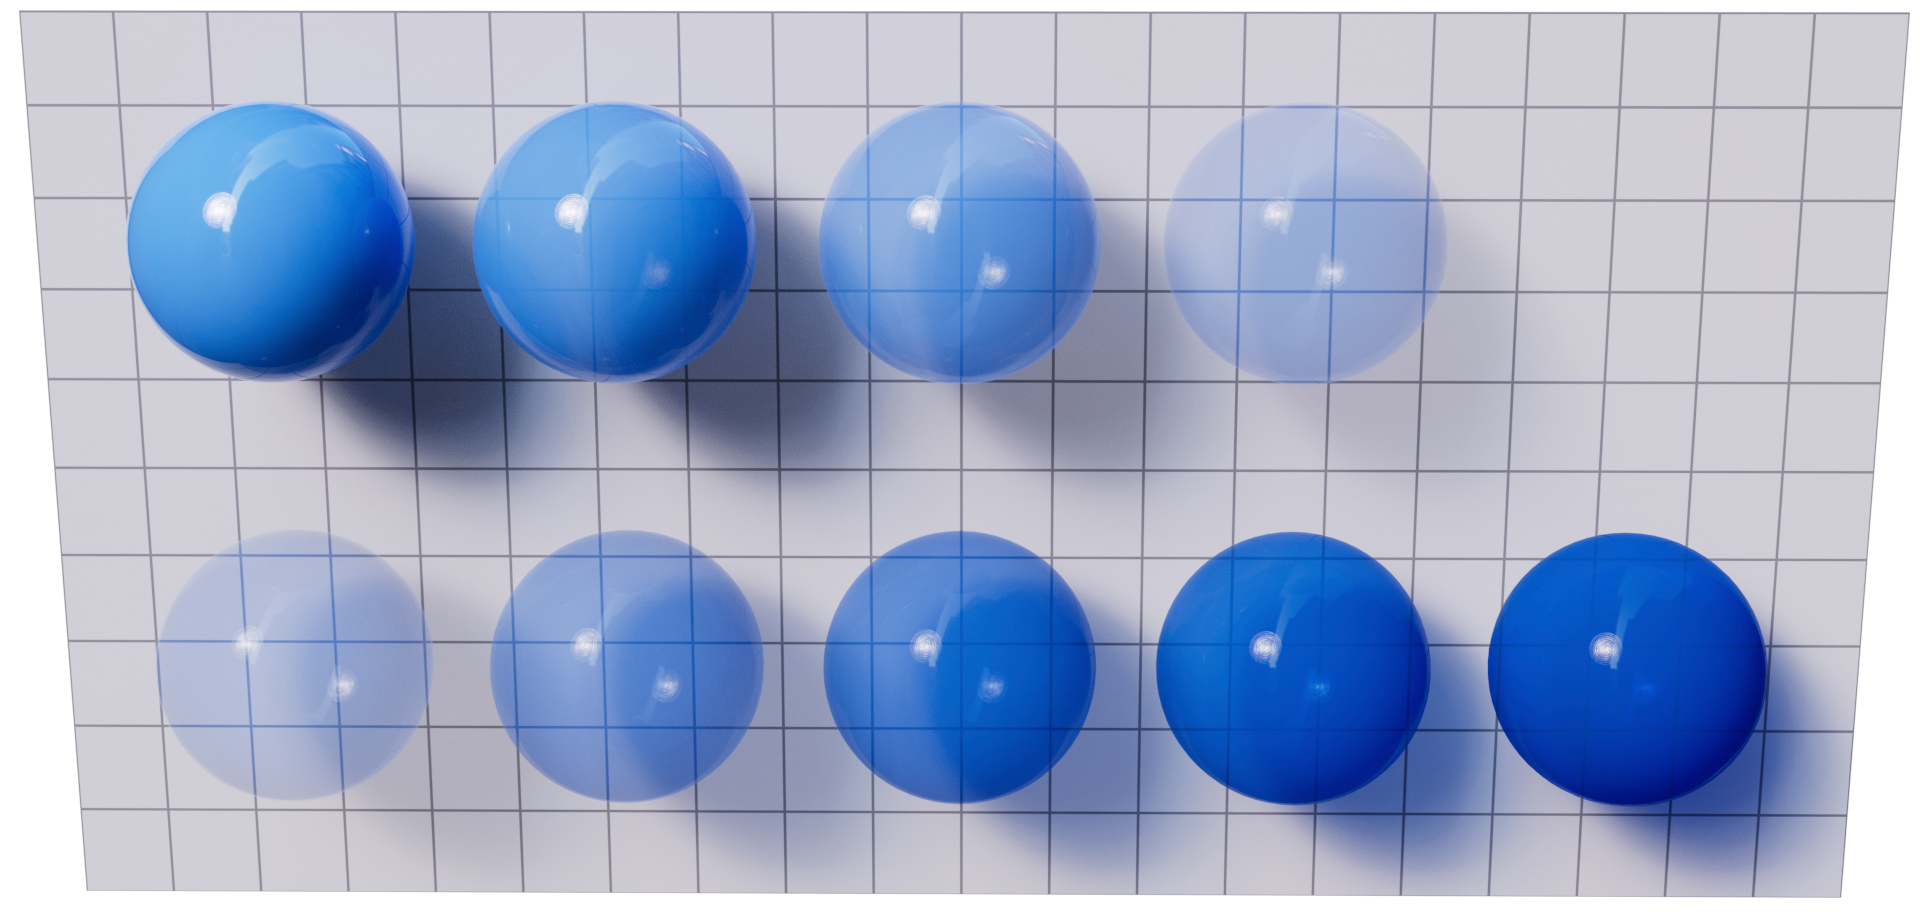
Top row: increasing Transparency from 0.0 to 1.0. Bottom row: increasing Tint from 0.0 to 1.0 with constant transparency
Fabric sheen
Produces soft, velvety reflection near edges, ideal for simulating materials like fabric.
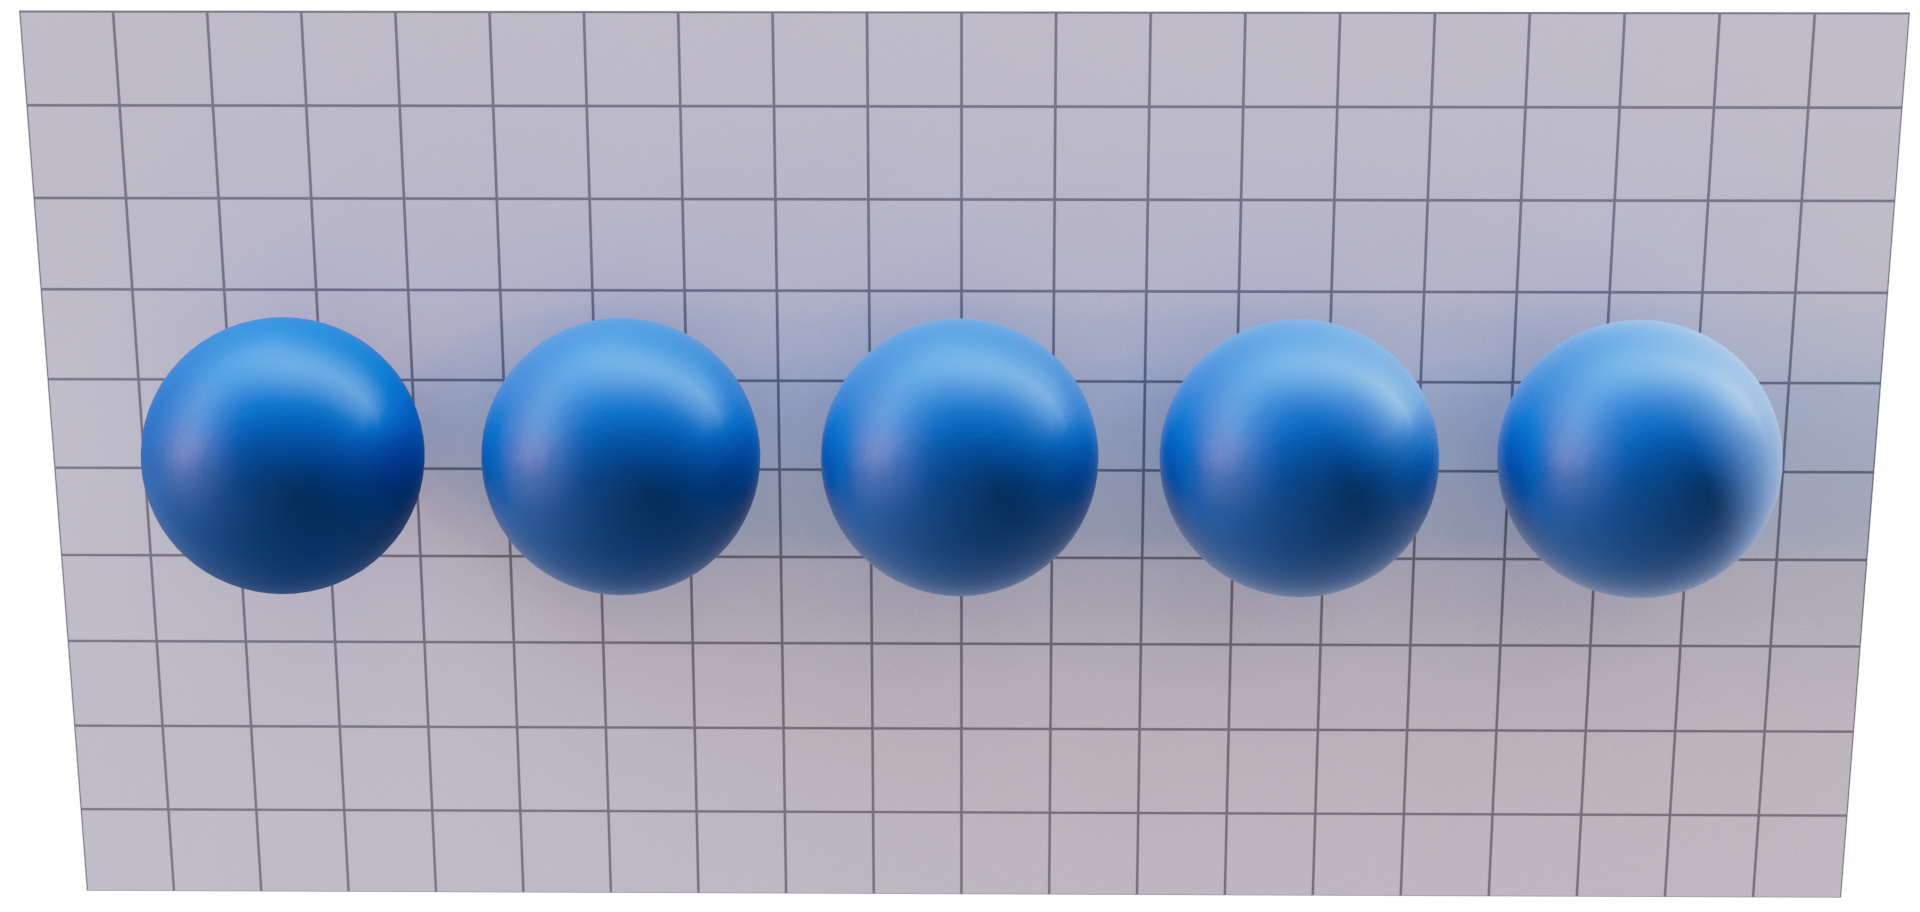
Increasing Fabric Sheen from 0.0 to 1.0
Sheen Tint
Blends between white and base color for sheen reflection.
Reflectance
Controls the amount of dielectric specular reflection. For example, for typical window glass Reflectance is ~0.5, while for a diamond it is ~2.2.
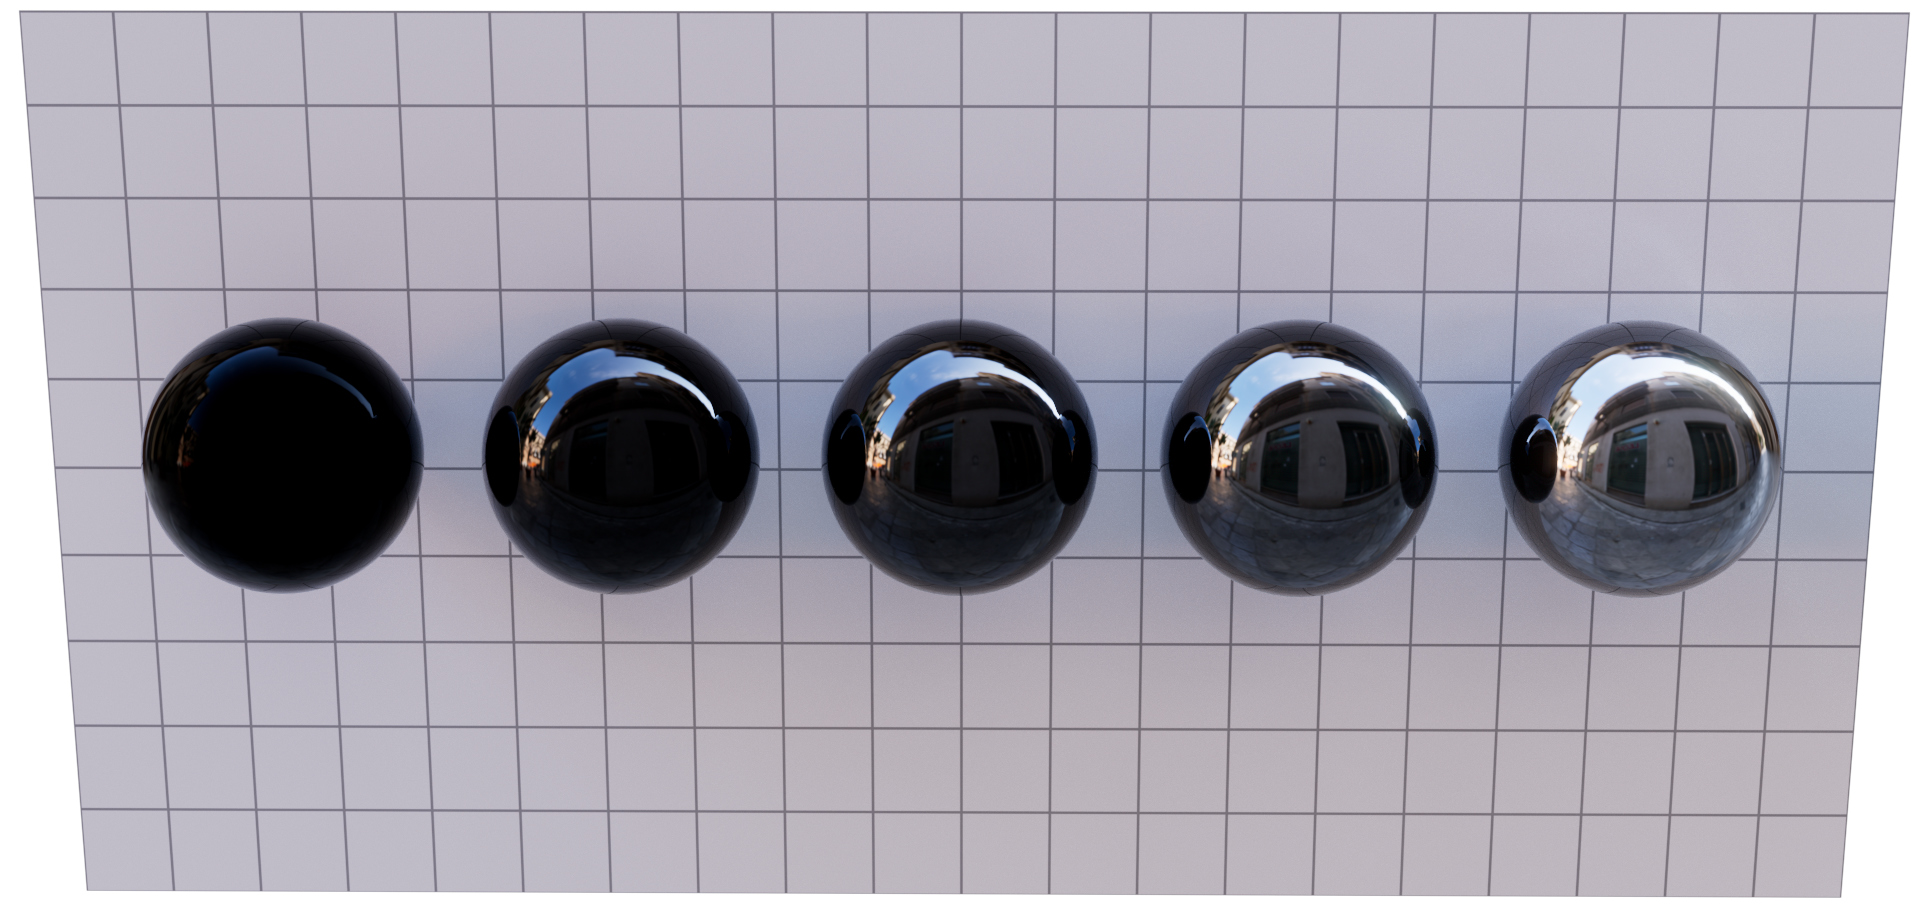
Increasing Reflectance from 0.0 to 3.0
Reflectance Tint
Blends between white and base color for dielectric specular reflection color.
Anisotropic
Sets degree of anisotropy for specular reflection, both metallic and dielectric. Higher values result in elongated highlights along the tangent direction.
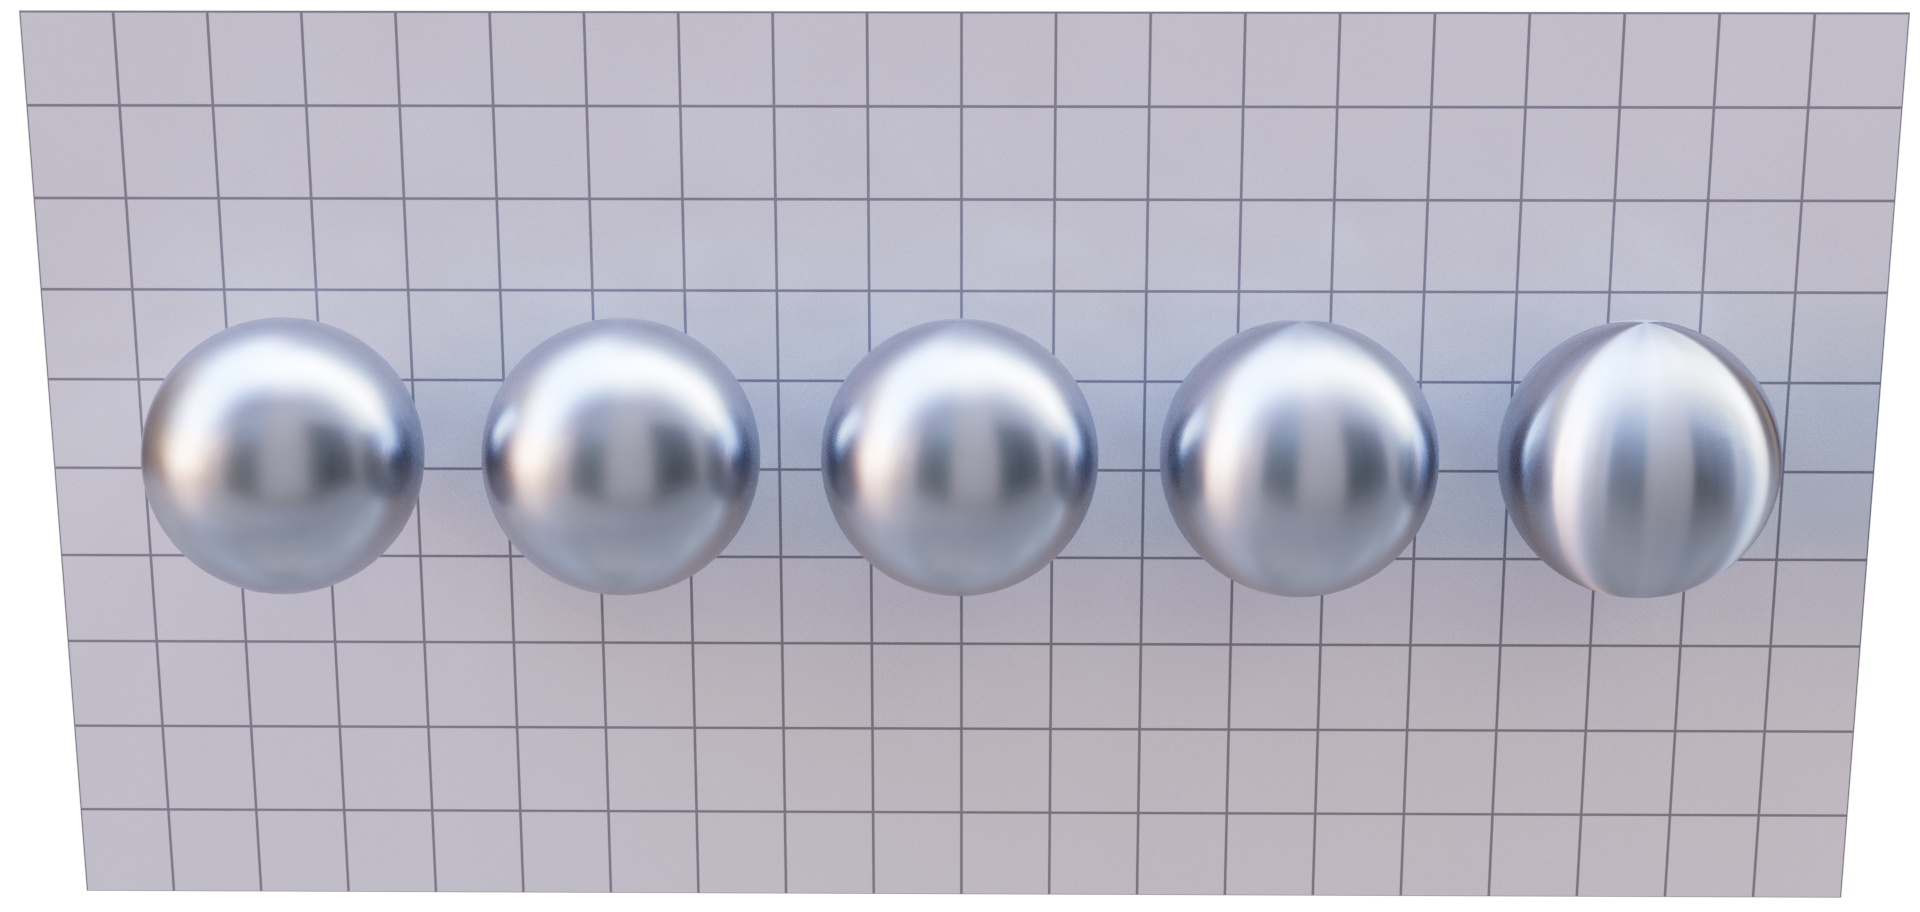
Increasing Anisotropy from 0.0 to 1.0
Anisotropic Rotation
Alters the anisotropy direction.
Flatness
Provides a flatter appearance and serves as a quick approximation for subsurface scattering.
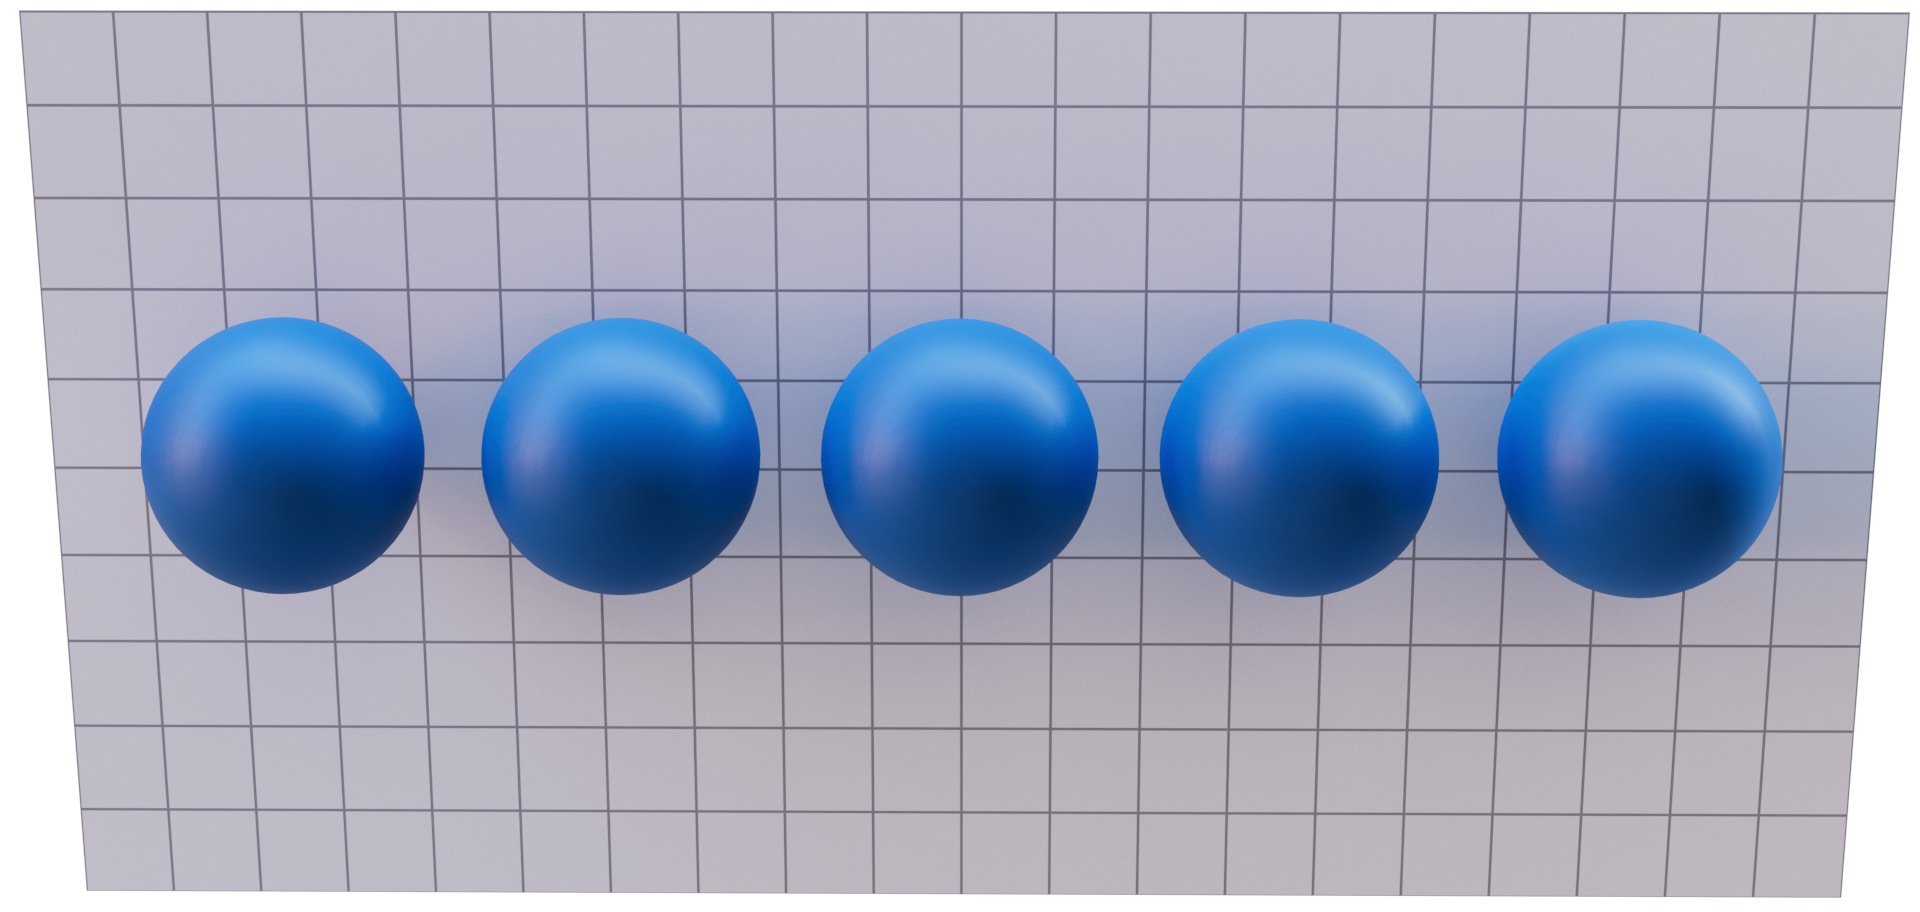
Increasing Flatness from 0.0 to 1.0
Coat layer
Additional white specular layer above base layer, suitable for materials such as wood finish, car paint or thin/arcitectural glass (with transparent base).
Coating Color
Absorption color of the coating.
Clearcoat
Controls the amount of visible coat by adjusting its index of refraction (IOR) from 1.0 to 3.0.
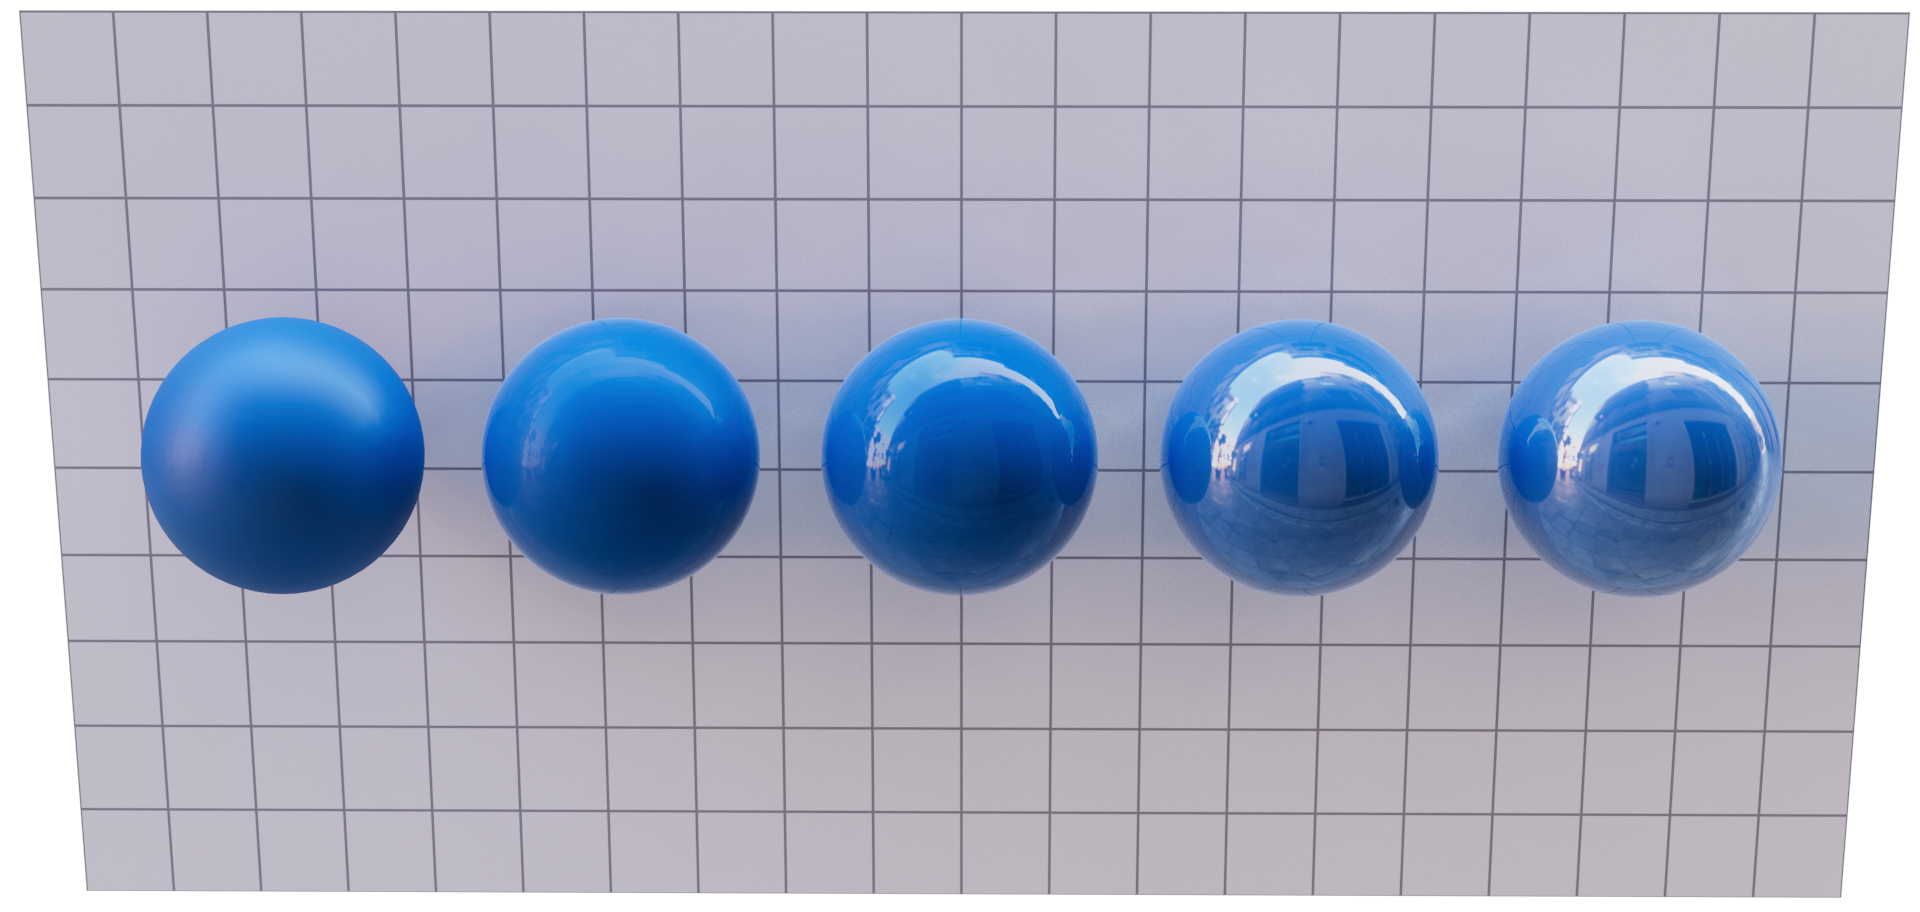
Increasing Clearcoat from 0.0 to 1.0
Thickness
Thickness of coating layer affecting absorption strength.
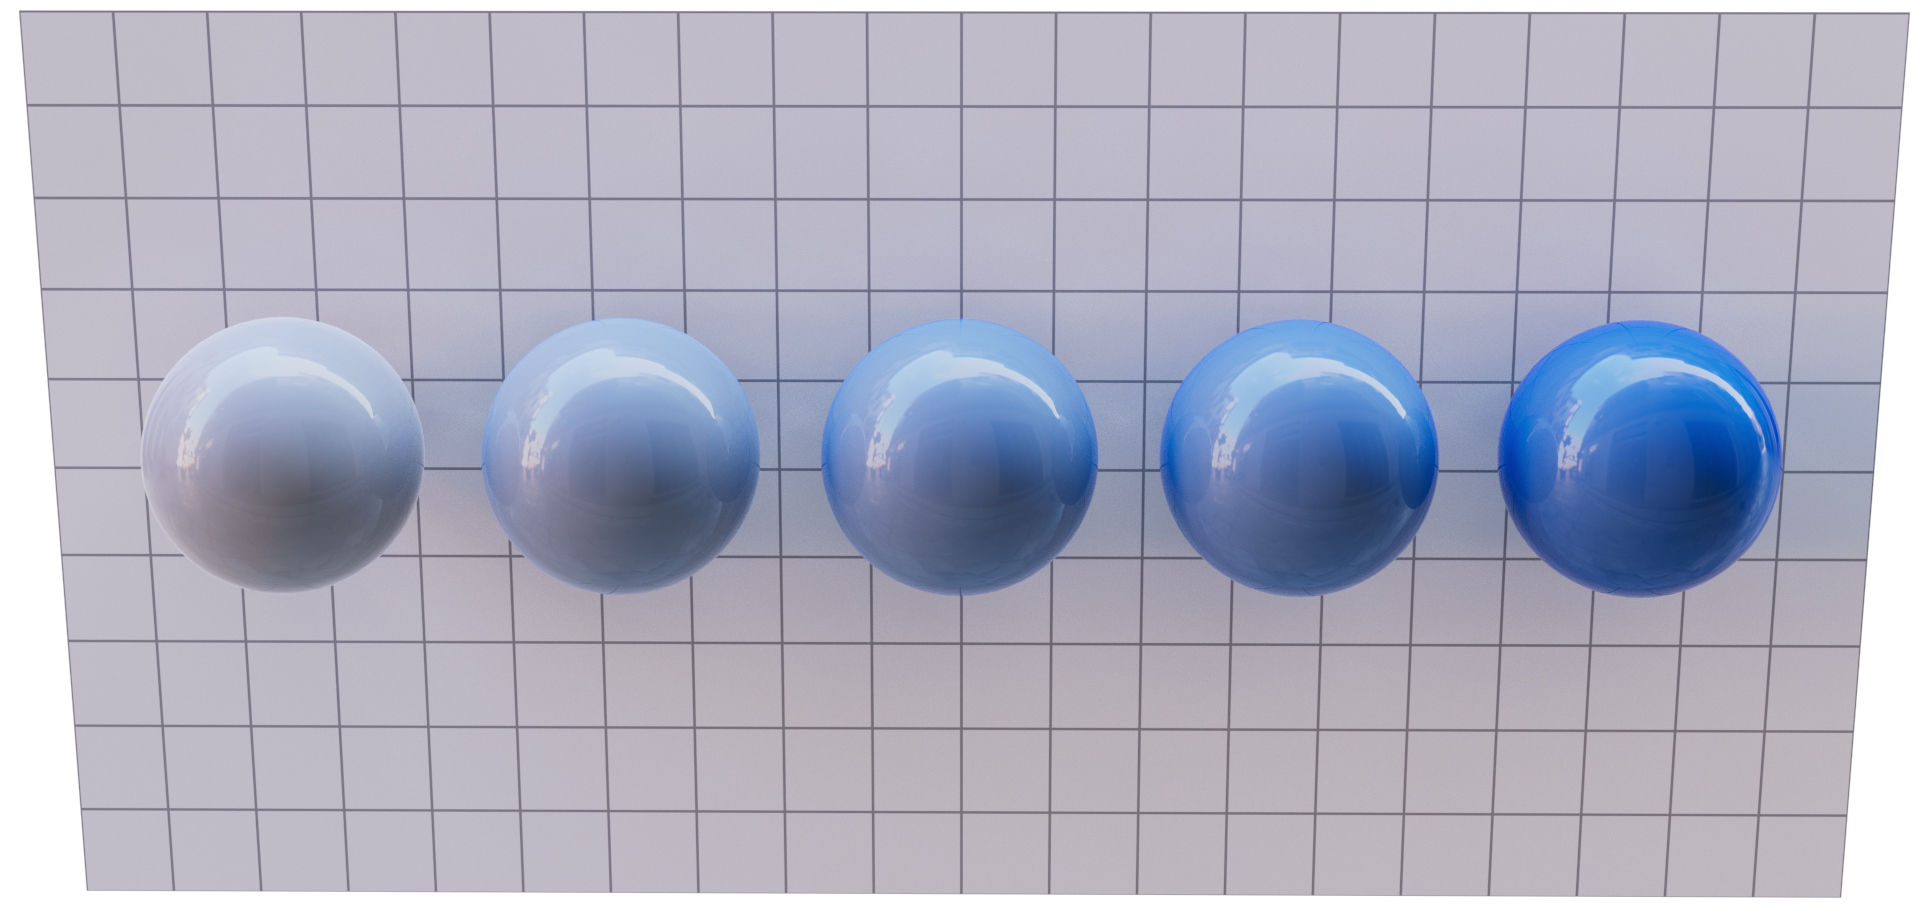
Increasing Thickness from 0.0 to 1.0
Roughness
Surface roughness for coating layer.
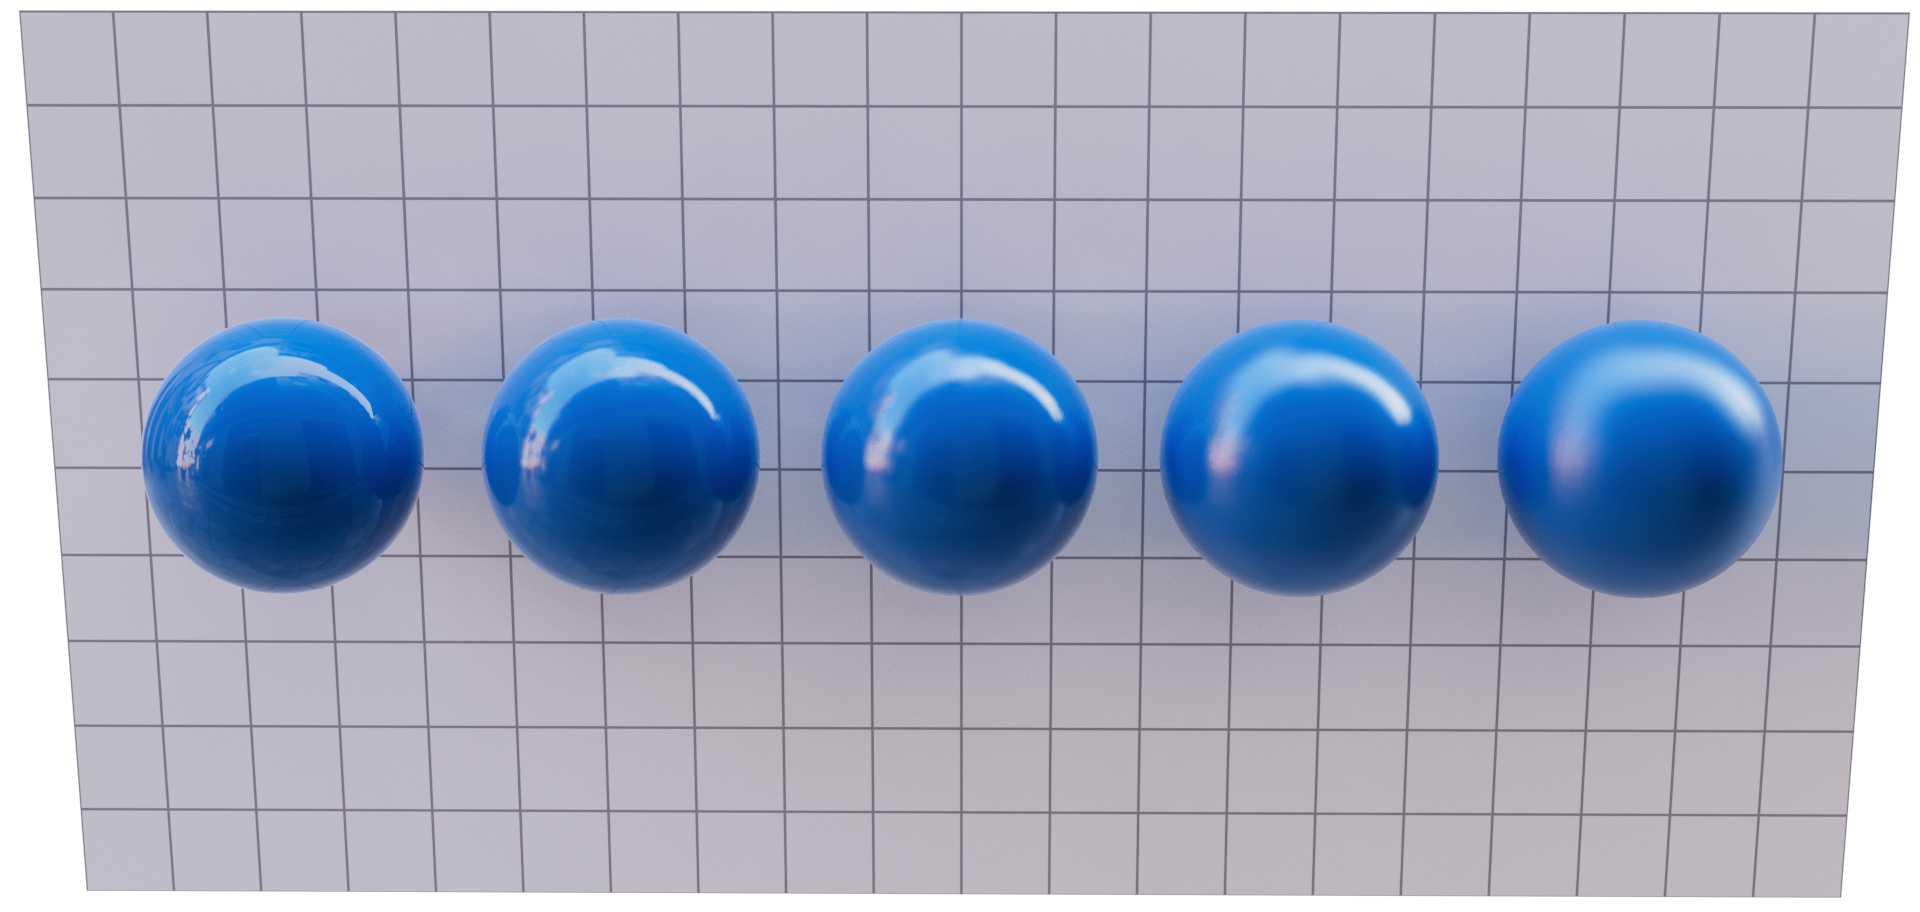
Increasing Roughness from 0.0 to 1.0
Emission
In rendering, material emission makes objects glow like light sources. This helps make your scene look more real and sets the mood. Emission lights up other objects and can even speed up rendering. To make a material emit light, adjust the settings in Emission group. Experiment with different colors and brightness to create the perfect atmosphere for your scene.
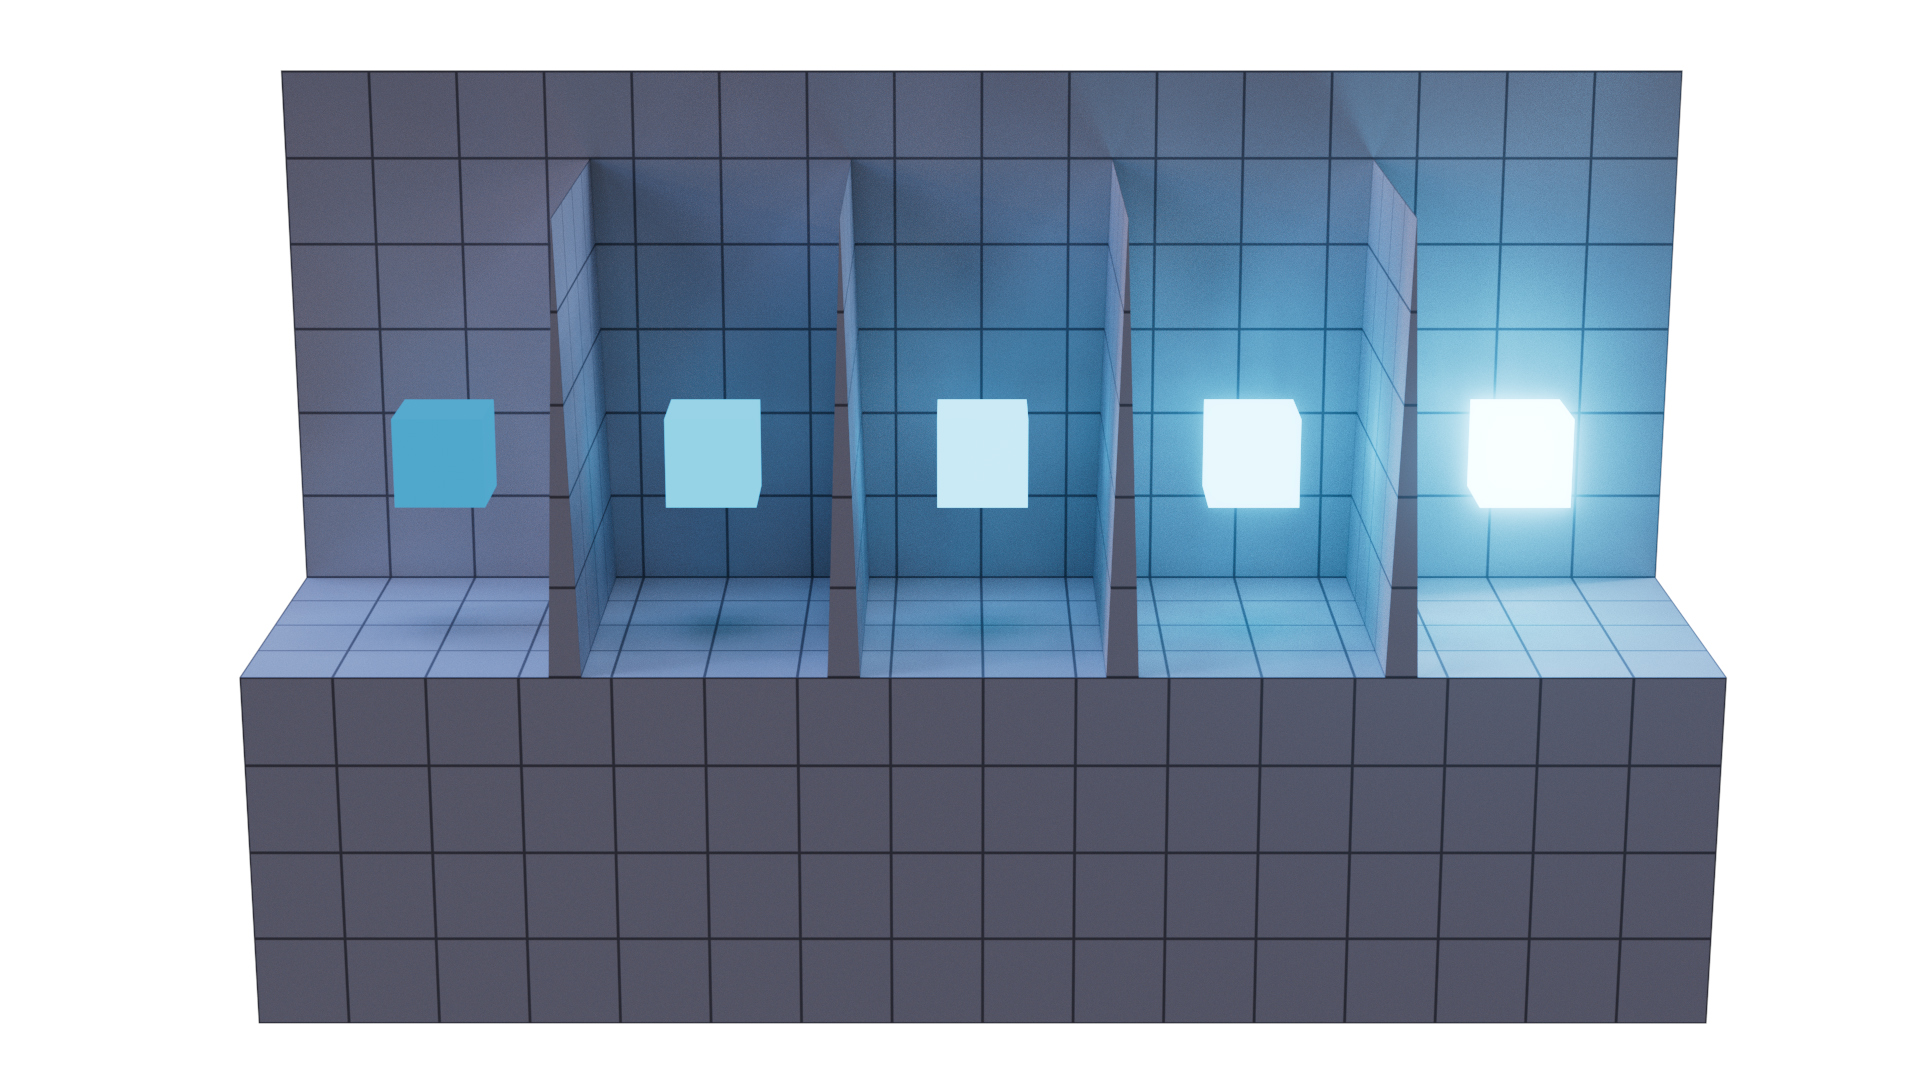
Increasing emission Radiance parameter
Emission Color
Emission light color.
Radiance
Intensity of emitted light.
Iridescence
Light Tracer Render models iridescence caused by thin film interference. This interaction between the light waves causes the colorful patterns you see in soap bubbles or oil slicks, as different wavelengths of light (colors) interfere with each other in various ways. Look for presets in the material Library for realistic combinations of parameters.
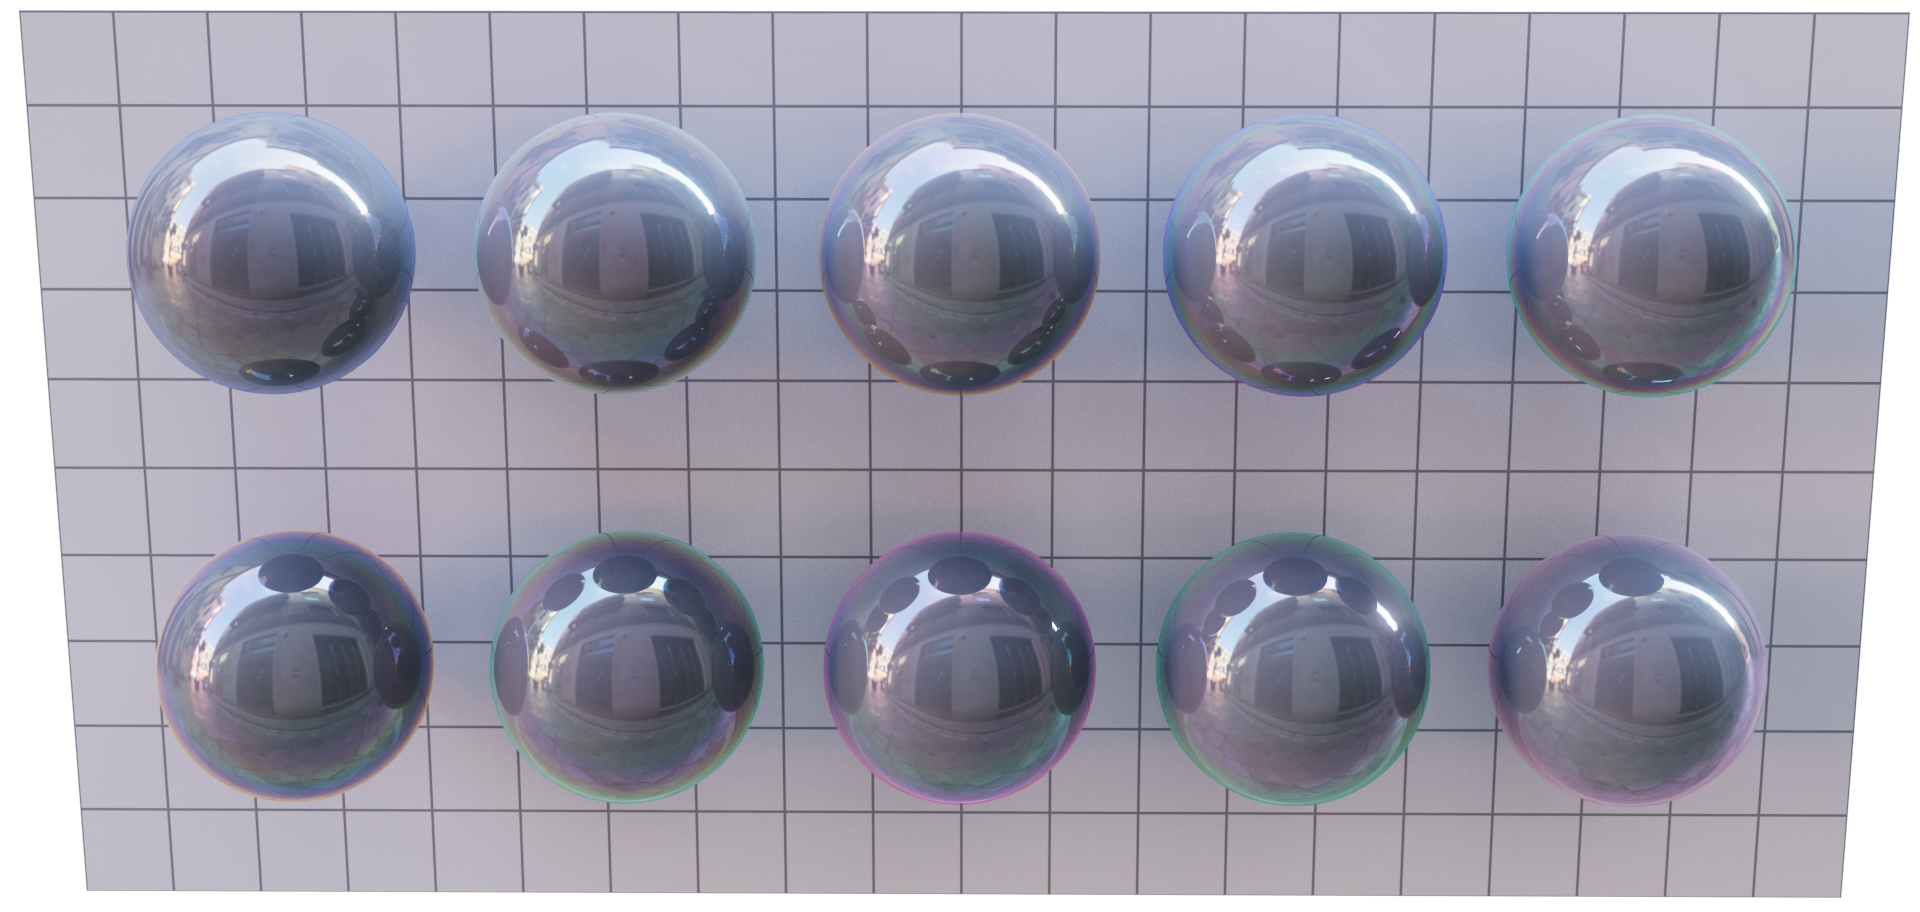
Top row: changing Thin-film width; bottom row: changing Thin-film index
Thin-film width
Thicker films tend to produce color shifts toward longer wavelengths: red, orange, and yellow, while thinner films toward shorter ones: blue, green, and violet.
Thin-film index
When light passes through a thin film with a higher refractive index, it bends more than it would in a film with a lower refractive index leading to variations in the iridescence pattern and the colors observed.
Glass material
Glass material allows objects to refract incoming light. It helps in modeling realistic liquids, glass and gemstones. The glass material can cause additional noise due to caustics. Read more about caustics rendering in this tutorial.
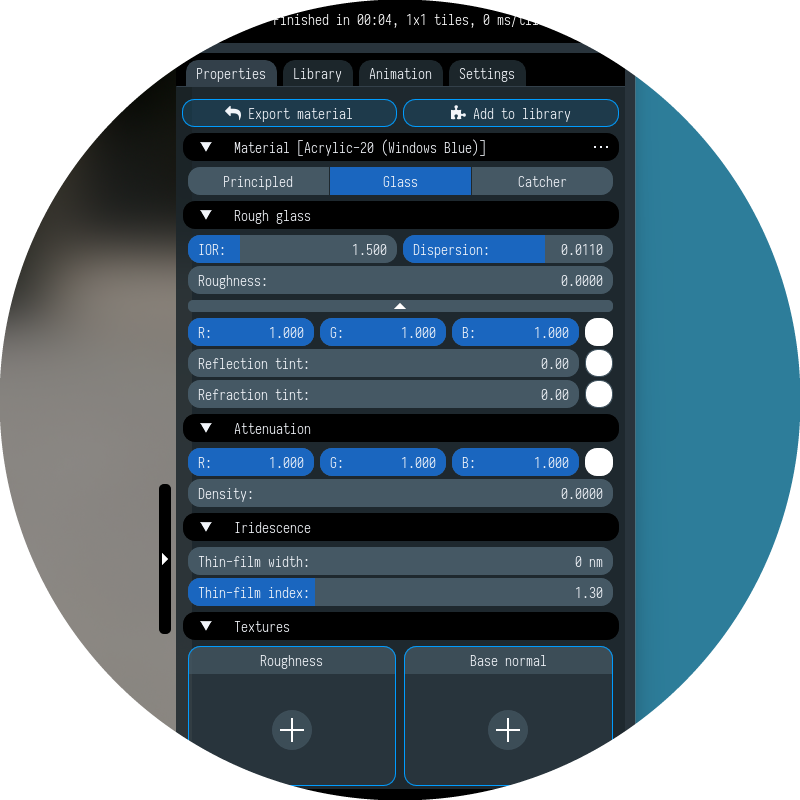
IOR
Material index of refraction. Affects how much the object will bend the light. Real world dielectric materials have various refractive index: air – 1.0, water – 1.33, glass – 1.5, diamond – 2.42.
Increasing IOR from 0.0 to 1.0
Dispersion
Amount of dispersion. Light dispersion happens when white light passes through something, like a prism or raindrop, and breaks into different colors. In 3D rendering and photography, light dispersion helps create realistic and nice-looking effects, such as colorful patterns in scenes with glass or gemstones. Light Tracer Render uses Cauchy equation to set dispersive properties of material conveniently, so the Dispersion value corresponds to Cauchy B coefficient. Sample values for commonly used materials are: water – 0.0005, glass – 0.004, sapphire – 0.014, diamond – 0.01.
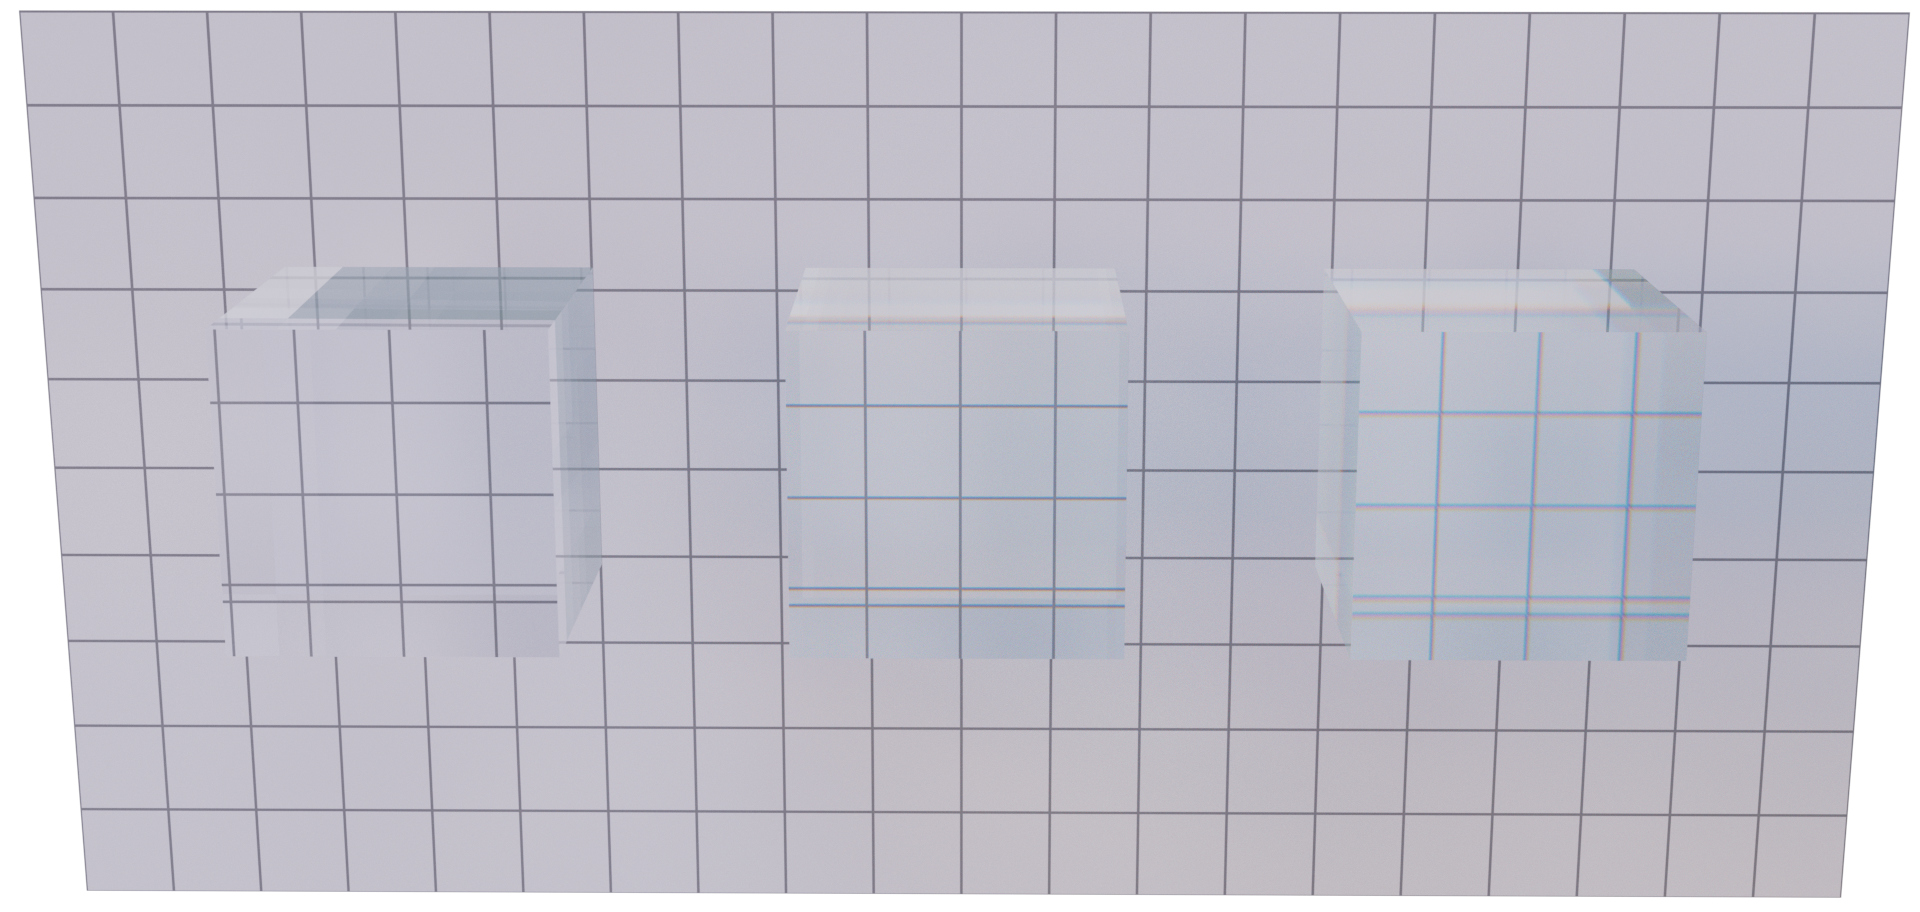
Increasing Dispersion from 0.0 to 1.0
Roughness
Roughness of the surface.
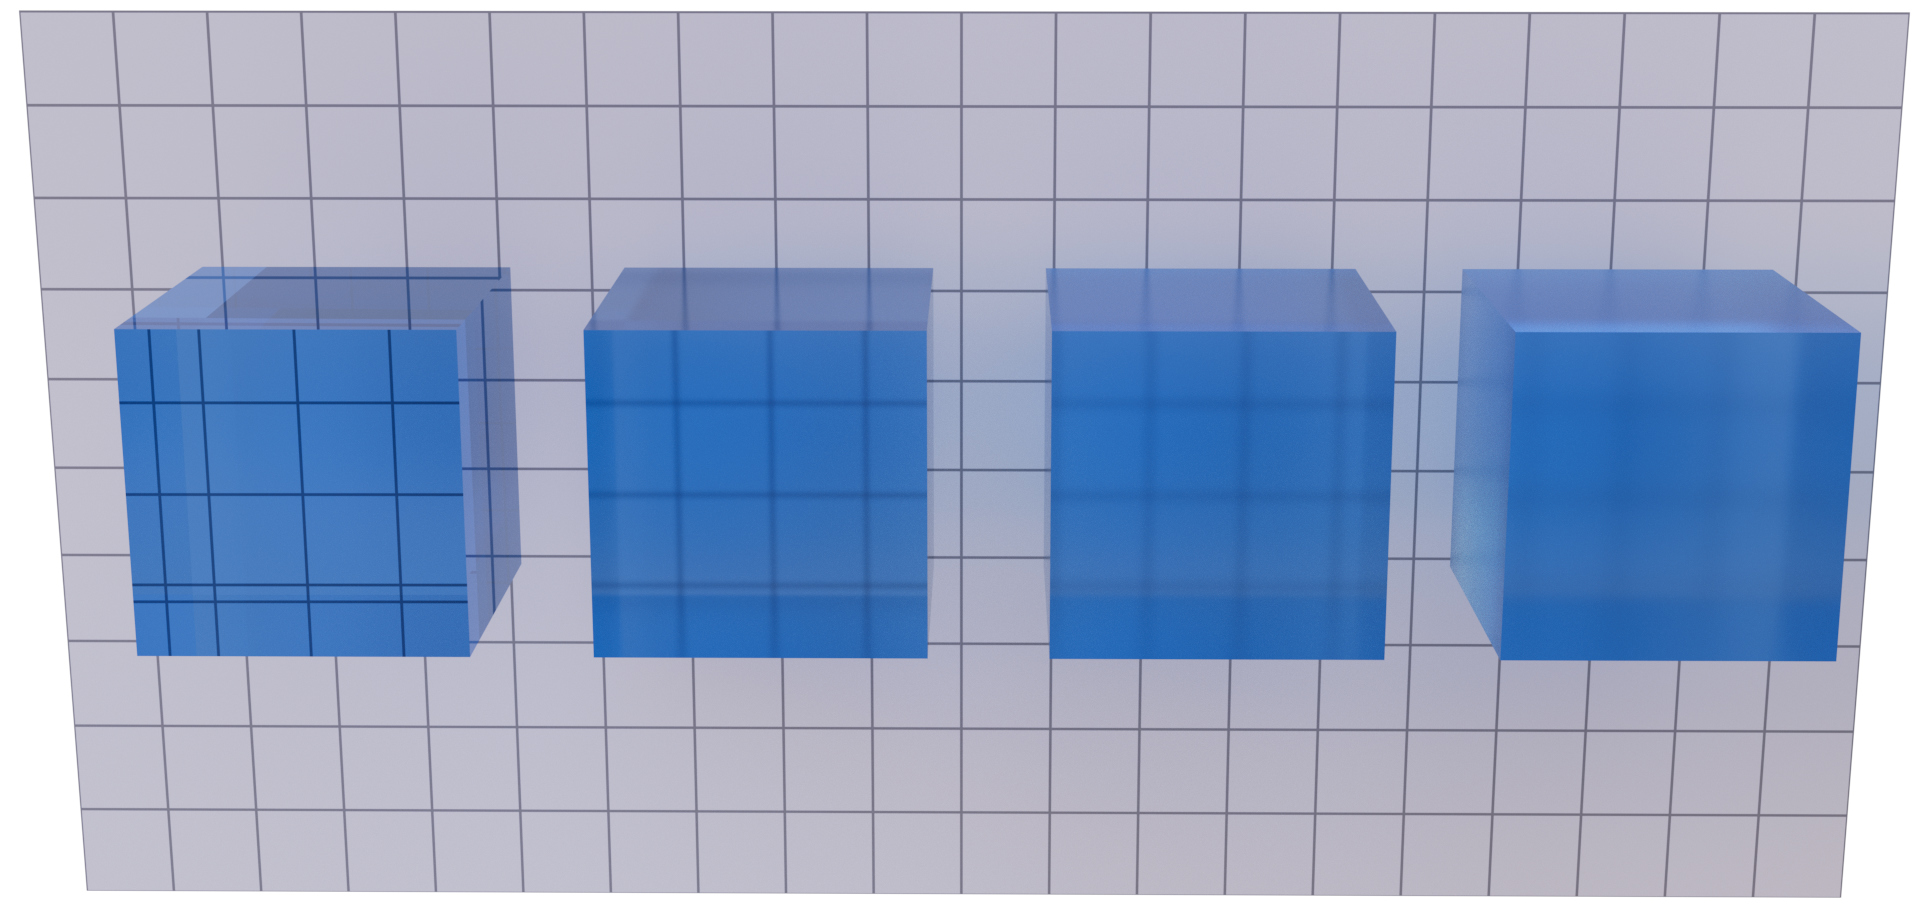
Increasing Roughness from 0.0 to 1.0
Advanced Glass properties
Glass tint color
Color to modulate the reflected or transmitted light.
Reflection tint
Blends between white and tint color for reflected light.
Refraction tint
Blends between white and tint color for transmitted light.
Attenuation
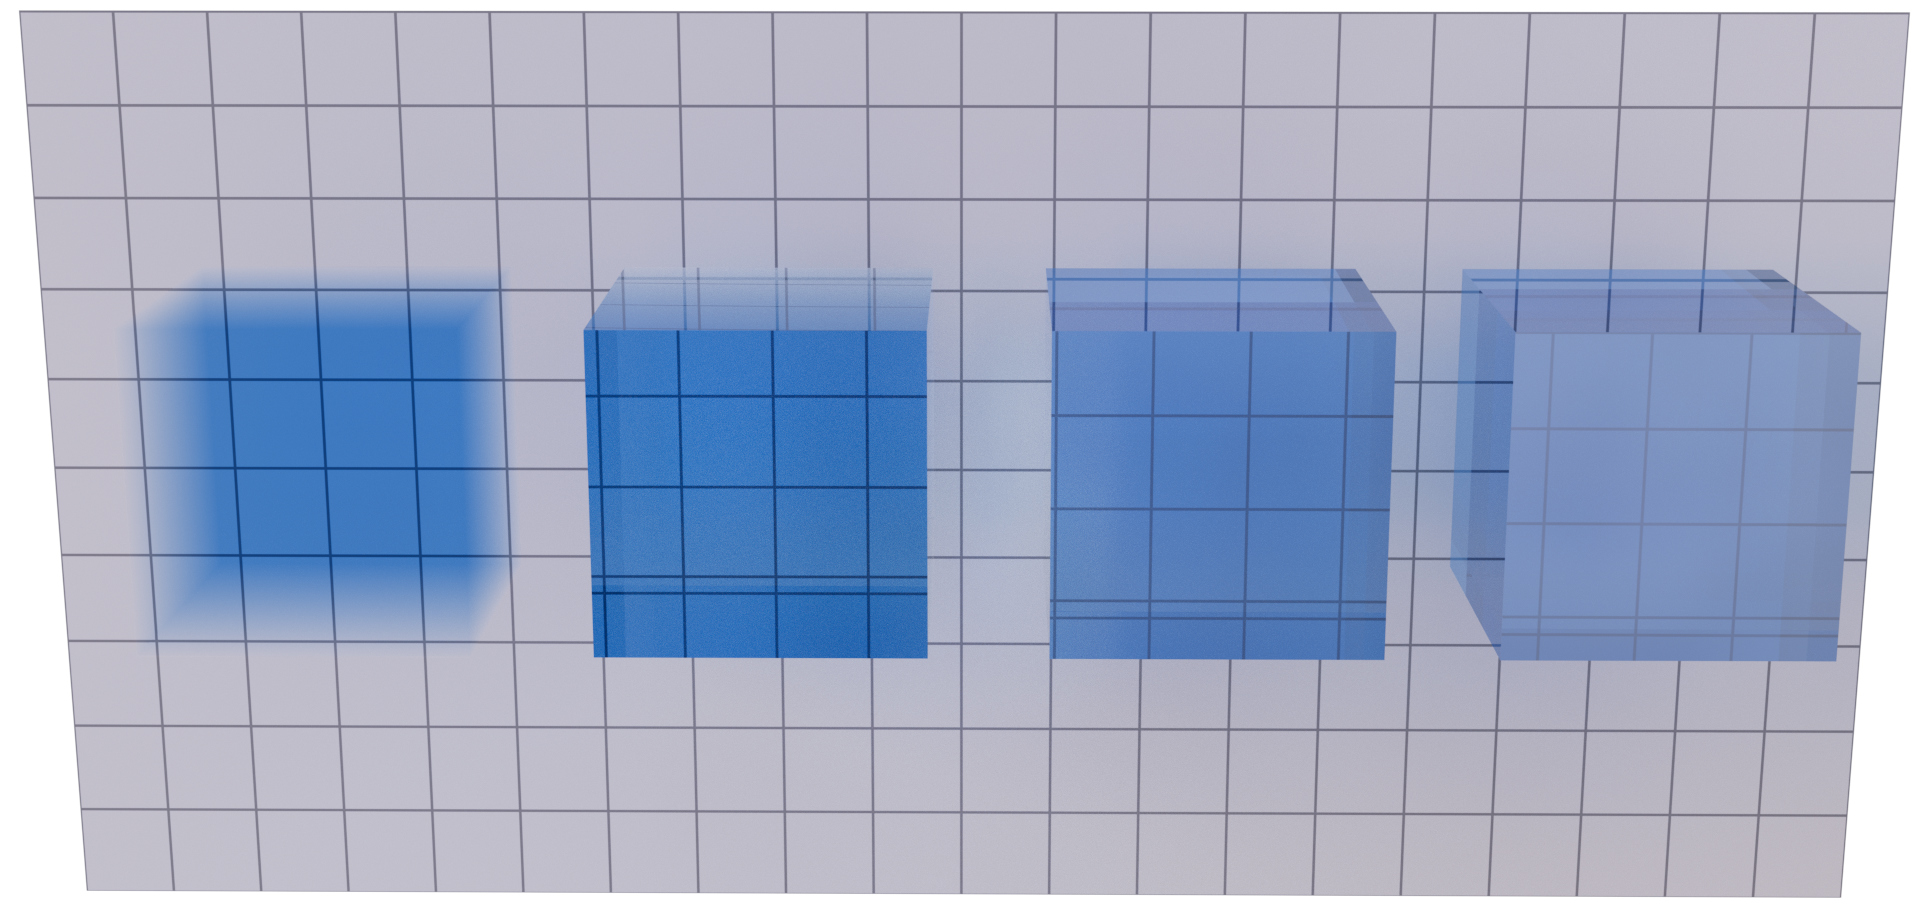
Light attenuation is the reduction of light intensity as it passes through a medium, such as air, water, or glass. The intensity of light decreases exponentially with the distance traveled through the medium. The rate of decrease depends on the medium's absorption coefficient. In rendering, light attenuation is crucial for accurately simulating light behavior in various environments, especially with transparent materials or underwater scenes.
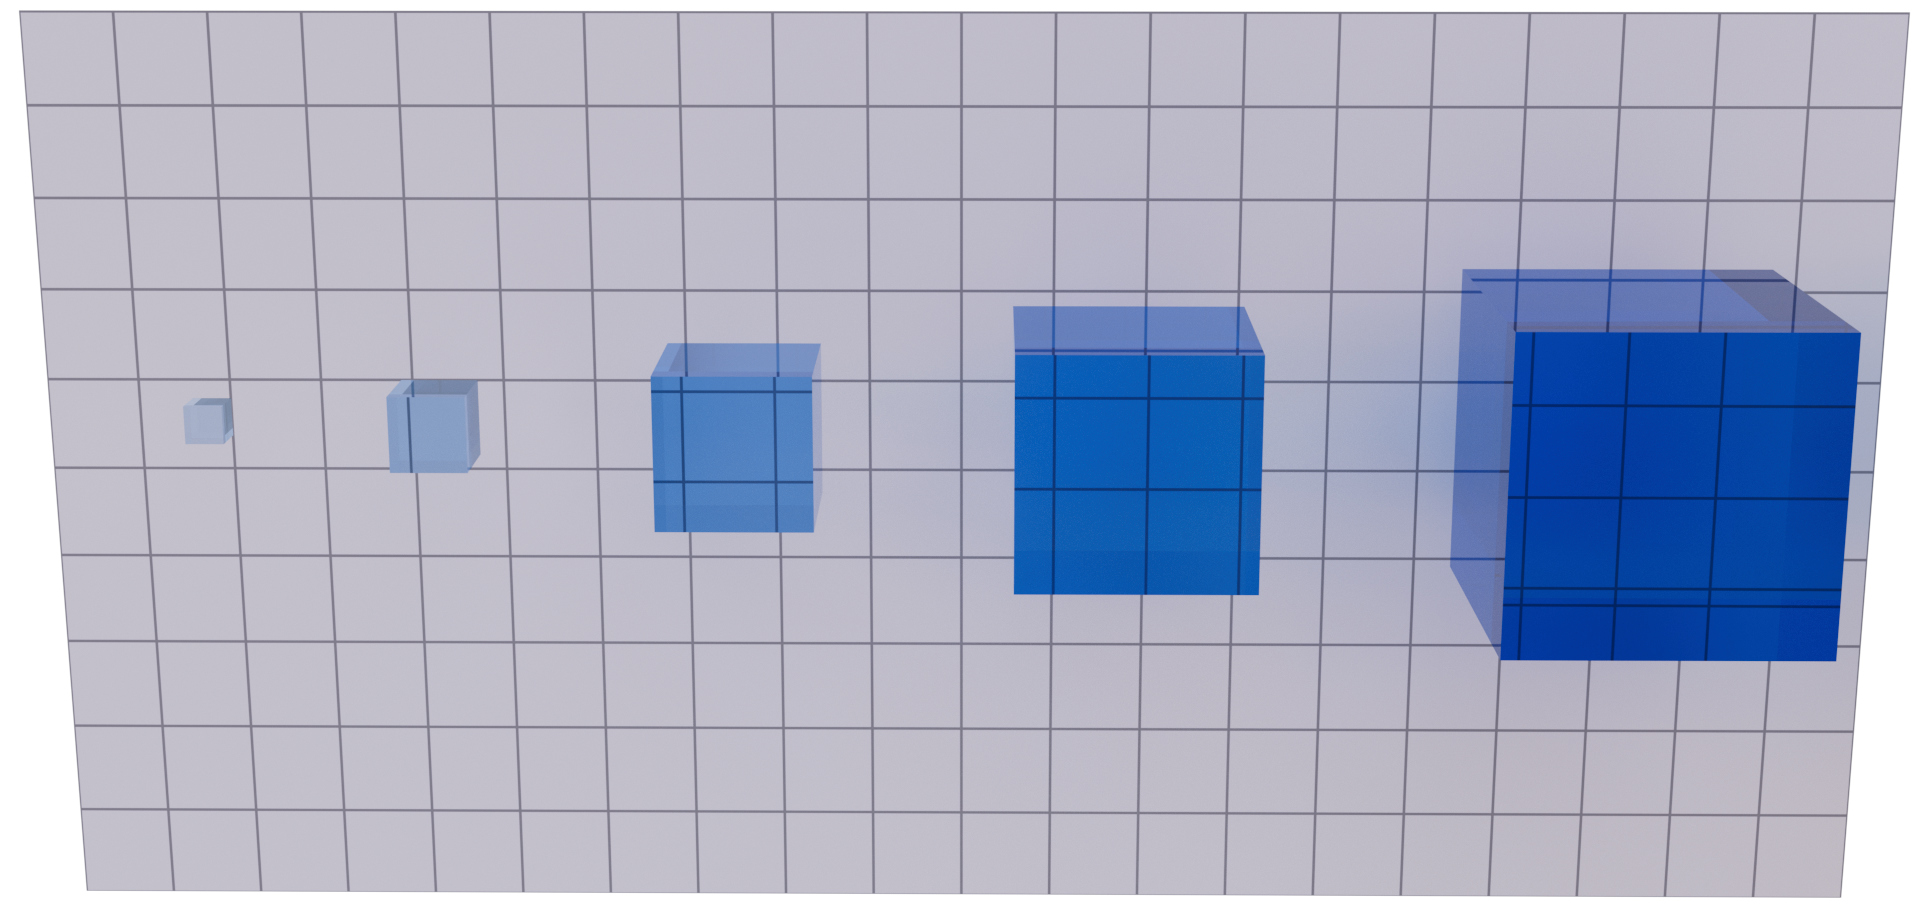
Objects of different size with the same Absorption color and Density
Absorption color
Remaining color after traveling through the object volume.
Density
Amount of absorption in object volume.
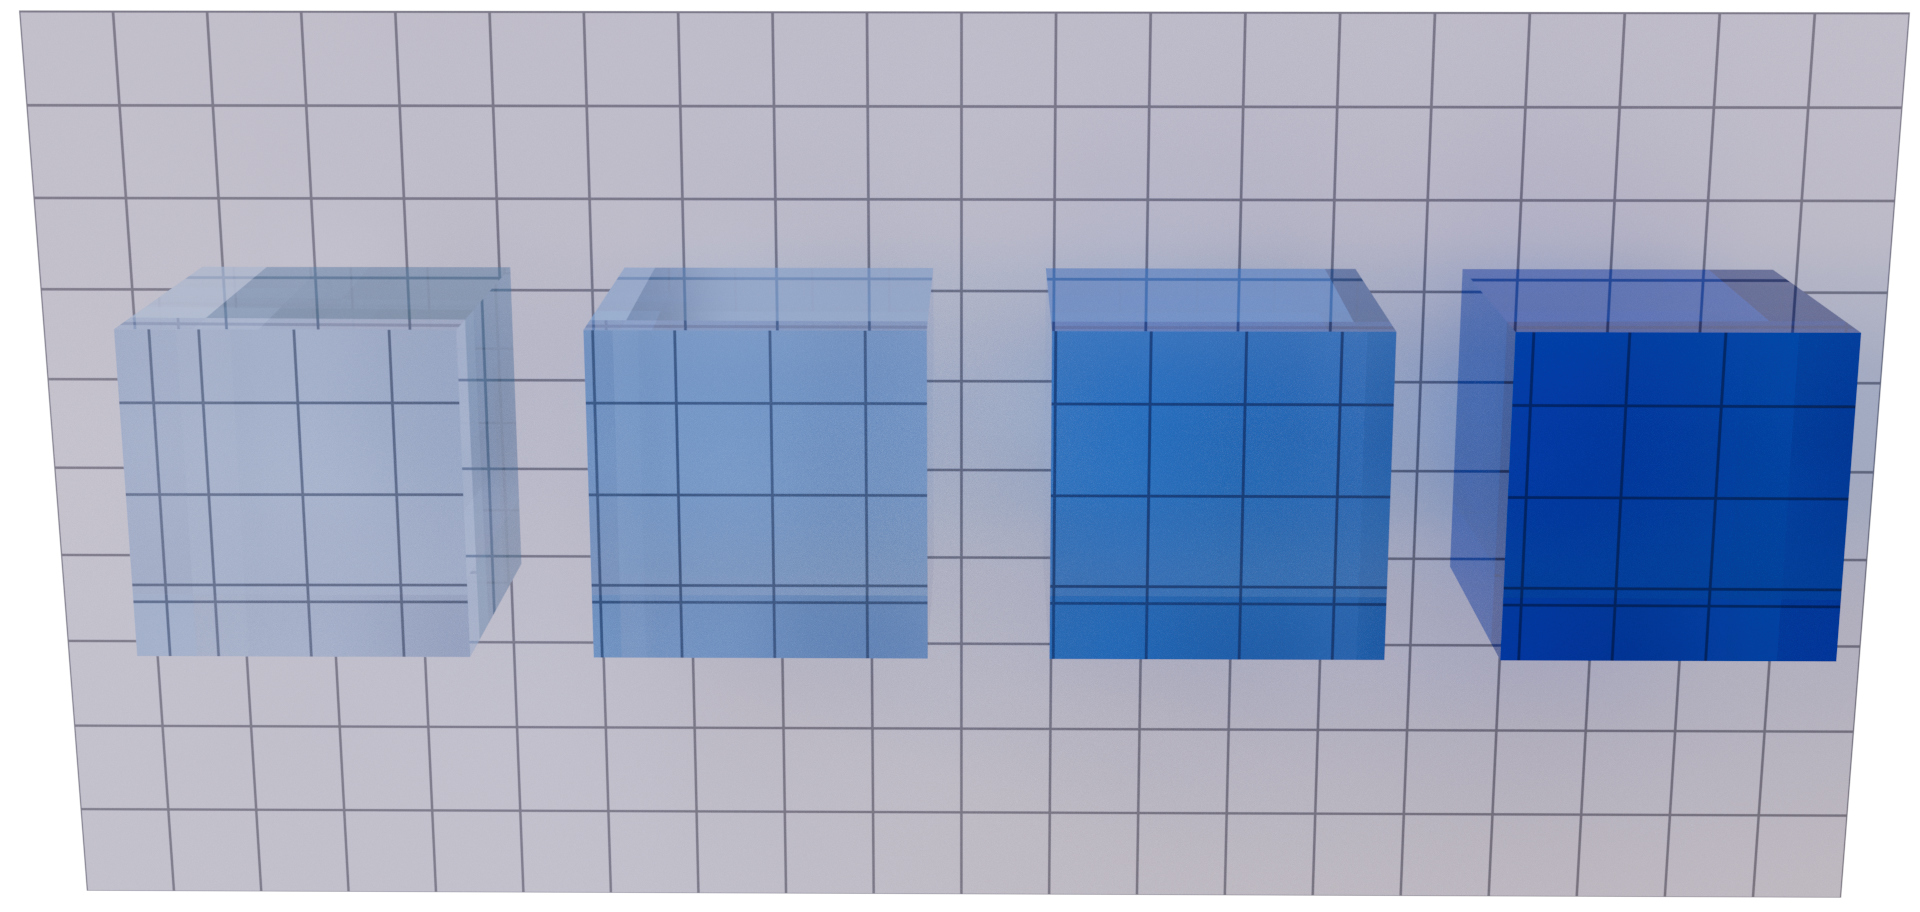
Increasing absorption Density
Iridescence
Thin film layer properties are the same as for the Principled model.
Catcher material
Catcher material is a special non-physical material type made for easier composition with scene background. There are two types of catcher material: Shadow catcher and Glossy catcher.
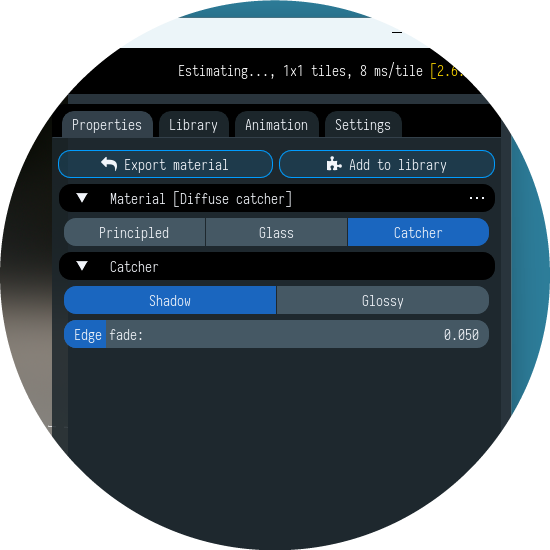
Shadow catcher
When rendering, the shadow catcher material only collects the shadows projected onto it, while the catcher object itself remains transparent. This feature allows artists and designers to easily composite rendered objects onto backgrounds or images, while preserving the realistic shadows cast by the objects. Shadow catcher materials are commonly used in visual effects, architectural visualization, and product design to seamlessly integrate 3D elements into real-world environments or photographs.
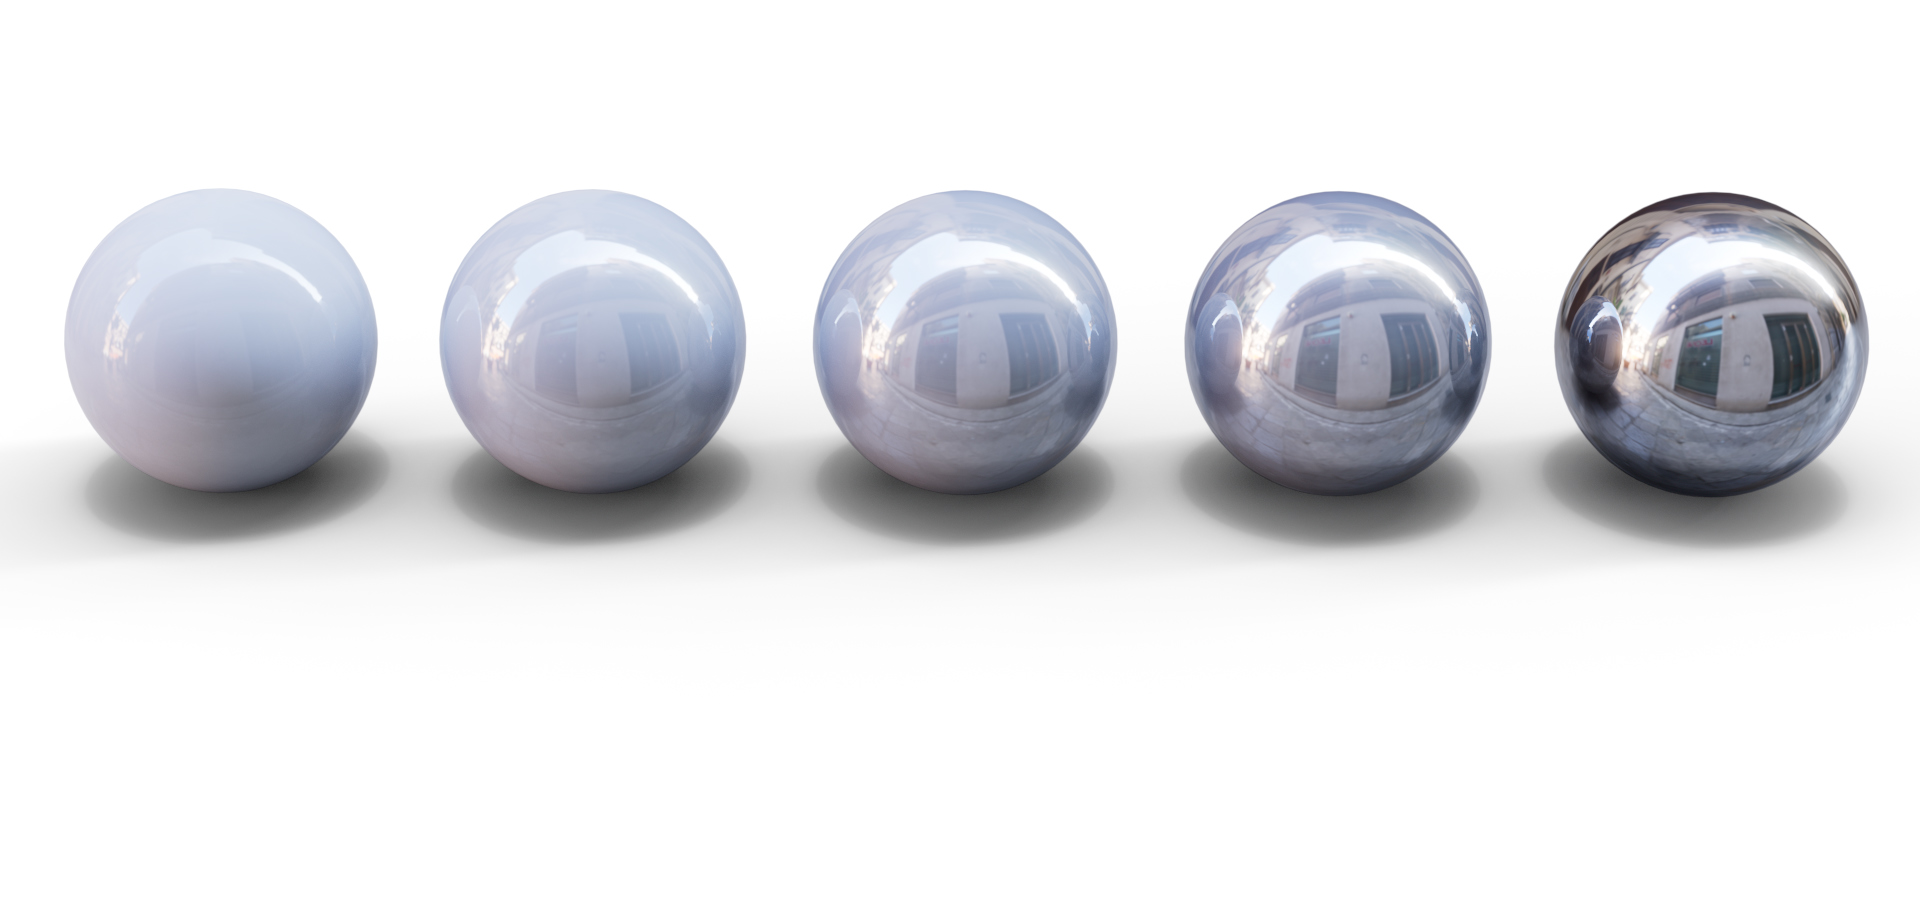
Glossy catcher
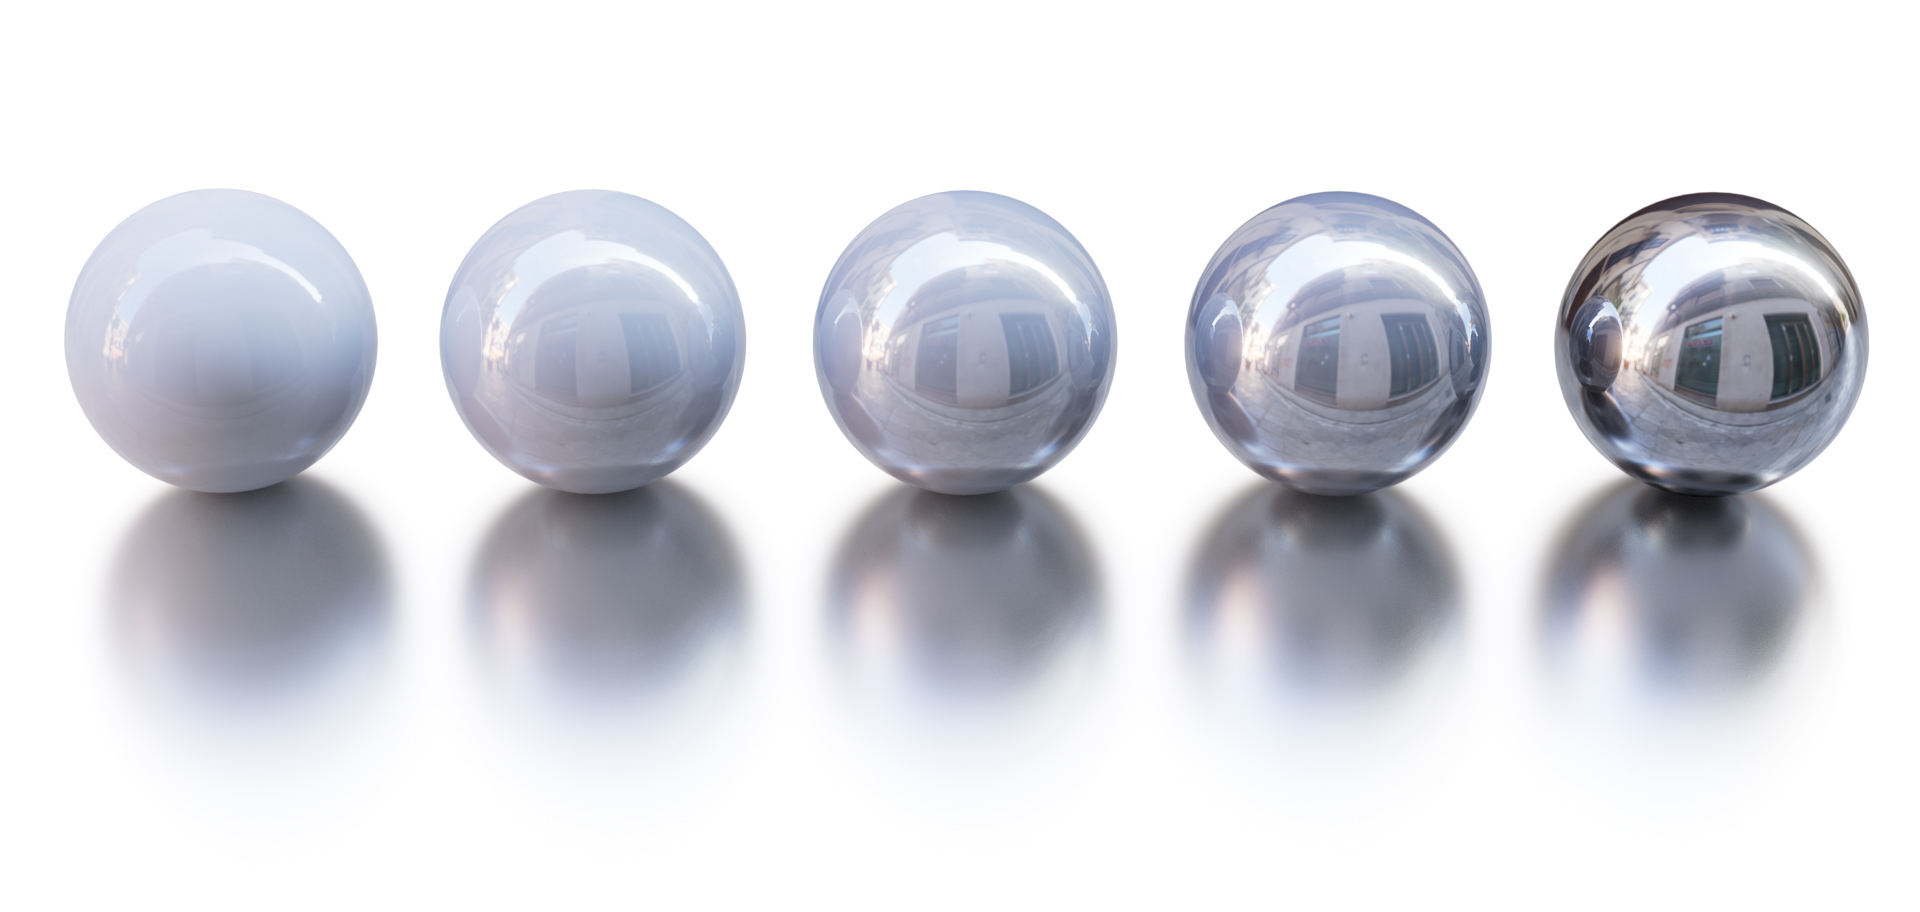
The Glossy catcher functions similarly to the shadow catcher material, but instead of capturing shadows, it collects reflections from scene objects as if it was a metallic surface, all while seamlessly blending with the background.
Roughness
Surface roughness for reflections.
Edge fade
Increases transparency of the catching surface near the edges.