Light Tracer Render 2.5.0
Dear Light Tracer users!
We are happy to announce the Light Tracer Render 2.5.0! In the fresh release, you can set multiple animations for one or several scene objects and arrange them on the video timeline. Along with this, you can create an arbitrary camera animation along the path consisting of one or more movements and animate the depth of field (focus distance, aperture, sensor size, etc.). This release also brings a long-awaited feature of ground projection of the environment map and many other nice improvements. Below, we invite you to look at all the innovations in more detail.
Start using Light Tracer Render today
Animating models
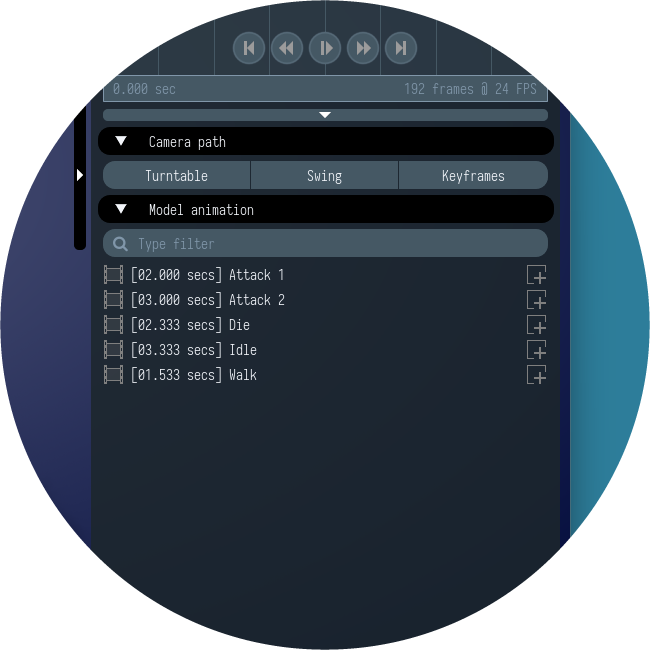
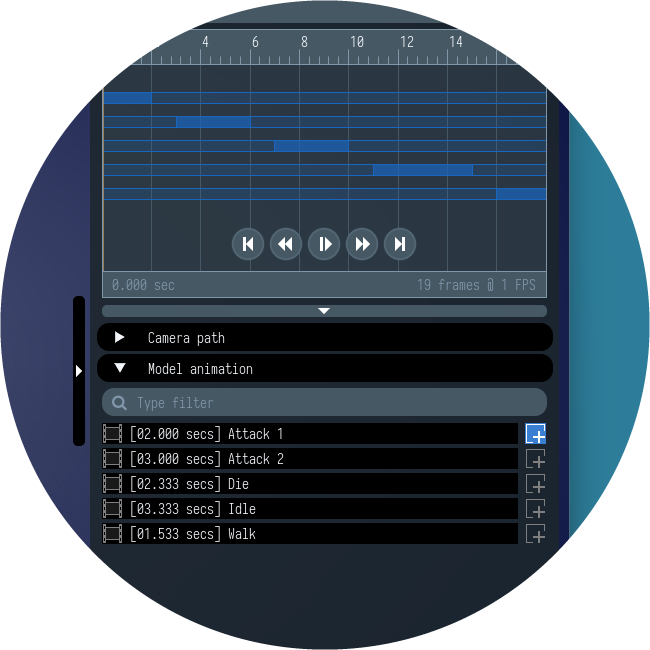
The Animation tab was reworked for a more convenient model animation management. Now, a list of all animation takes of the selected object is shown in the Model animation section. For each take, the duration is indicated as recorded in the file imported into Light Tracer Render:
You can select one or more animation takes and add them to the Timeline. As a result, a new video track is created. Timeline widget allows you to arrange all tracks by setting a Time offset and a playback mode for each of them:

When Once mode is enabled, a track is played once starting from a specified time offset. Also, a track can be time-stretched (Stretch mode) to fit the video length, or looped to play it repeatedly (Loop mode). For a selected track, the status bar of the Timeline shows its start and end time, as well as the number of frames to be rendered for a specified video frequency (FPS). Thus, you always have all the necessary information to arrange the tracks on the Timeline.
You can add any number of takes to the Timeline, but the following rule applies. If there are several tracks for one object, and they overlap in time, then the lowest one will be played in the overlapping interval. Tracks can be dragged up and down on the Timeline to prioritize their playback.
Animating camera
The fresh release brings a new way to animate your camera in a smooth and easy way by following a path. In Light Tracer, such paths are defined with keyframes, which are created from View slots. The view slot captures the current view angle, lens settings, and visibility states of scene objects.
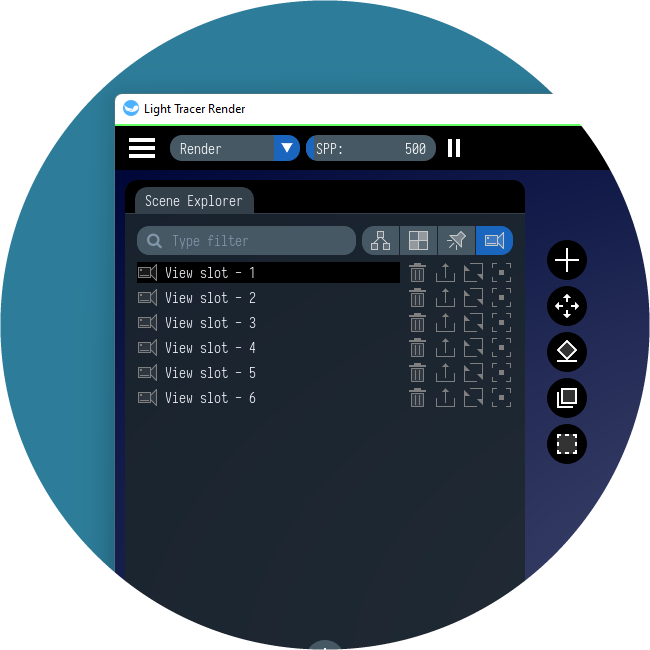
To define a path, you need to fly around your scene along the desired trajectory and capture view slots at the points where the trajectory changes (all the turns and adjustments of depth-of-field). It is convenient to use the 'V' hotkey to capture the current view and lens settings into a slot. Note that for adjusting already captured view slots, you may use a new Refresh button (with “looped arrows” icon) to overwrite it using current camera settings.
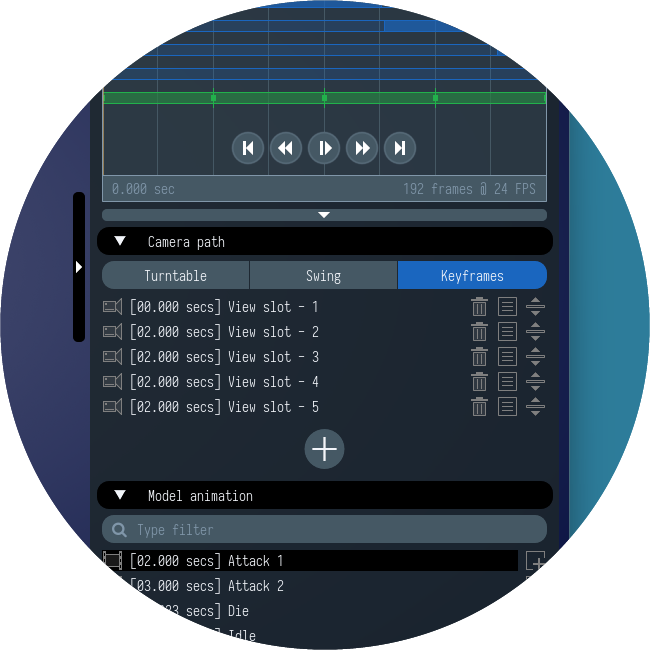
Next, you can add selected view slots as keyframes using the rightmost Record button (with a “dot in square” icon) and choose a new Keyframes camera trajectory on the Animation tab. As a result, a new camera track (green color) will appear on the Timeline, and it will be possible to preview camera animation using the Play button.
Note that each keyframe references the view slot from which it is created. If you update the view slot (in Scene Explorer), the corresponding keyframe(s) will also be updated, and the path will be automatically rebuilt. So, you can easily tune the trajectory by editing/refreshing already created slots.
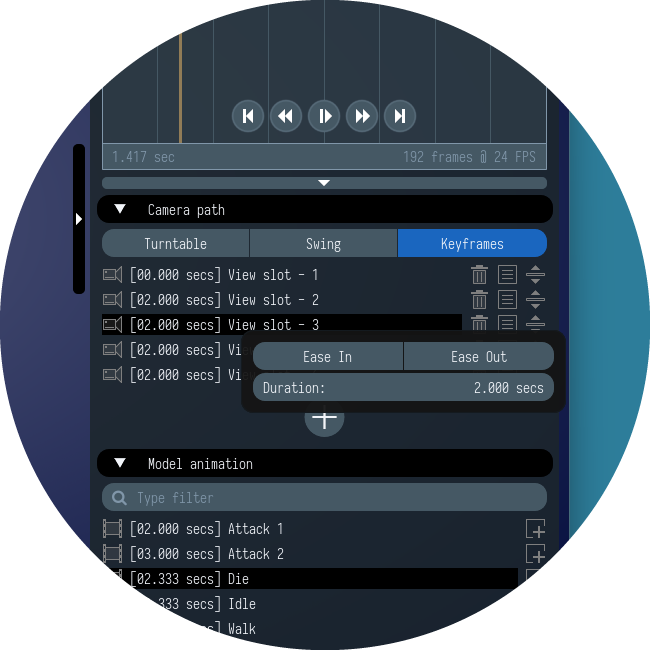
For each keyframe, you can set the Duration (the time camera moves from the previous keyframe to current one) and enable Ease In / Ease Out mode (so that the camera smoothly accelerates or smoothly slows down at this interval).
If you want to break the camera path into several disconnected spans/shots, then set the keyframe time to 0 at the beginning of each span. When passing through such a keyframe, the camera will be instantly moved to a new position. All this allows you to get a cinematic camera path for creating stunning advertising videos.
Automation capabilities
New animation features can be used to automate repetitive tasks. We will list some of the possible automations below.
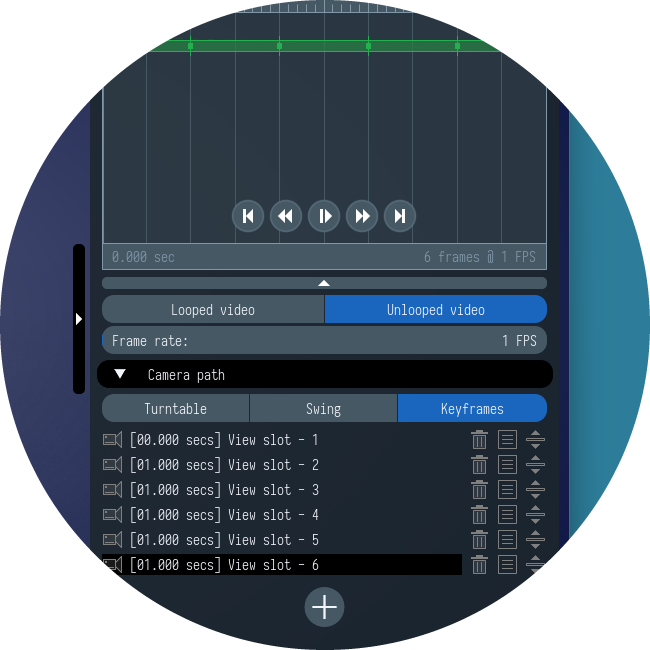
1. Rendering multiple static views of the same scene. Often the same scene should be rendered from different angles (for example, the interior of a room). Since rendering can be long, it is highly desirable to automate the process. This can be done as follows. Capture the necessary view slots and add them as camera animation keyframes. After that, set the video framerate to 1 fps and the duration of each keyframe to 1 second. Thus, each keyframe will be rendered exactly once. Do not forget to enable the Unlooped video mode so that the last frame will also be rendered (which is not the case for the Looped video). Then click the Render frames button to render and save all the frames to the specified folder. All required settings are shown below:
2. Rendering different models in the same environment. In this case, it is needed to render multiple 3D models (for example, variants of one or several products) while the environment and/or camera angle remain unchanged. This can also be automated because each view slot stores not only camera settings but also visibility of all scene objects. You need to put all the models into the scene and add view slots so that the particular model is visible and all others remain hidden. Switching between view slots will hide all scene models except the one you keep visible. Next, you can use the instructions from the previous case to render all models into separate frames.
3. Rendering of all animations of a single character. Often, a 3D model has several animation tracks, and it is required to show them all sequentially in a single video file (for example, to present your artwork). Now it's extremely simple. You need to select all the animation takes and add them to the Timeline (you can use CTRL + A, CTRL, SHIFT and a filter field to simplify selection of takes). Video tracks will be automatically queued one after another. Optionally, the video can be supplemented with camera animation (for example, enable Turntable trajectory). Finally, click the Render video button to generate an output video file.
Ground projection of environment map
HDRI environment is the easiest way to achieve real-life illumination and reflections and is widely used in product visualization. However, using an HDR image as a background is not sufficient on its own. If you need to animate the camera or depth-of-field for realistic bokeh, the HDRI map will not work because it's normally represented as a sphere of infinite radius.
The new release brings the long-awaited feature of HDRI ground projection. Basically, it allows reprojecting the lower hemisphere of the spherical panorama onto the ground plane. And so you can place your model on the ground instead of having it float in the middle of an environment map. This way the background will still look plausible after rotation of the camera. The new settings are in the Environment tab. Here, we can select Sky dome mode to reproject our environment on the upper hemisphere.

Re-projection can be controlled with just two parameters: the radius of the dome (Dome radius), and the height of the projection center above the ground plane (View height).
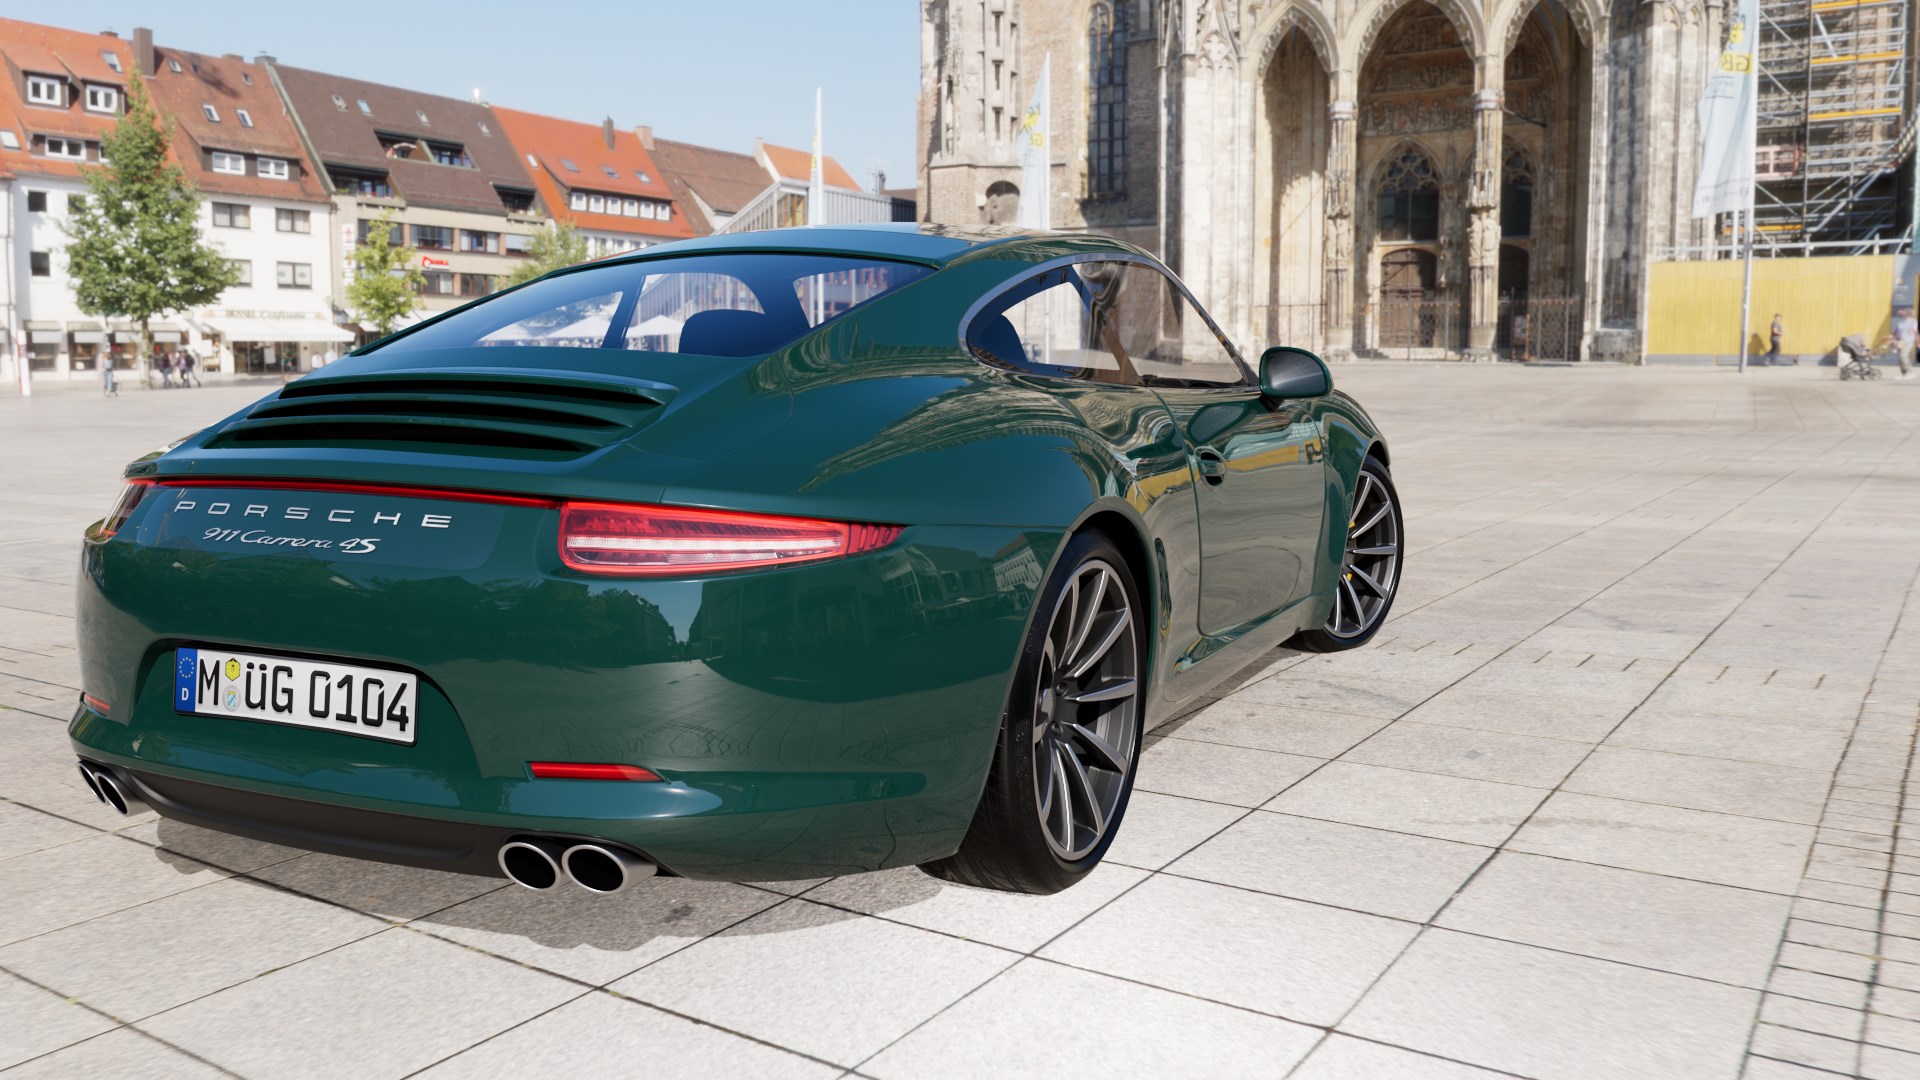
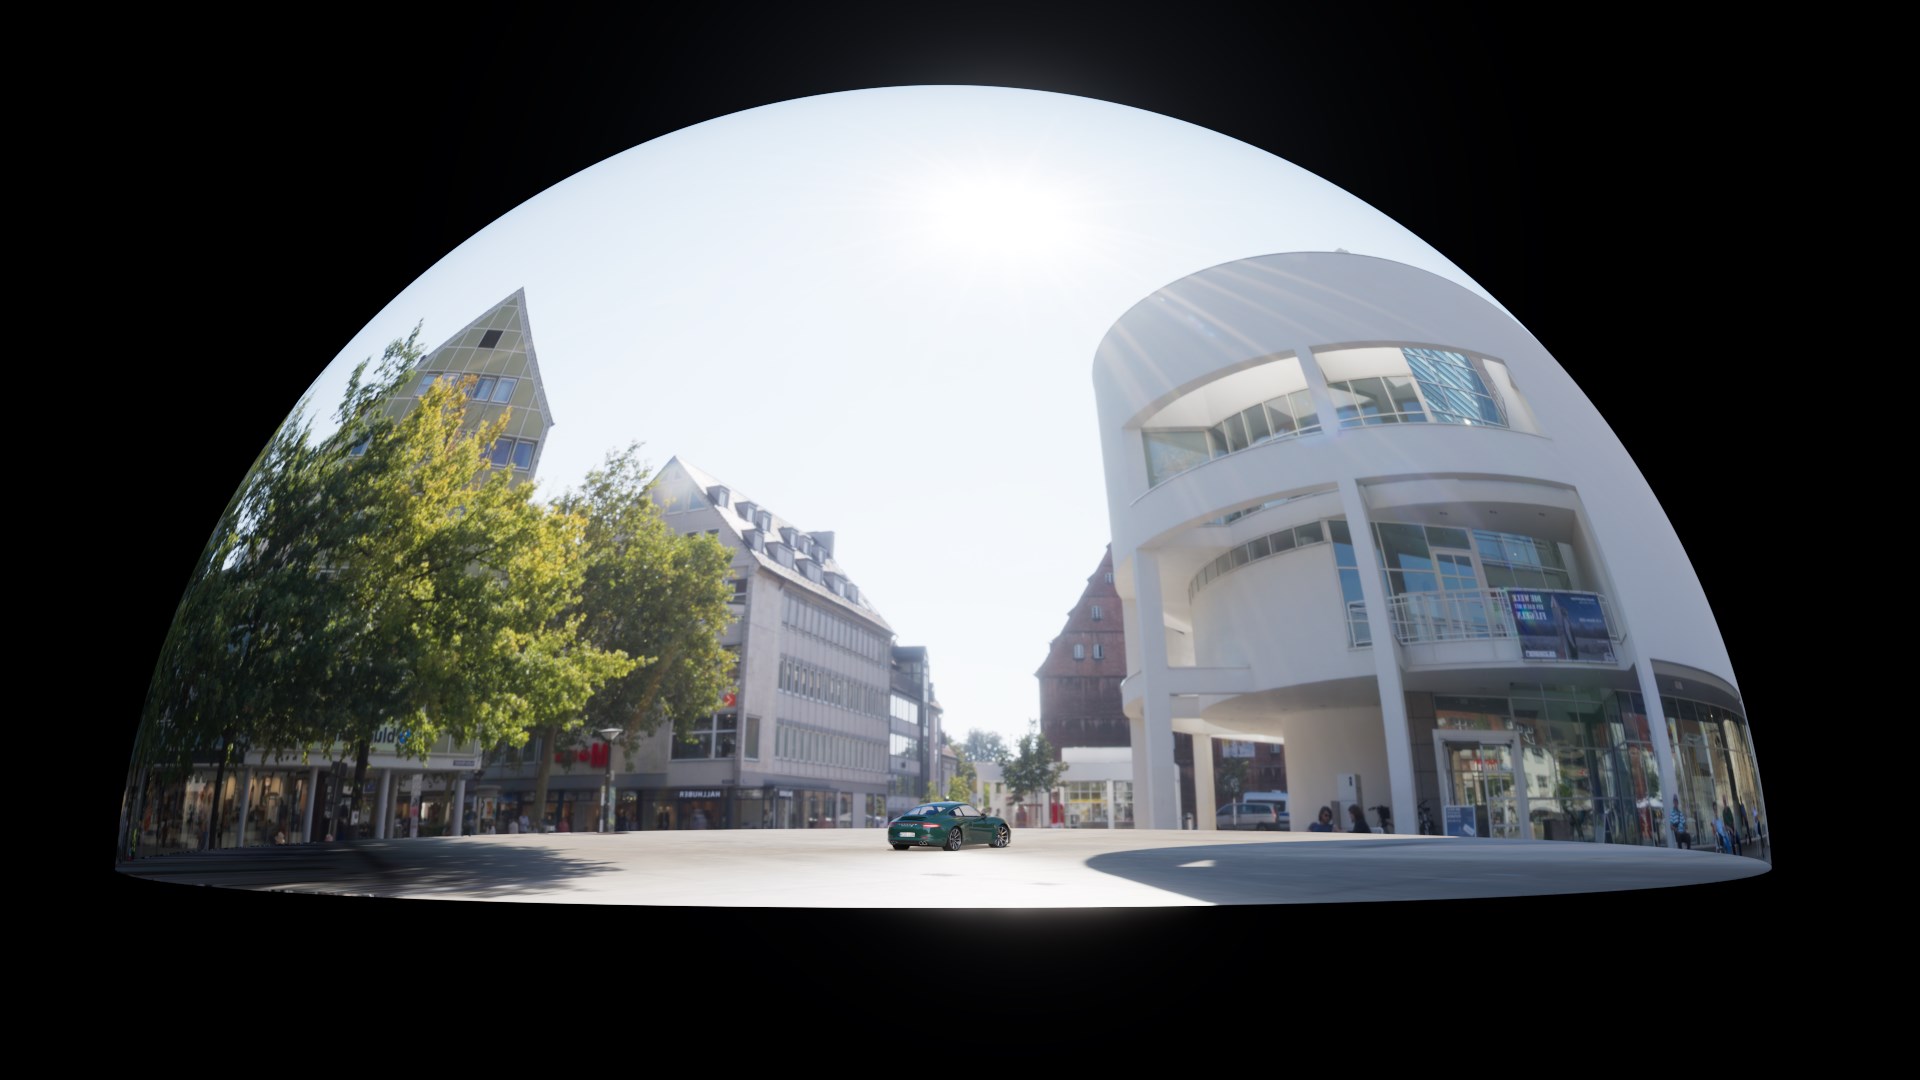
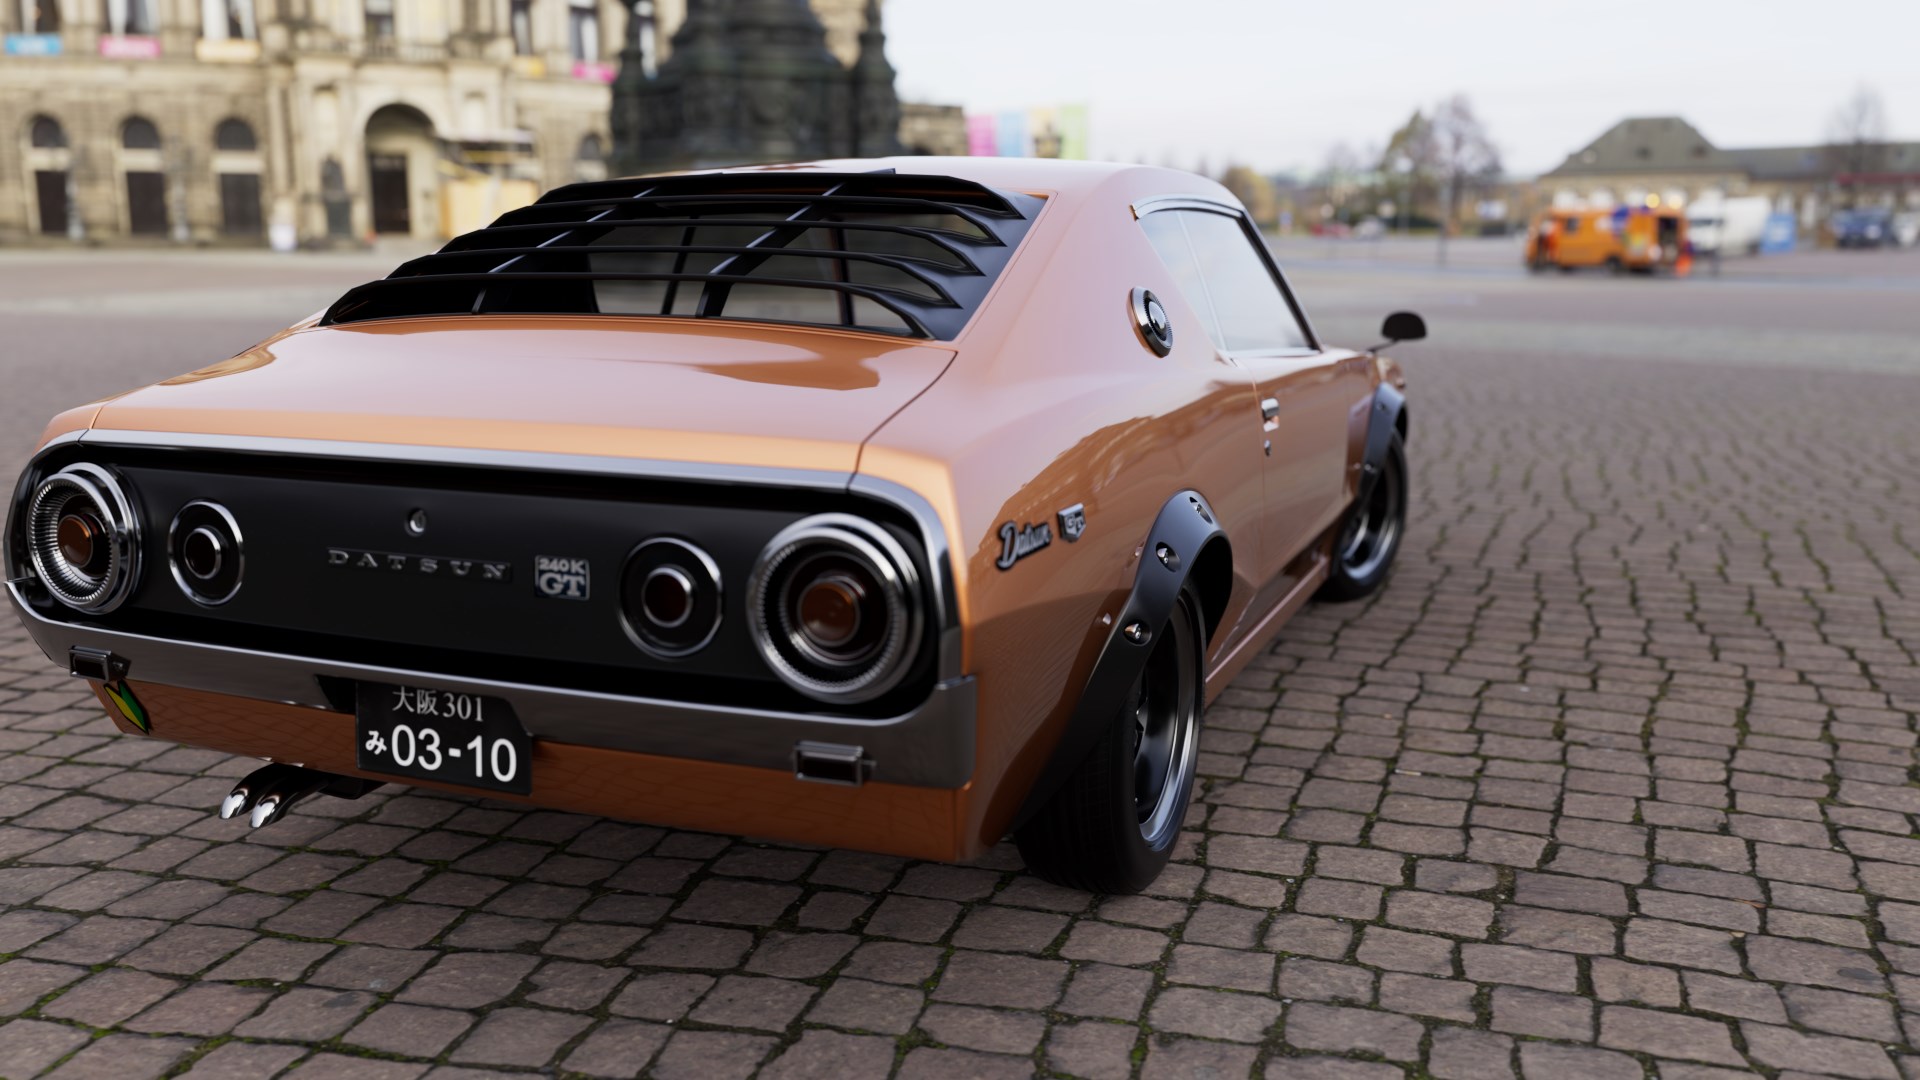
Of course, it's just a trick, and as a side effect, we have a distortion in the distance around where the horizon line is. The goal is to adjust both parameters for a particular environment to get the most plausible results. For example, the horizon can be placed at the point where the floor meets the wall, so the distortion will not be noticeable. Along with camera animation, ground projection allows using a physical camera model with depth-of-field effect to create realistic bokeh.
Other improvements
The new version brings a number of minor improvements.
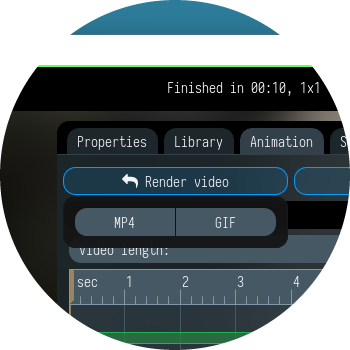
Save video to GIF. Now you can save generated video not only in MP4 format but also in a GIF file. Keep in mind that the GIF palette is quite limited, so the image quality will be worse. However, in most cases, the difference is not very noticeable, and GIF format supports transparency natively.
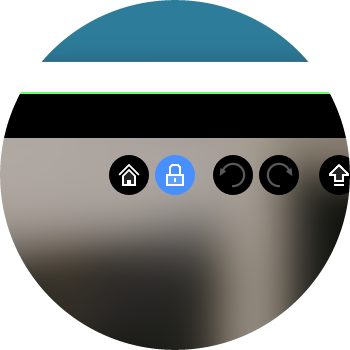
Lock the camera movements. Have you ever had a situation where you accidentally ruined a long render by accidentally moving the camera in the viewport? If yes, then the new camera lock button is for you. It allows you to lock interaction with the camera through the viewport, while the rest of the UI remains available.
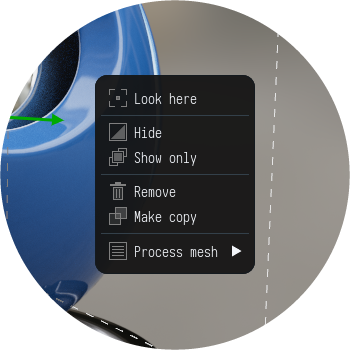
Improved object context menu. The context menu has got new useful features. Look here moves the camera so that the selected object(s) is in the center of the screen. Show / Hide allows you to change visibility of selected object(s). Show only hides all objects in the scene except for the selected one(s). The Remove and Make copy duplicate the corresponding functions from the Scenes Explorer.
Correct color in the viewport on macOS. On macOS, the colors in the viewport were slightly different from the renders saved to image or video files. It was caused by the P3 color space used in macOS, while the Light Tracer displays an output image in the sRGB space. That issue was corrected, and now the viewport shows the same colors as in exported image files.
We hope that with these new improvements, the use of Light Tracer will become even more comfortable and fun. Your feedback is very welcome, as always. Feel free to ask any questions in our Discord community!