Light Tracer Render 2.7.0
We are extremely excited to announce the new release of Light Tracer Render 2.7.0. This update brings a long-awaited and most requested feature – labels or stickers that can be applied to 3D objects. This functionality is crucial for product visualization, and finally, Light Tracer fully supports it! What's more, we have implemented a lot of helper tools that will allow you to apply labels conveniently, saving you time and making the process intuitive and fun!
The fresh update contains other innovations as well. We have redone the display of selected 3D objects, and now they are outlined with contours as in most other 3D tools. We've also added support for parametric studio lights. Along with HDR image-based studio lights available in previous versions, you can draw lights of typical shapes (squares, rectangles, circles) on the environment map and set a smooth brightness fall-off for each. With these new handy features, Light Tracer becomes a more powerful product rendering tool.
Of course, we have added a number of smaller innovations, fixed some bugs, improved the UI, and optimized the rendering performance. We invite you to read more about all the changes below.
Watch the quick video or read the full post bellow.
Start using Light Tracer Render today
Labels/stickers
For those immersed in product visualization and mockup creation, this feature will be a game-changer! Labels simplify the task of positioning logos and stickers on 3D models, offering you the freedom to place them as you see fit. Essentially labels are extra layers with their own materials and textures on top of your material.
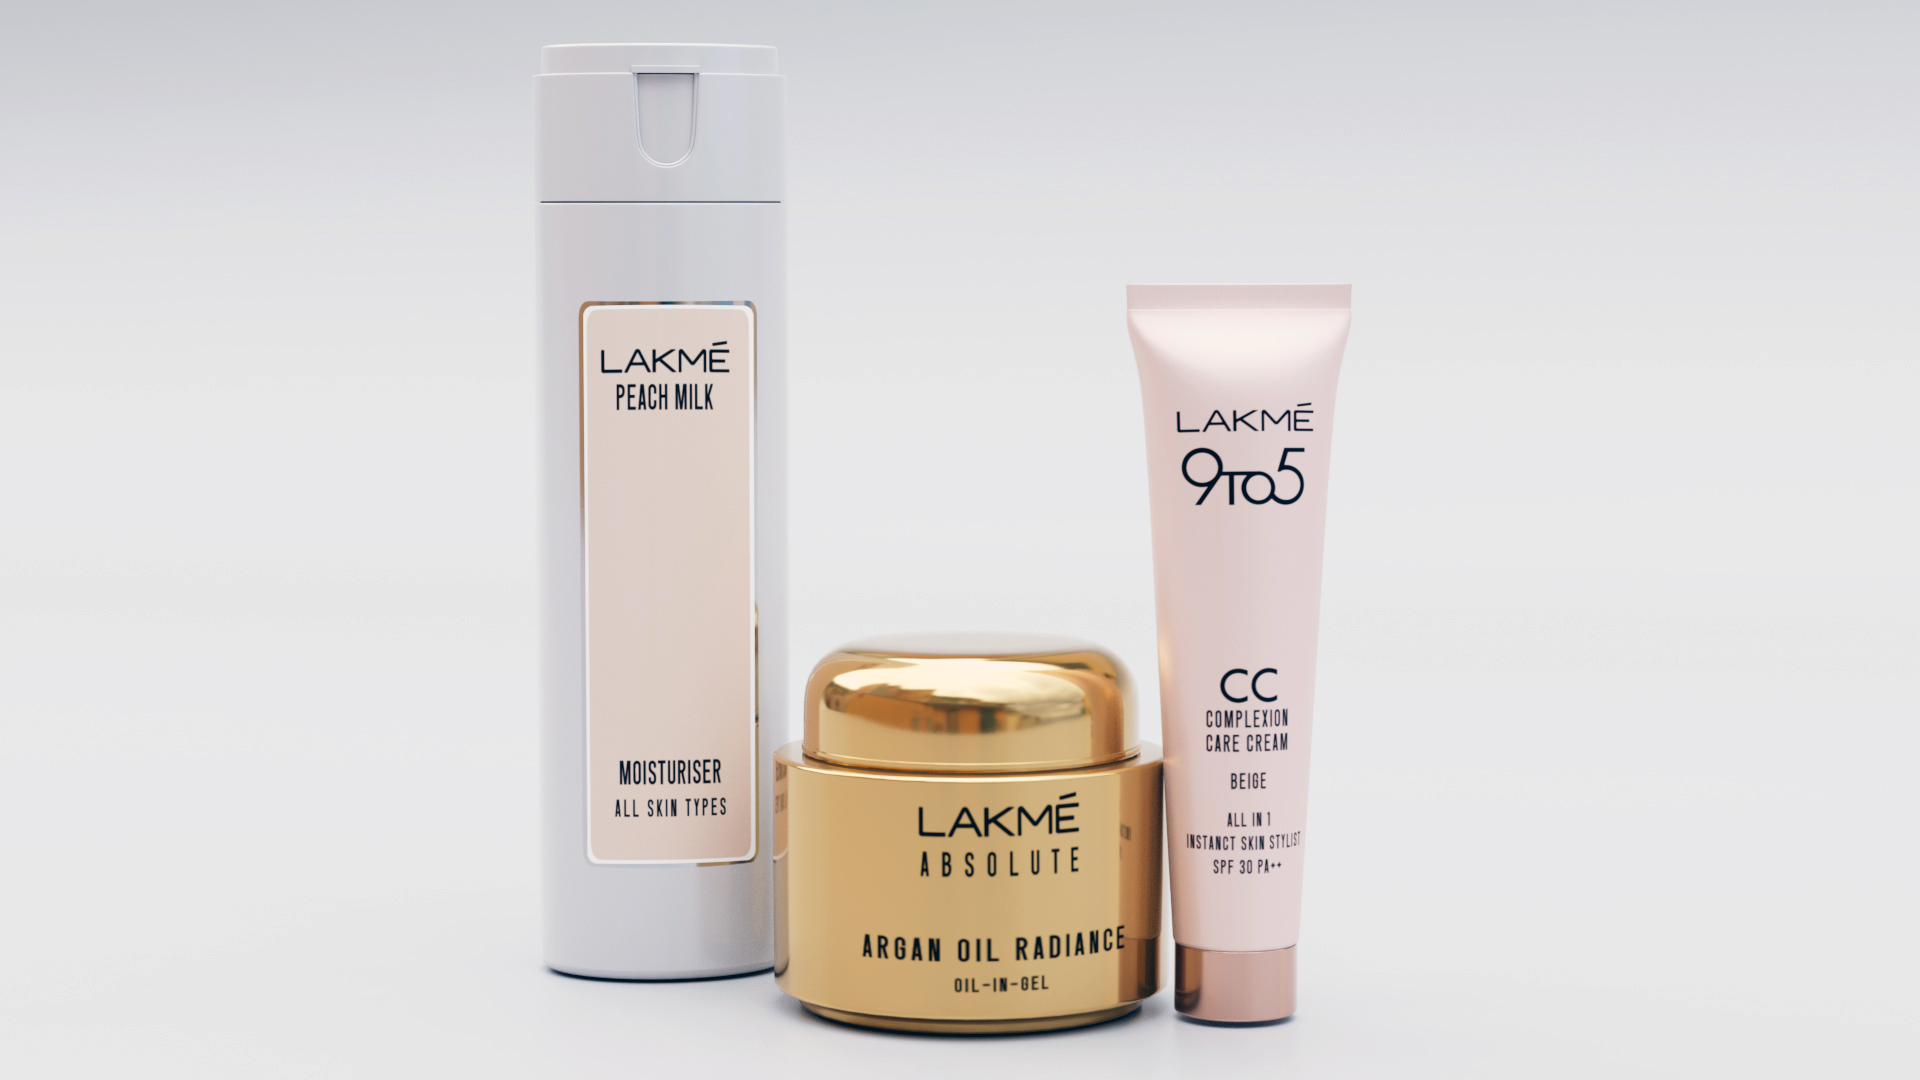
Model by The Motion Tree
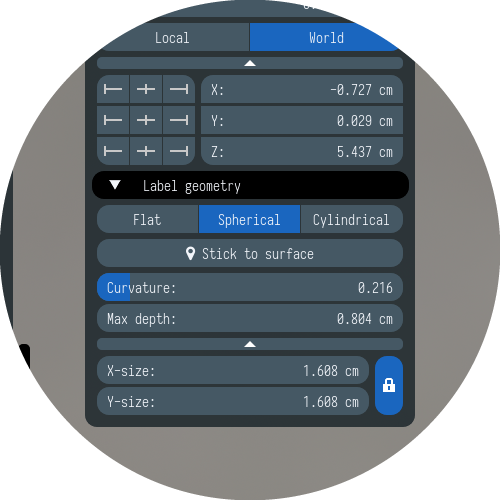
Labels are added through the Modeling widget by dragging and dropping them on the desired scene object. Light Tracer supports three types of labels: flat, cylindrical and spherical:

Each label type corresponds to a different surface shape, determining how the image projects onto the surface. For best results, the surface of the label should match the actual surface of the scene object. That ensures minimal distortions of the label's image, and so it will look natural. Here are some simple recommendations on adding labels:
- Use the Flat label for stickers on flat surfaces.
- Opt for the Cylindrical label for bottles or tubes.
- Choose the Spherical label for rounded object parts.
You can tune label’s geometry and projection parameters in Transform widget:
When you drag a label onto an object, it automatically aligns with its surface. For cylindrical labels, Light Tracer adjusts the label's orientation to match the axis of bottles or tubes. In the vast majority of cases, this works well. Only in rare, more complicated cases, you might have to adjust the orientation of the sticker manually.
Treat labels as you would any "normal" scene object. They can be moved around the scene with a 3D manipulator and/or using the Transform widget. At the same time, it is important to keep track of where the label’s surface is located, from which the image is projected. It should remain as parallel as possible to the actual surface of the object.
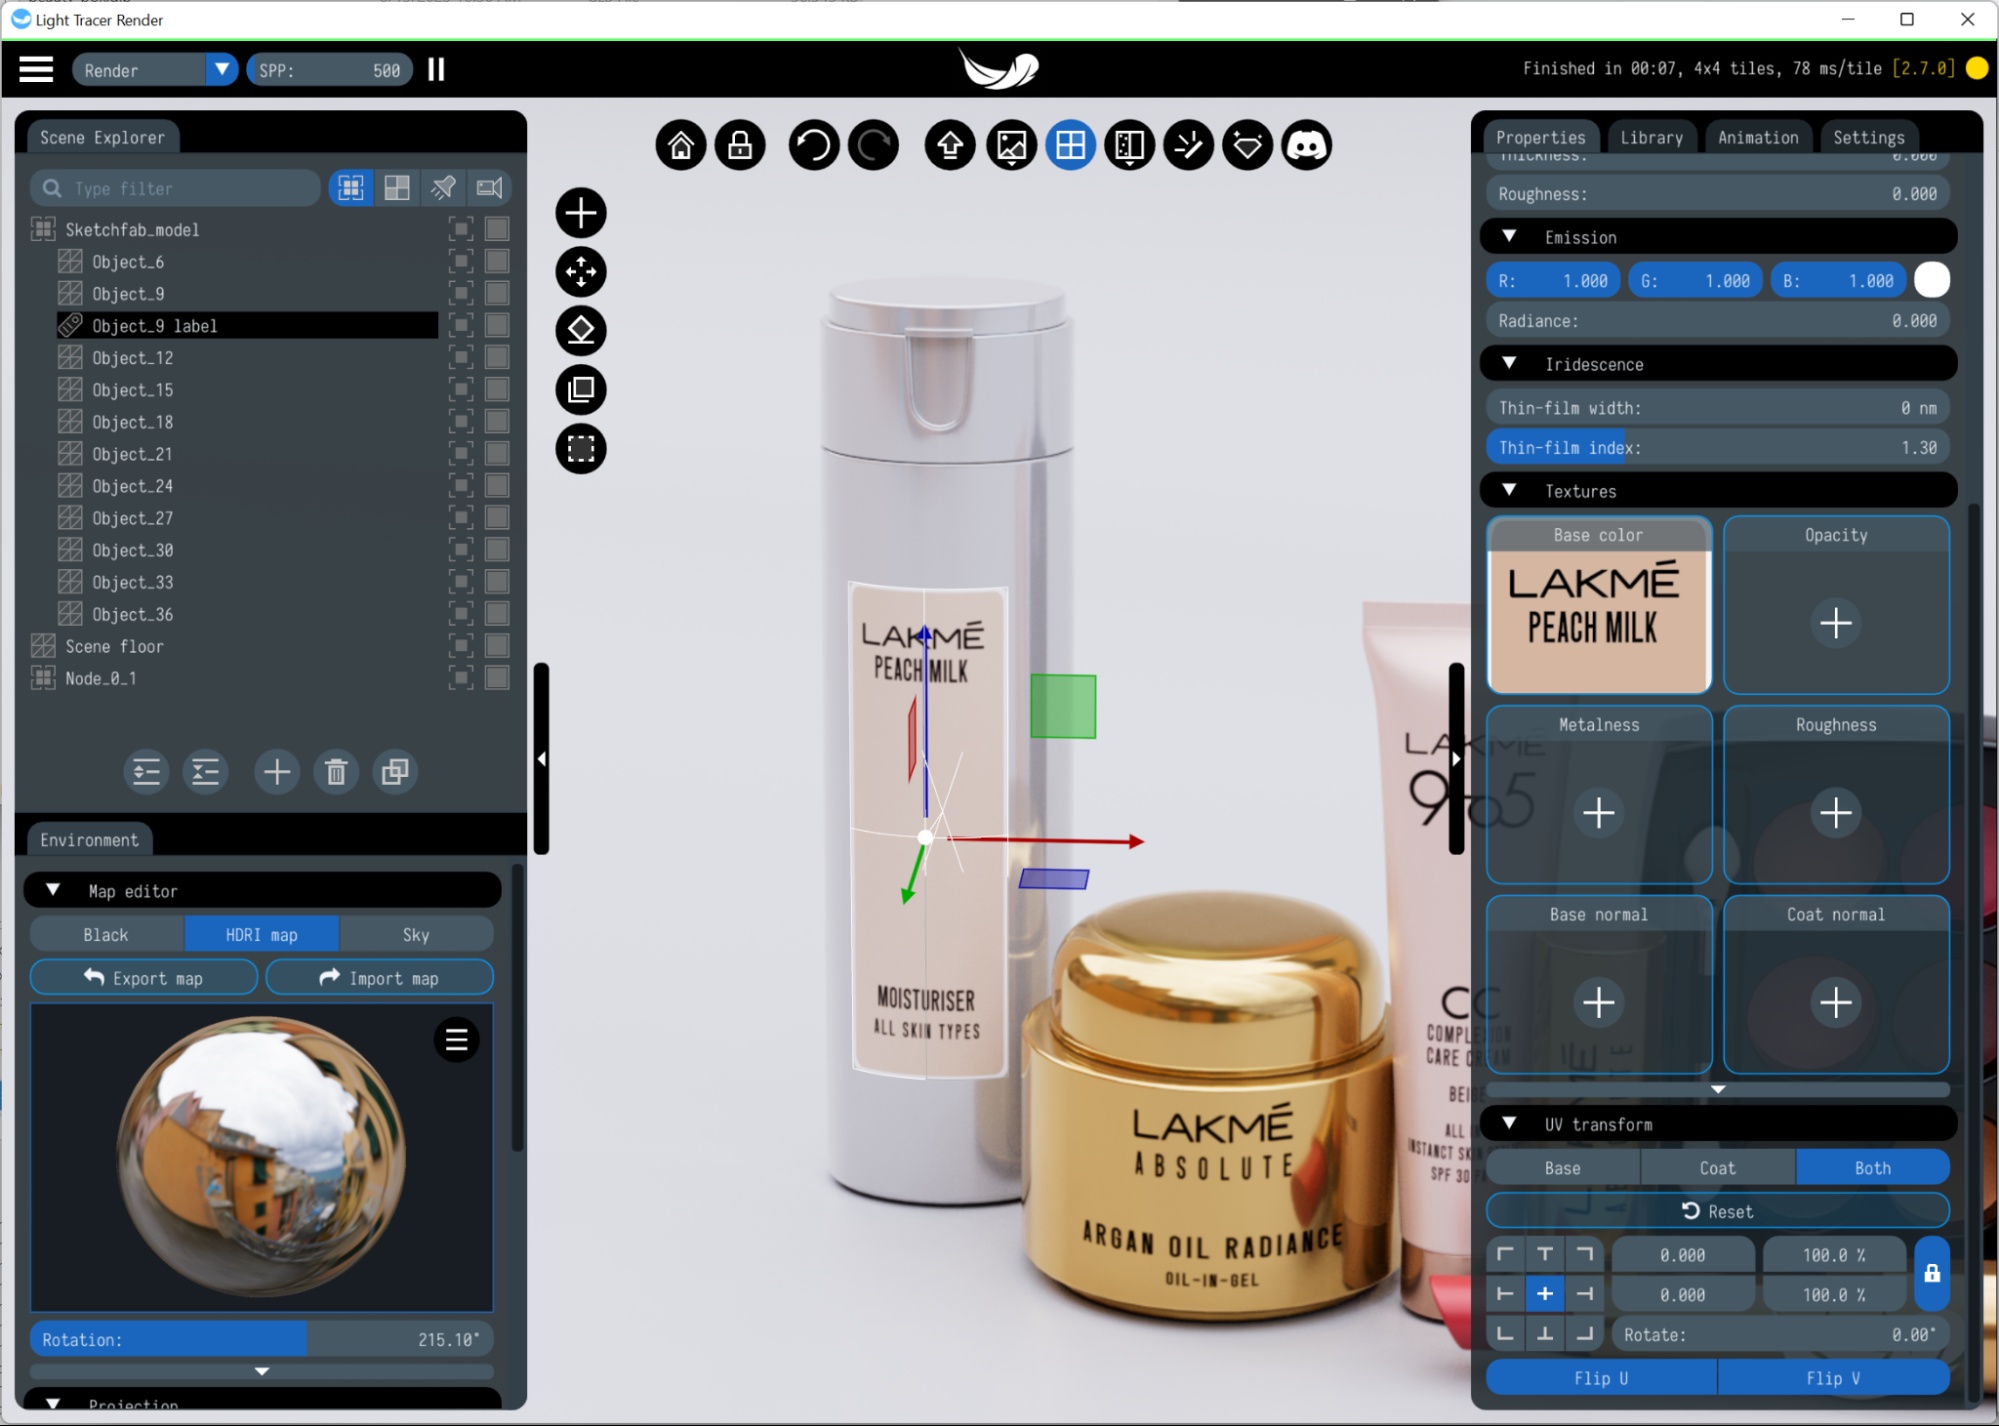
Just like other scene objects, you can edit a label's material in the Properties widget. There are no additional restrictions on what material a label can have. You can create regular stickers with the basecolor/opacity maps, embossed metallic labels using normal, metallic, and roughness maps, or even emissive labels.
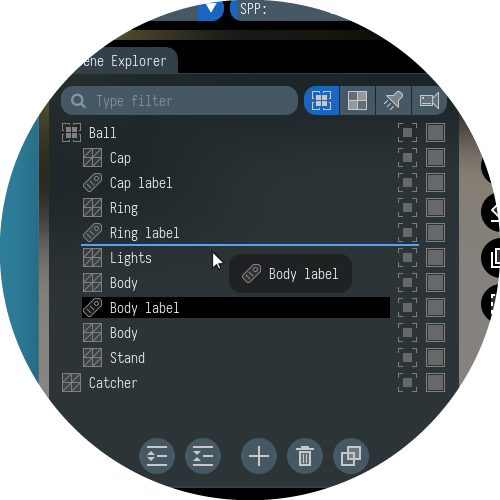
As with all scene objects, labels appear in the Scene Explorer. Note that the label only applies to the group of objects to which it belongs. Even if another group of objects is within the projection distance of the label, it will not apply to them. It is a handy isolation mechanism to prevent unnecessary leaks of label images. If multiple labels are at the same place (or partially overlap), their Z-order is determined by the order of label objects in the Scene Explorer. Just drag the labels in the Scene Explorer to set the desired overlay order:
You can now drag and drop any other objects in Scene Explorer, arbitrarily changing their order and moving between groups. You can also create a new empty group and put other objects inside it. This can be useful both for isolating labels and to simplify management of 3D scene.
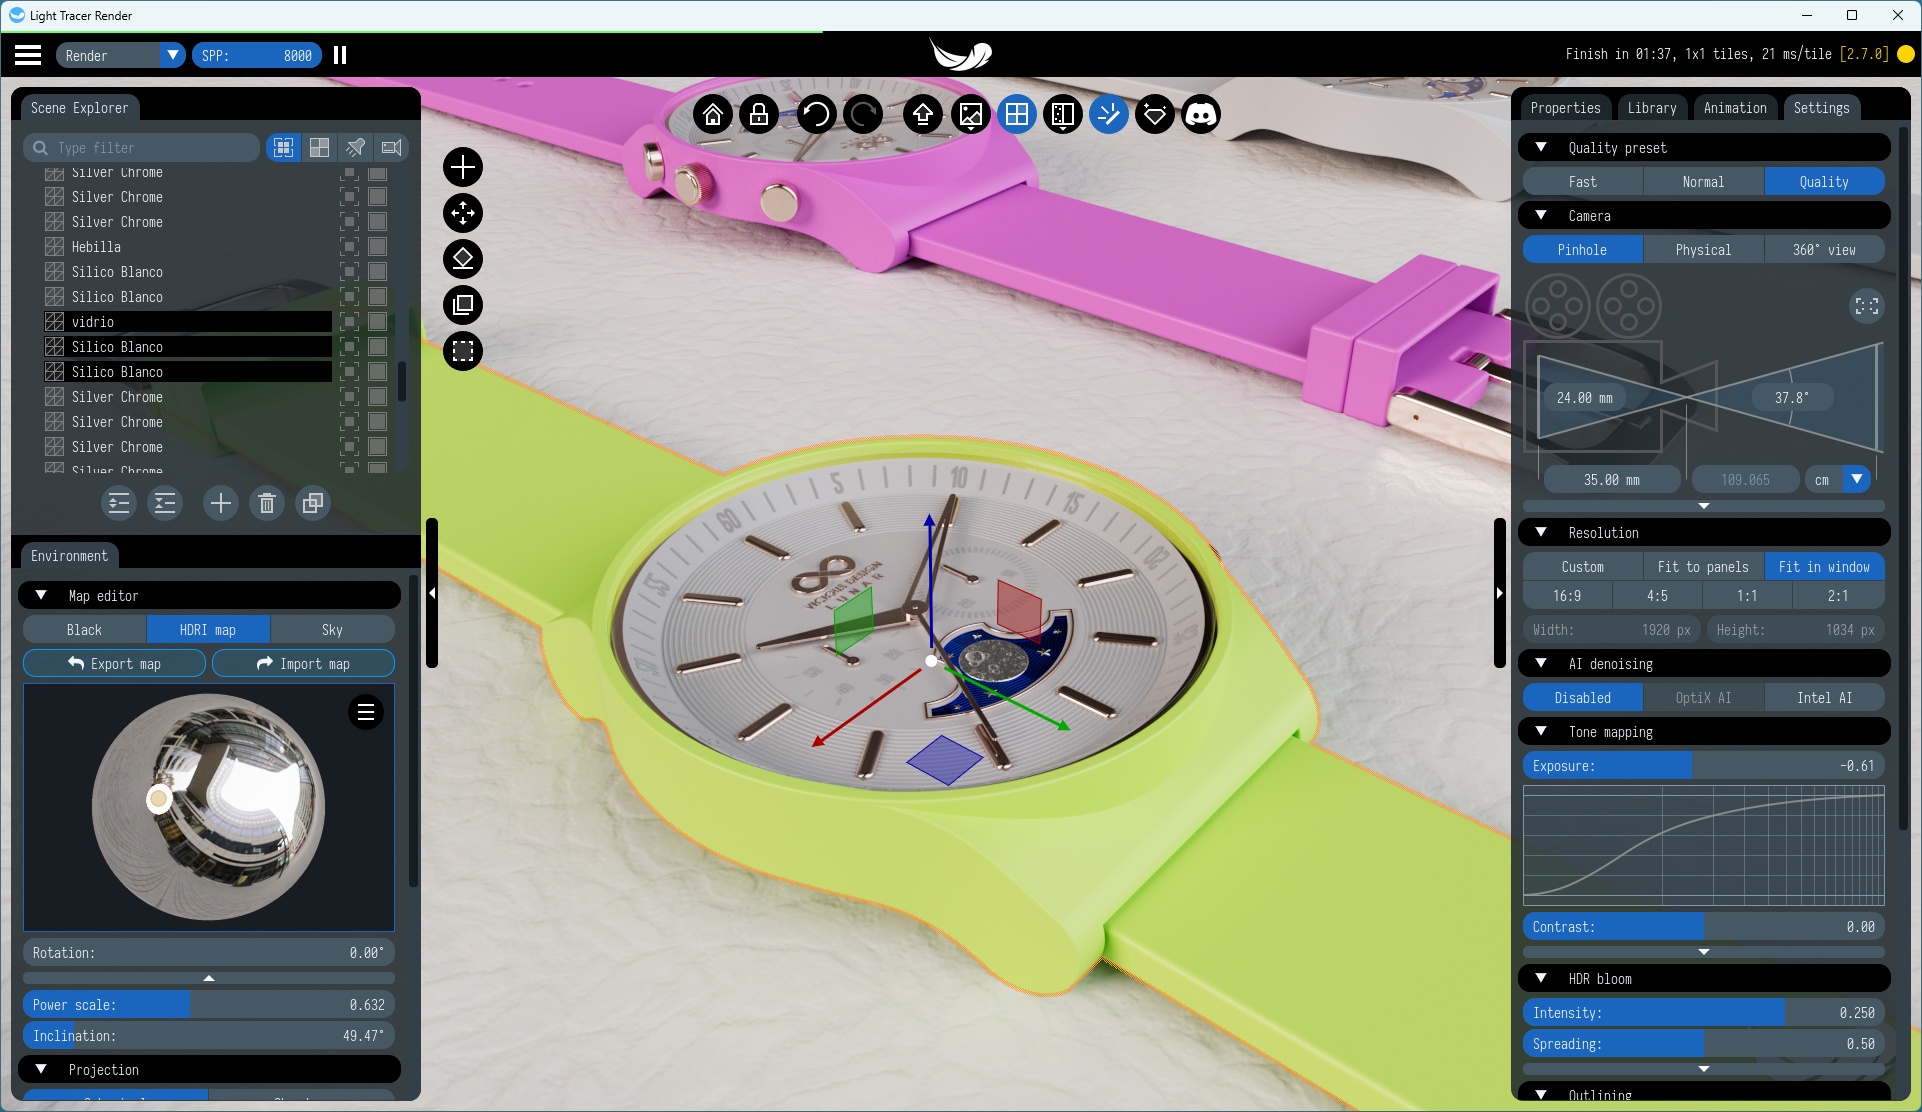
Parametric HDRI lights
Traditional HDRI lighting, while powerful, is based on static image maps. These maps, often captured photographically, represent real-world lighting conditions. While they offer realism, they lack flexibility. This is where HDRI editor comes into play.
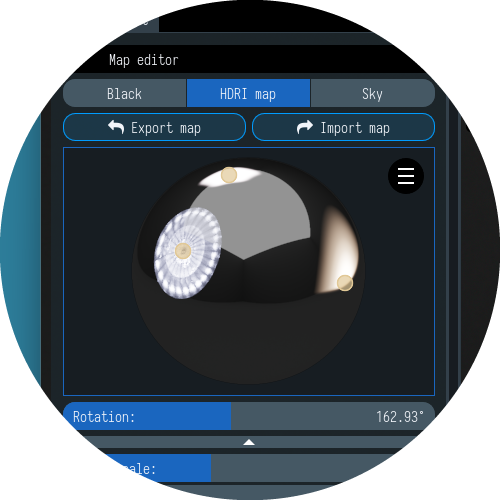
Light Tracer Render enables you to seamlessly modify HDRI environments by adding extra light sources available in the Library tab. In addition to real-life image-based emitters, the latest release also introduces parametric lights of typical shapes. Simply add new light emitters using ‘Plus’ button in the Scene Explorer, and edit it Properties tab:
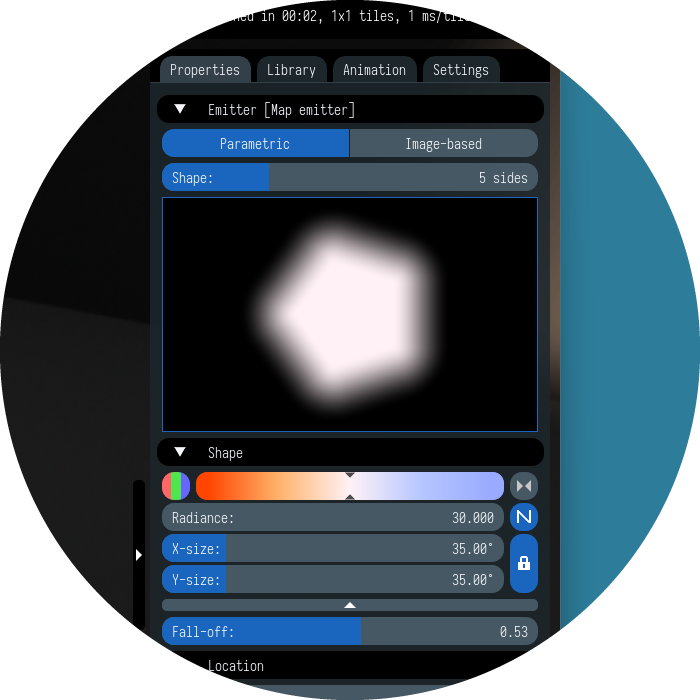
Here, you can adjust emitter’s size, color temperature, intensity fall-off, and more. With the new parametric controls, custom fine-tuned illumination becomes possible, giving artists unparalleled control over their environments.
Selection outlines
In the realm of 3D rendering, precision and clarity are paramount. Recognizing this, Light Tracer Render introduces the "Selection Outlines" feature in its latest release.
Selection outlines are visual indicators that highlight the boundaries of a selected 3D objects within your scene. Think of them as a dynamic contour that wraps around your selected item, making it instantly recognizable amidst a complex environment.
The Selection Outlines feature is yet another testament to Light Tracer Render's commitment to enhancing user experience. By providing a clear visual cue, it ensures that artists can work with confidence, accuracy, and efficiency. Dive in, try it out, and experience the difference firsthand!
Physics Enhancements
The latest release brings significant advancements to physics simulations. By constructing more accurate collision bodies for dynamic scene objects, Light Tracer Render ensures that interactions between objects in your scene are more realistic and true-to-life. This precision in collision detection and response means fewer simulation artifacts, more predictable object behavior, and an overall boost in the quality of dynamic animations and interactions.
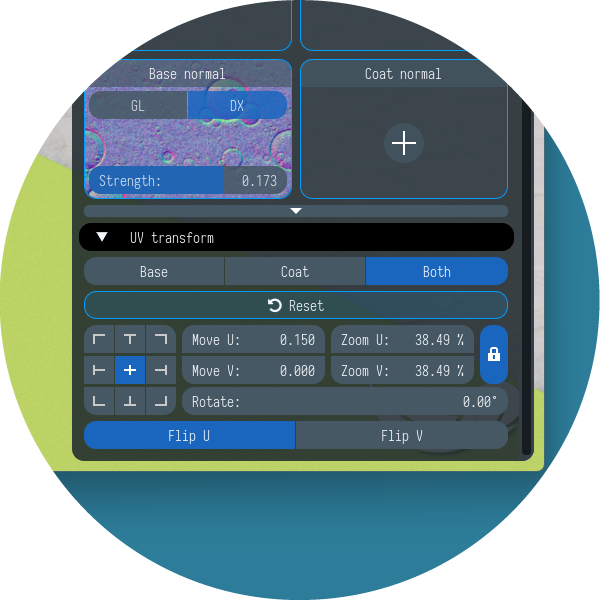
Texture flip
Ever imported a texture map only to find it's mirrored, making text unreadable or designs appear reversed? Now you can flip UV coordinates to quickly fix it. Especially crucial for labels, which often feature text or logos, this tool ensures your visuals are always presented as intended. With a simple action, you can correct any inadvertent mirroring, ensuring clarity and accuracy in your renders.
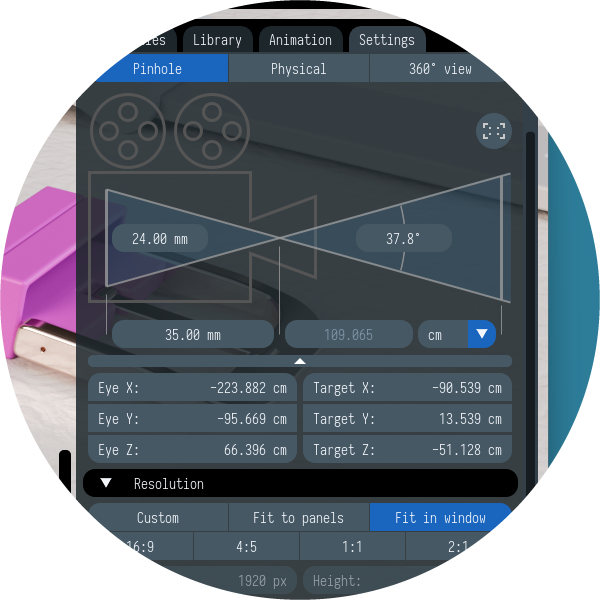
Camera eye/target
Crafting the perfect render isn't just about the objects and lighting; it's also about capturing the right perspective. In some cases there is a need for more precision and customization, and new update introduces the ability to manually set the camera position and target point. Additionally you can export and import view points to the file (in the Views tab of Scene Explorer).
With the latest update of Light Tracer Render, we're confident you'll craft even more breathtaking images of your 3D projects. Your insights and feedback drive our innovations, and as always, they're highly valued. Have queries or need guidance? Don't hesitate to reach out in our Discord community. We're here to support and celebrate your creative journey!