Tutorial: Outlines rendering
This tutorial shows you how to quickly add outlines to your renders
Non-photorealistic rendering (or NPR), such as cartoon and painterly rendering, provide artists with greater opportunities to express their unique styles. In the new 2.6.0 release of Light Tracer Render, you can now combine physically-based path traced effects with traditional NPR features, such as object outlines. Line strokes are useful for technical illustrations, architectural designs, scientific diagrams, as well as cartoons and sketches.
Watch the quick video or read the full post bellow.
Start using Light Tracer Render today
Setup 3D scene
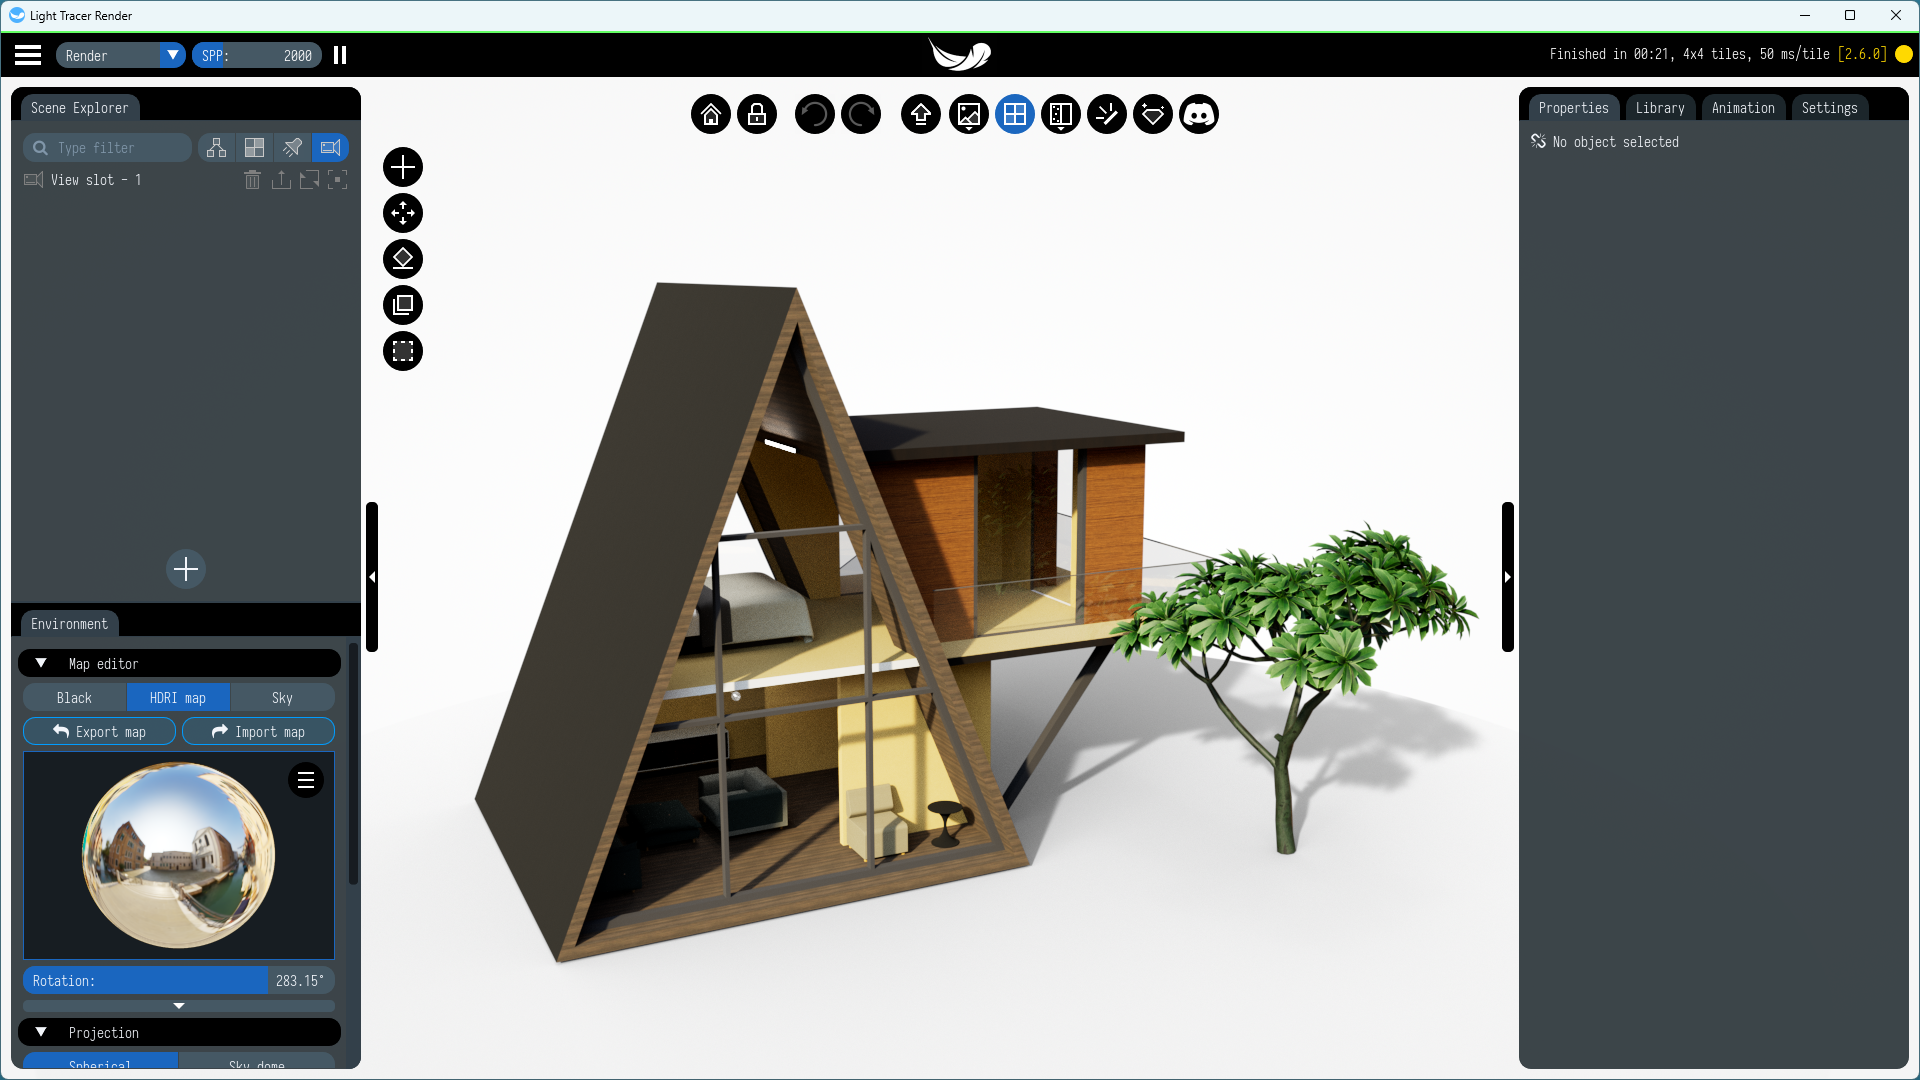
Let's take a look at how this works with the “Tent house” SketchUp model designed by Harsh Khunt. Light Tracer supports the direct import of SketchUp models, so you can simply drag and drop them into the app. After tweaking the lighting a bit and adding the ground, we get something like this:
Outlines mode
To enable outlines, select Outlines mode from the display modes dropdown menu.
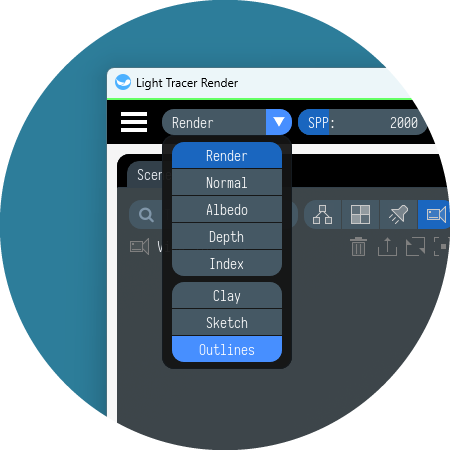
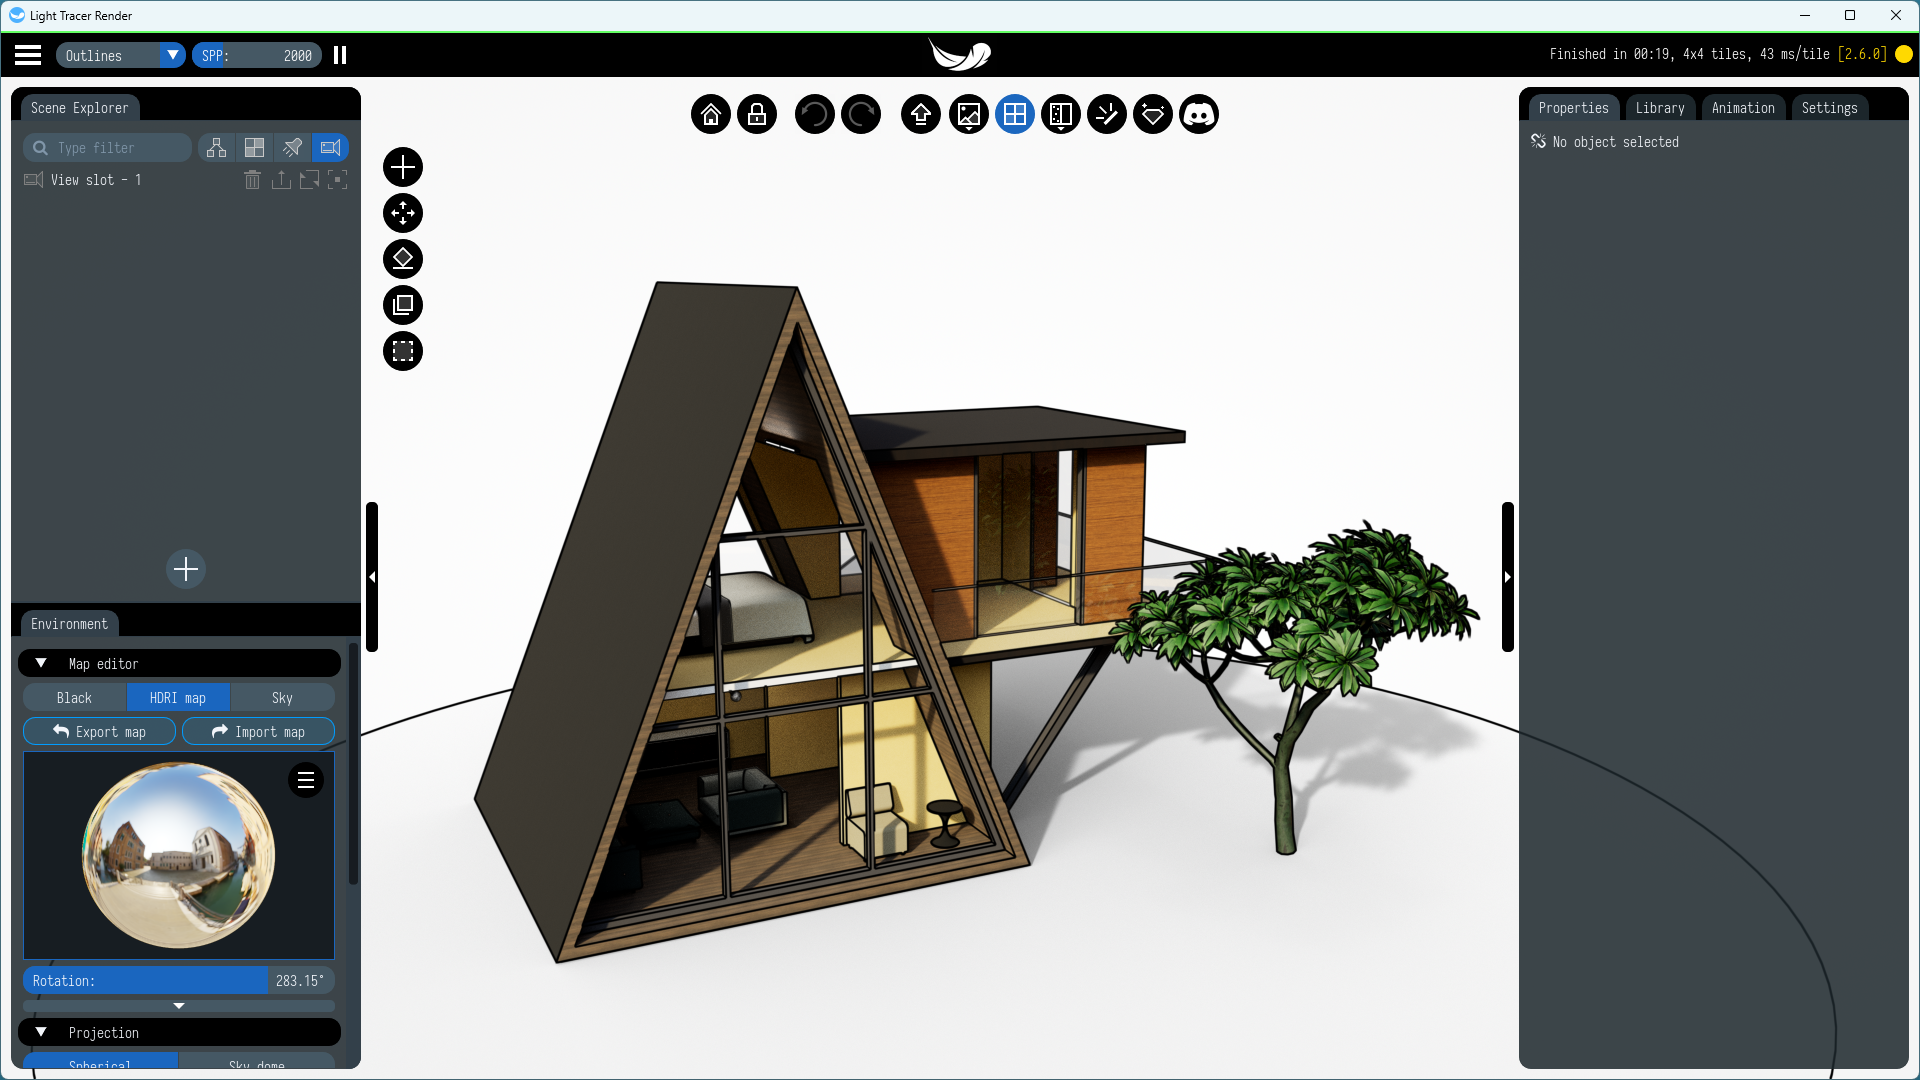
This mode allows you to keep the path-traced image and adds outlines over it. By default, in this mode, all contours and features of the model are outlined with black lines. The result is this:
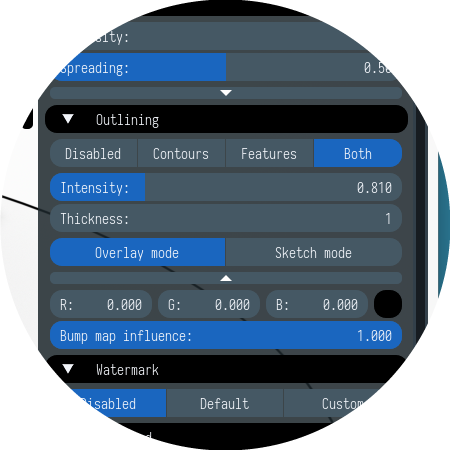
Afterward, if needed, you can configure stroke parameters in the Settings tab on the right. For instance, you can adjust the thickness, intensity, and color of the lines. Additionally, you can choose between drawing only silhouettes (Contours mode), outlining model creases (Features mode), or both (Both mode). In most cases, it is preferable to use the Both mode to best convey the shape of the model.
Sketch mode
For a more technical look, let’s try the Sketch mode (in the display modes dropdown menu). In this mode, you'll see only outlines without any shading:
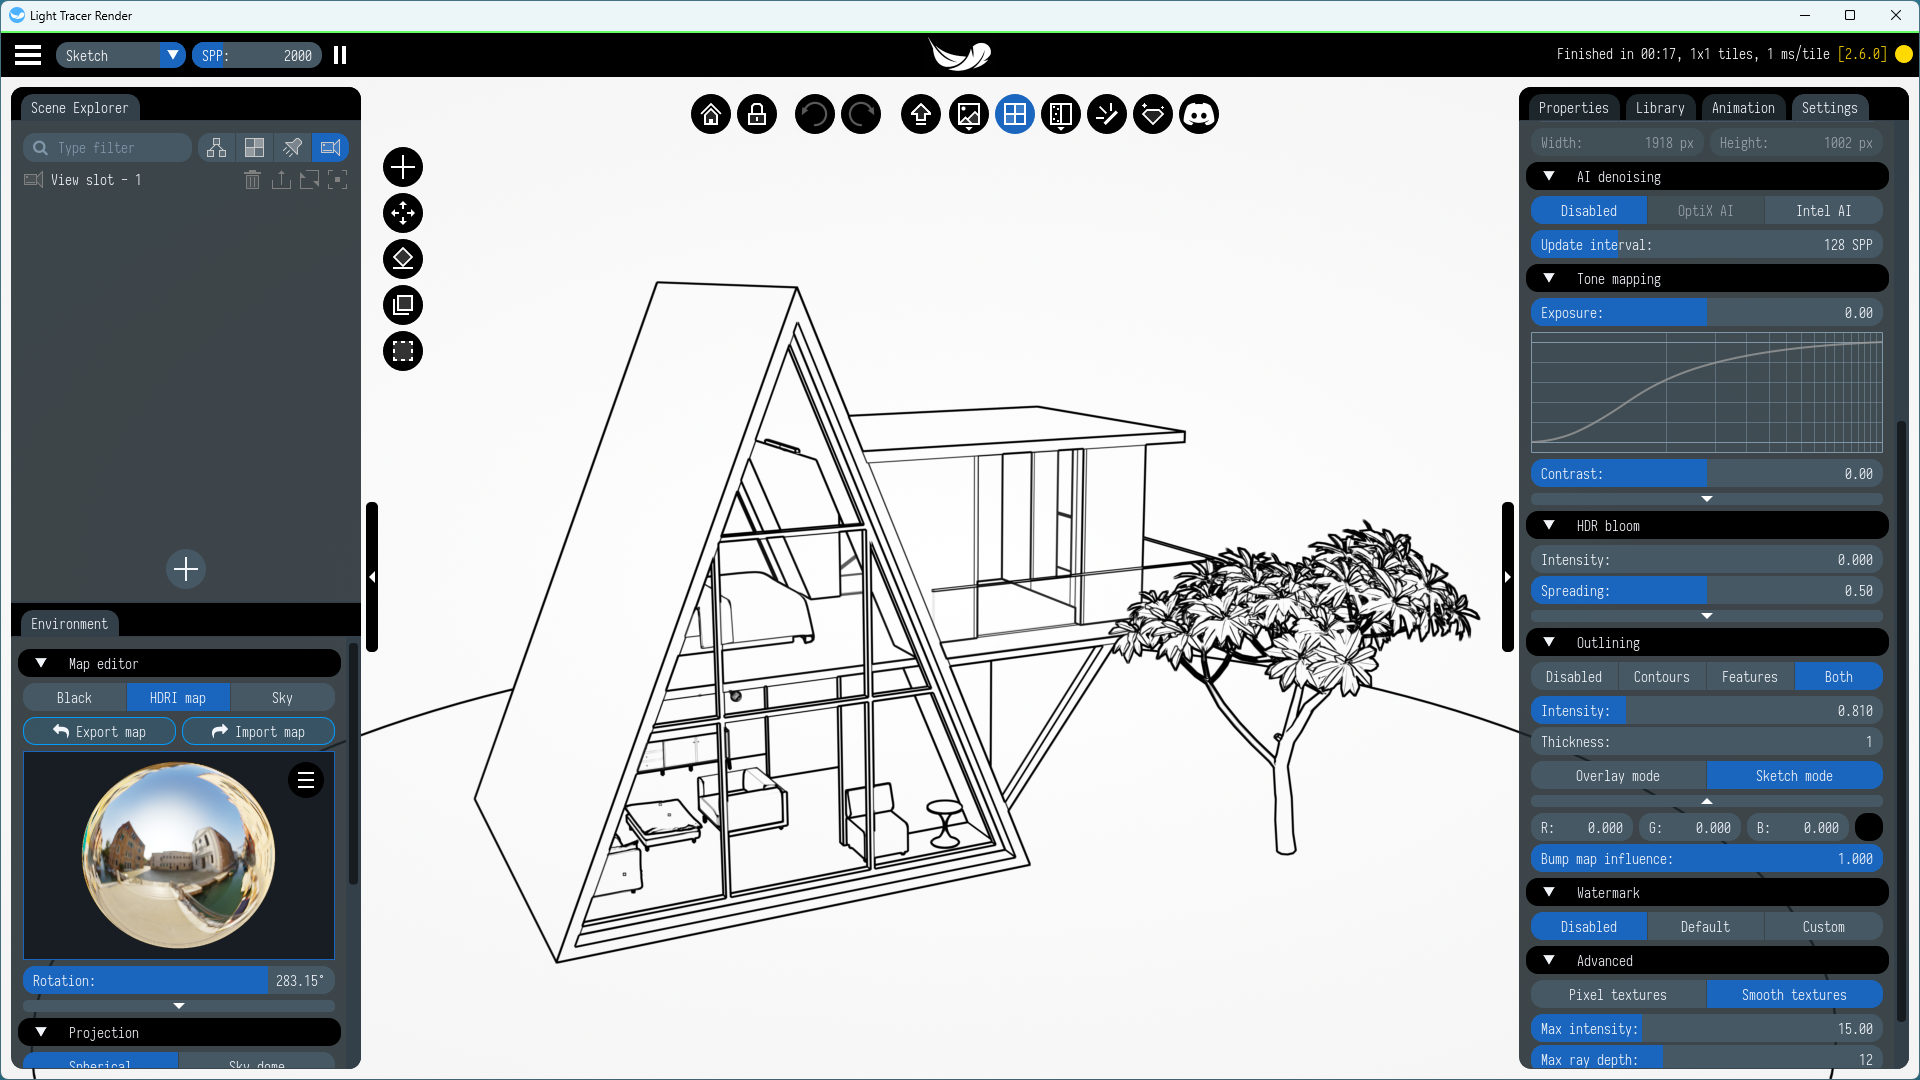
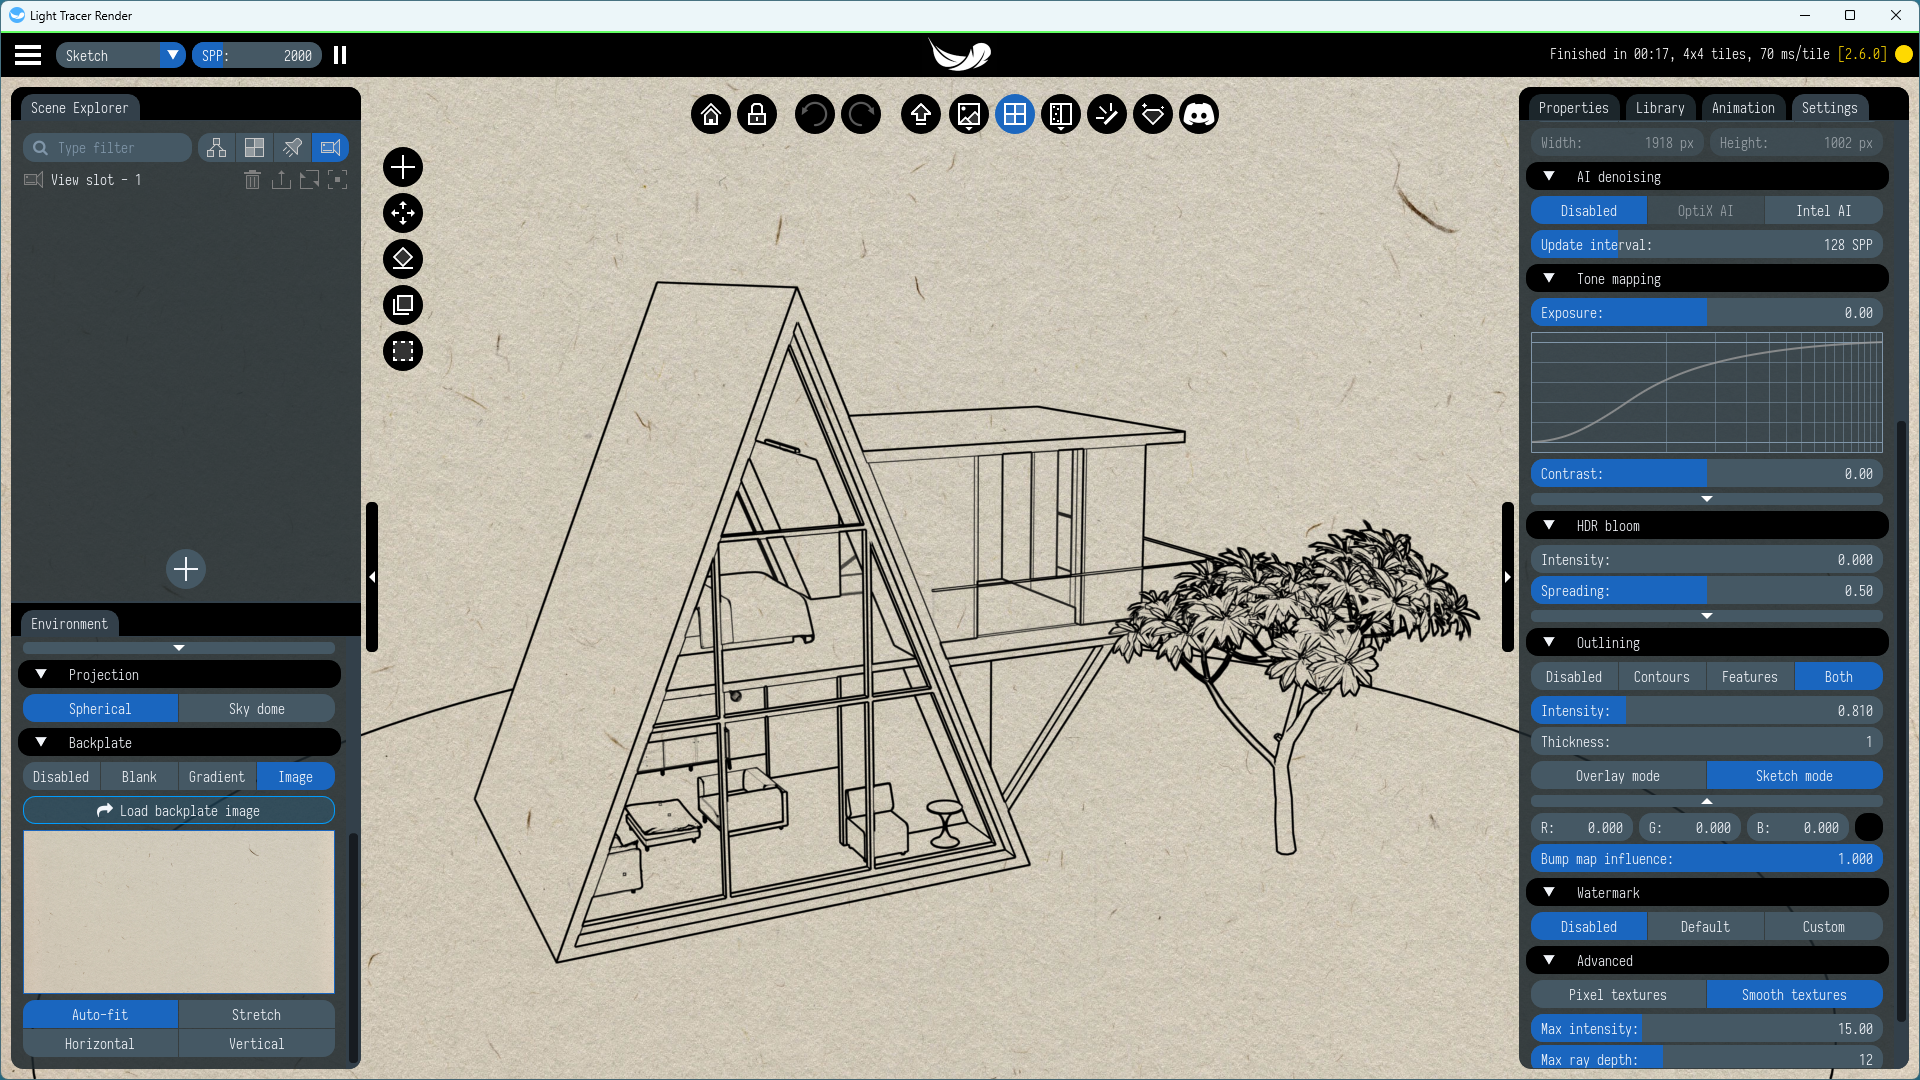
Sketch mode is designed to work with a backplate; you can set up a solid color or a fully transparent backplate, making it easy to integrate the drawing into presentations or documents:
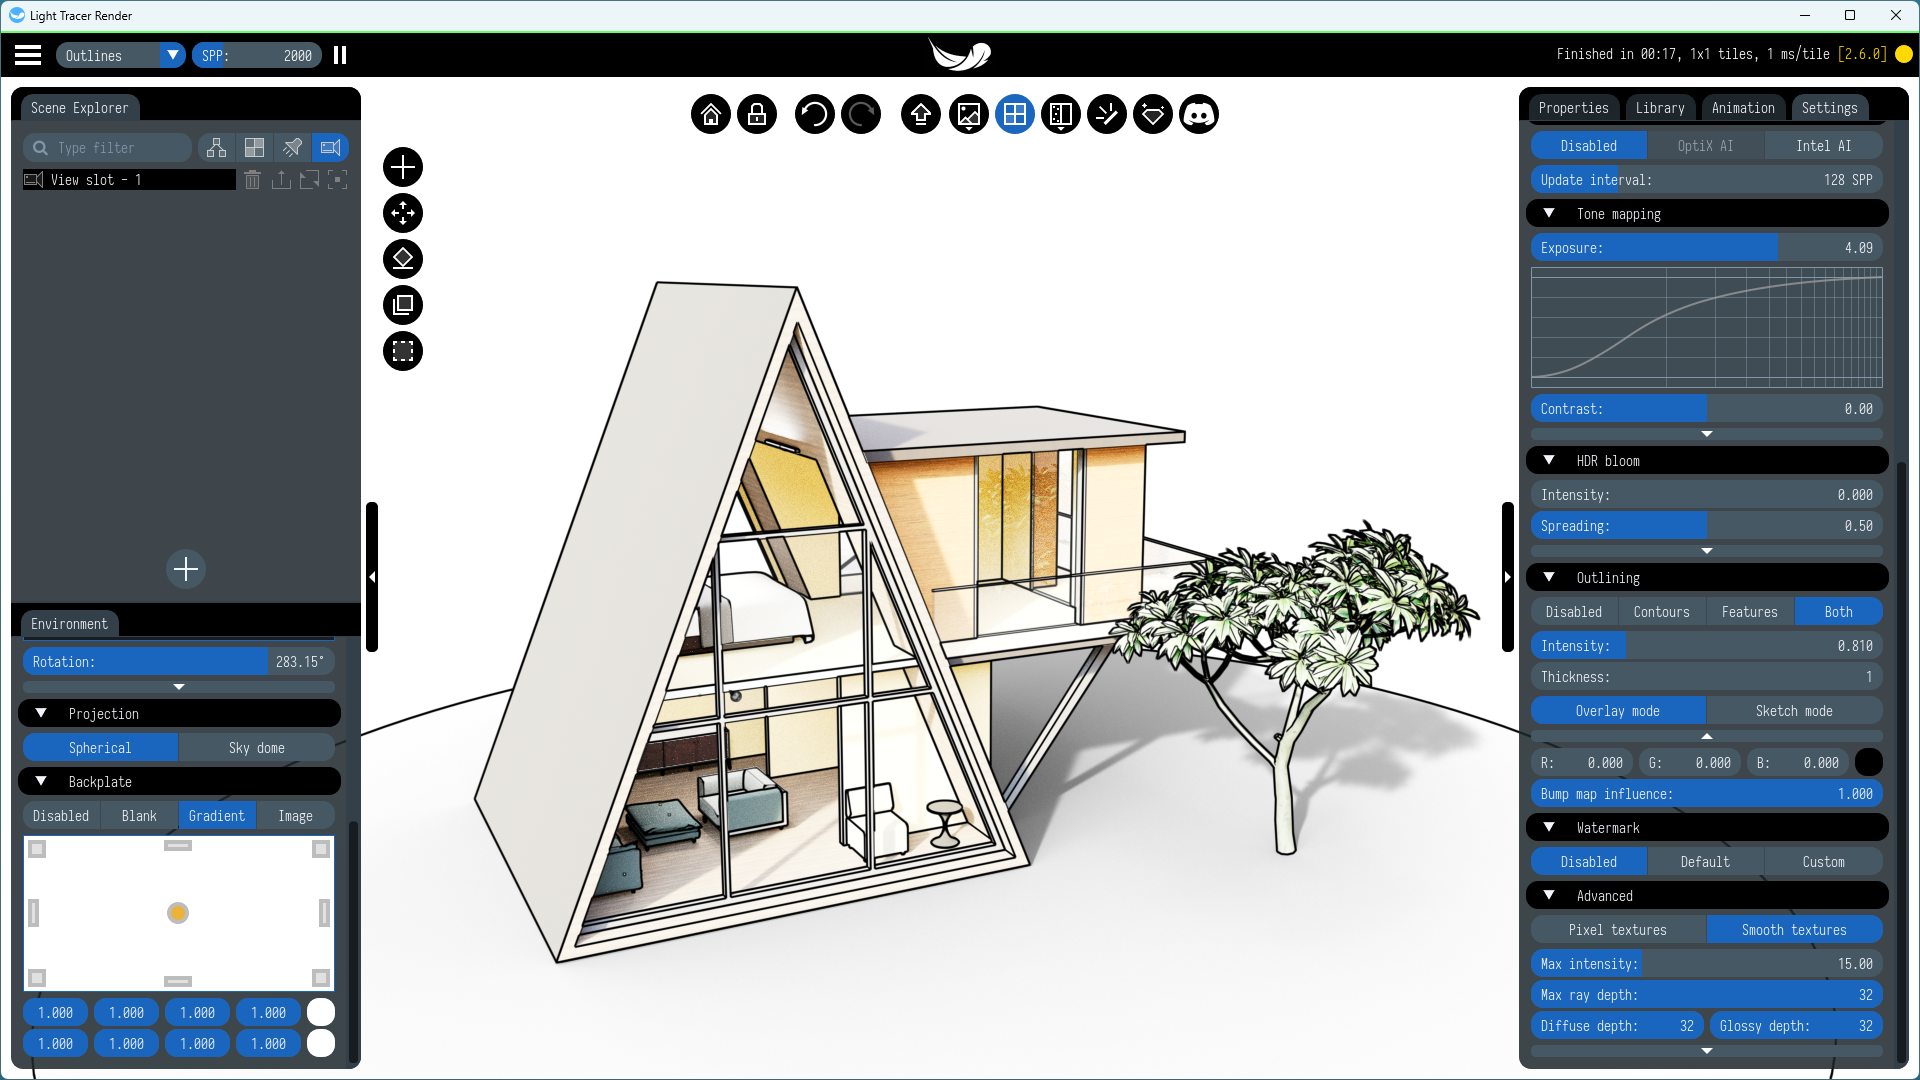
There is another trick with which you can achieve a little cartoonish effect. You can overexpose your render to achieve soft and desaturated colors that fall somewhere between a render and a pure sketch. For that purpose, just increase the Exposure parameter on the Settings tab:
Normal maps
Keep in mind that if the model has a normal map, like the gearbox model below, it will produce outlines based on normal map features (of course, if Features or Both mode is selected):
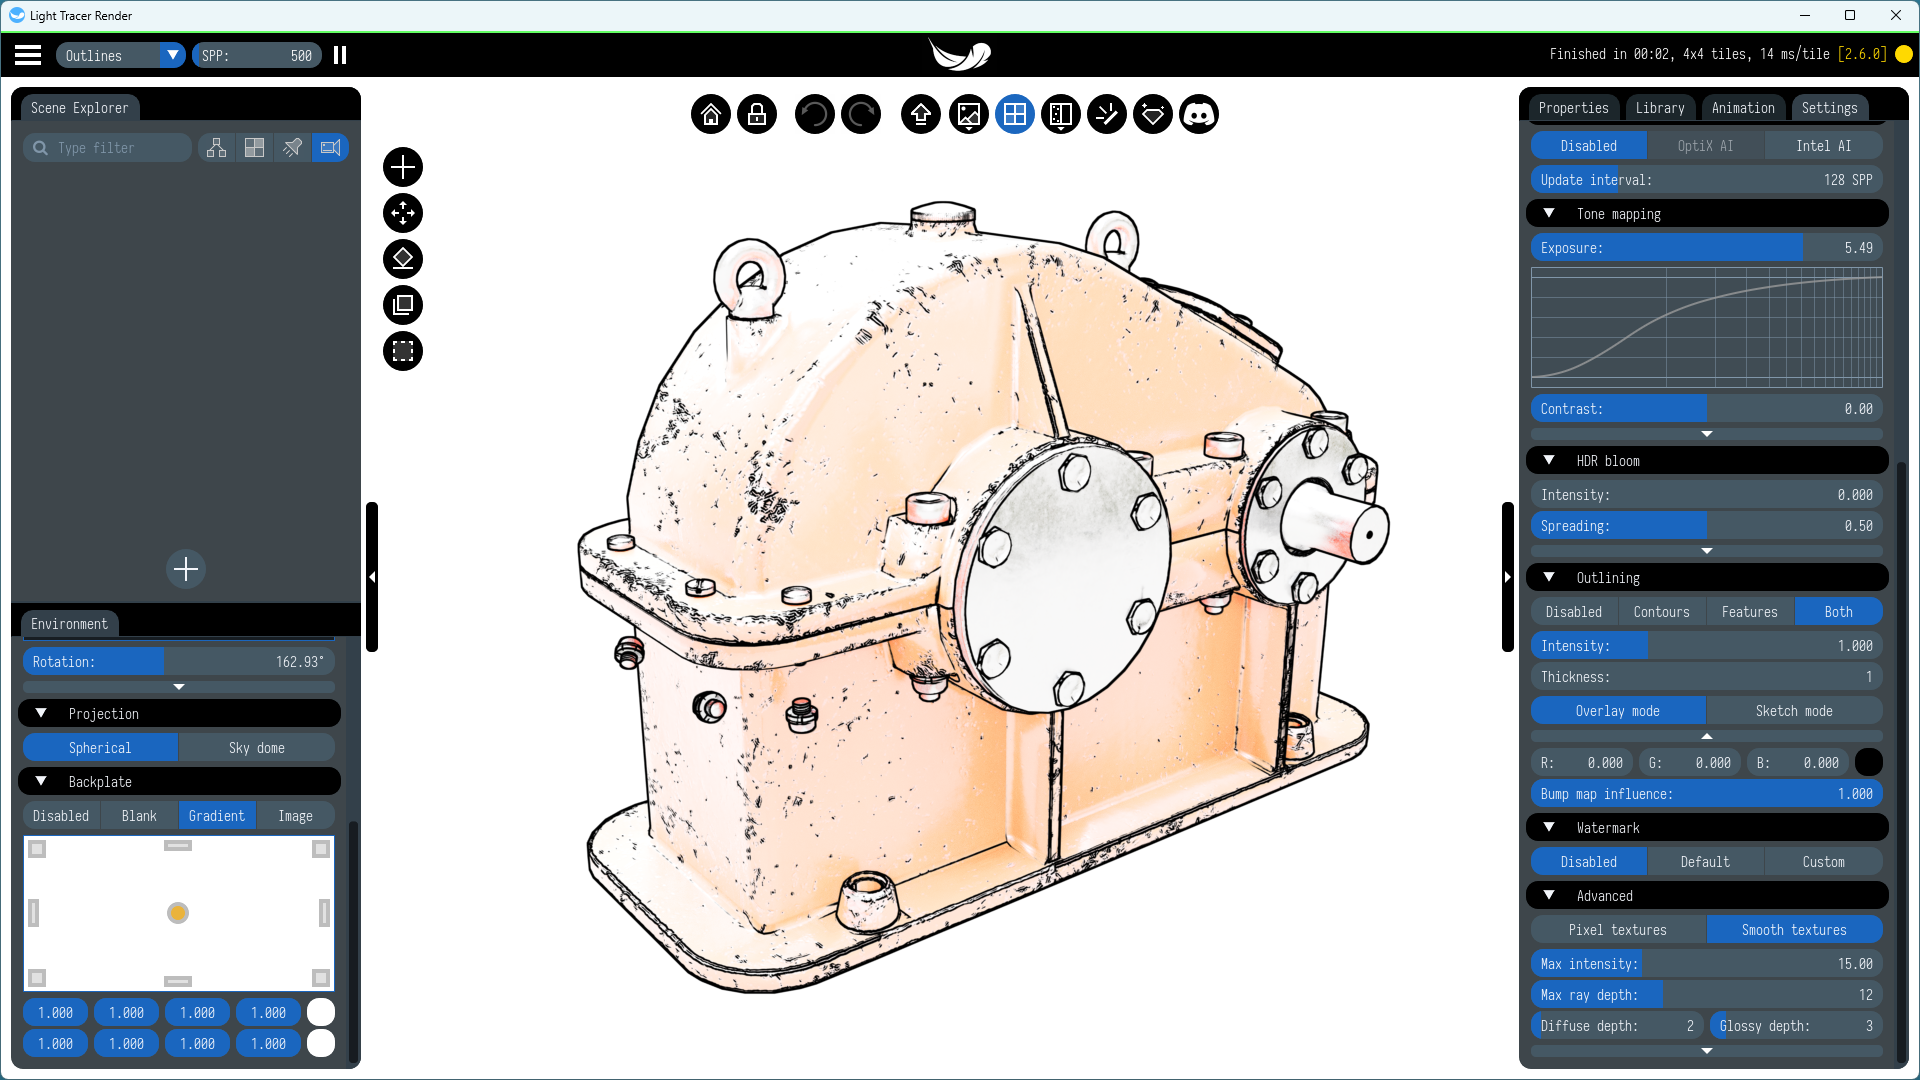
However, you can adjust the influence of the normal map on outlines by changing the Bump map influence parameter:
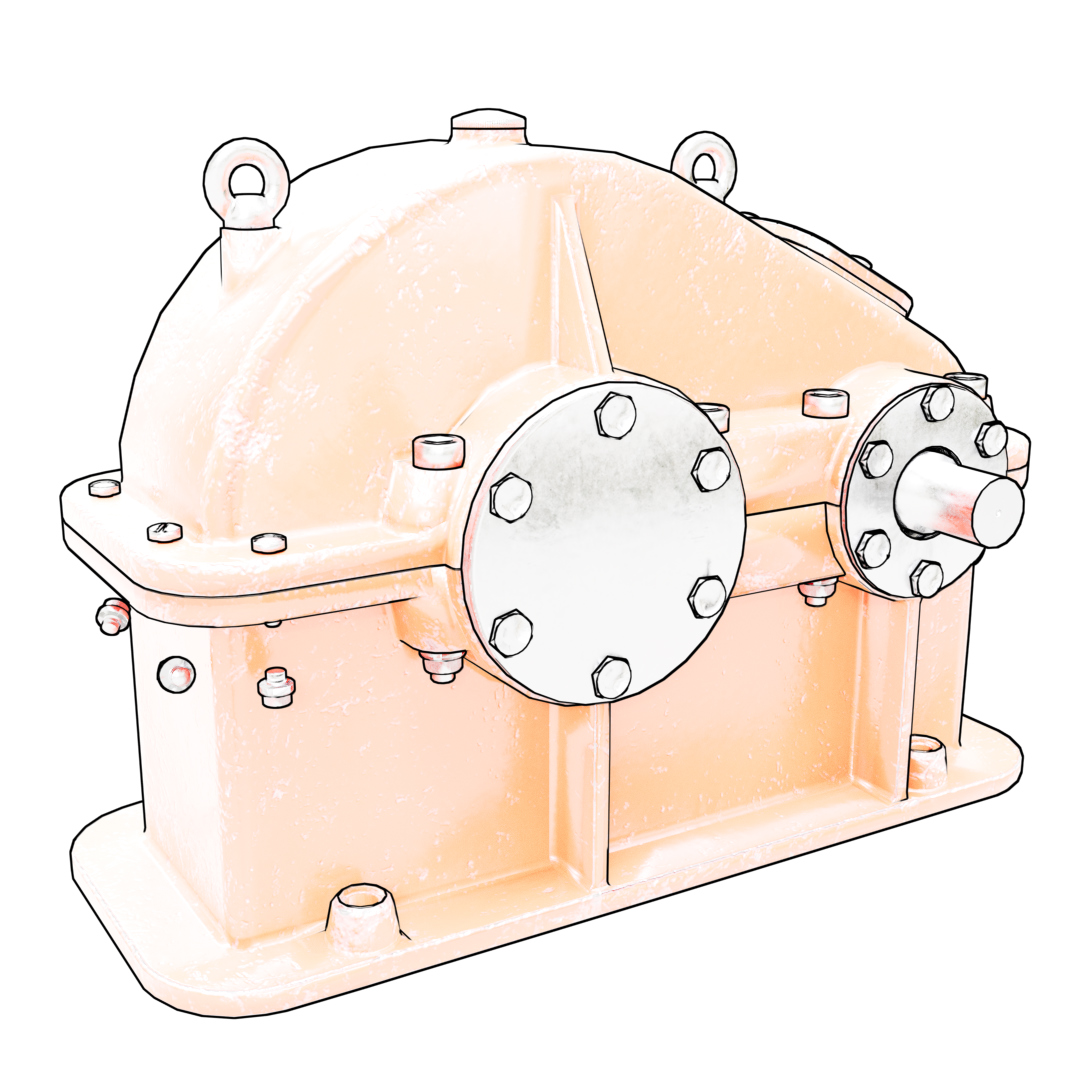
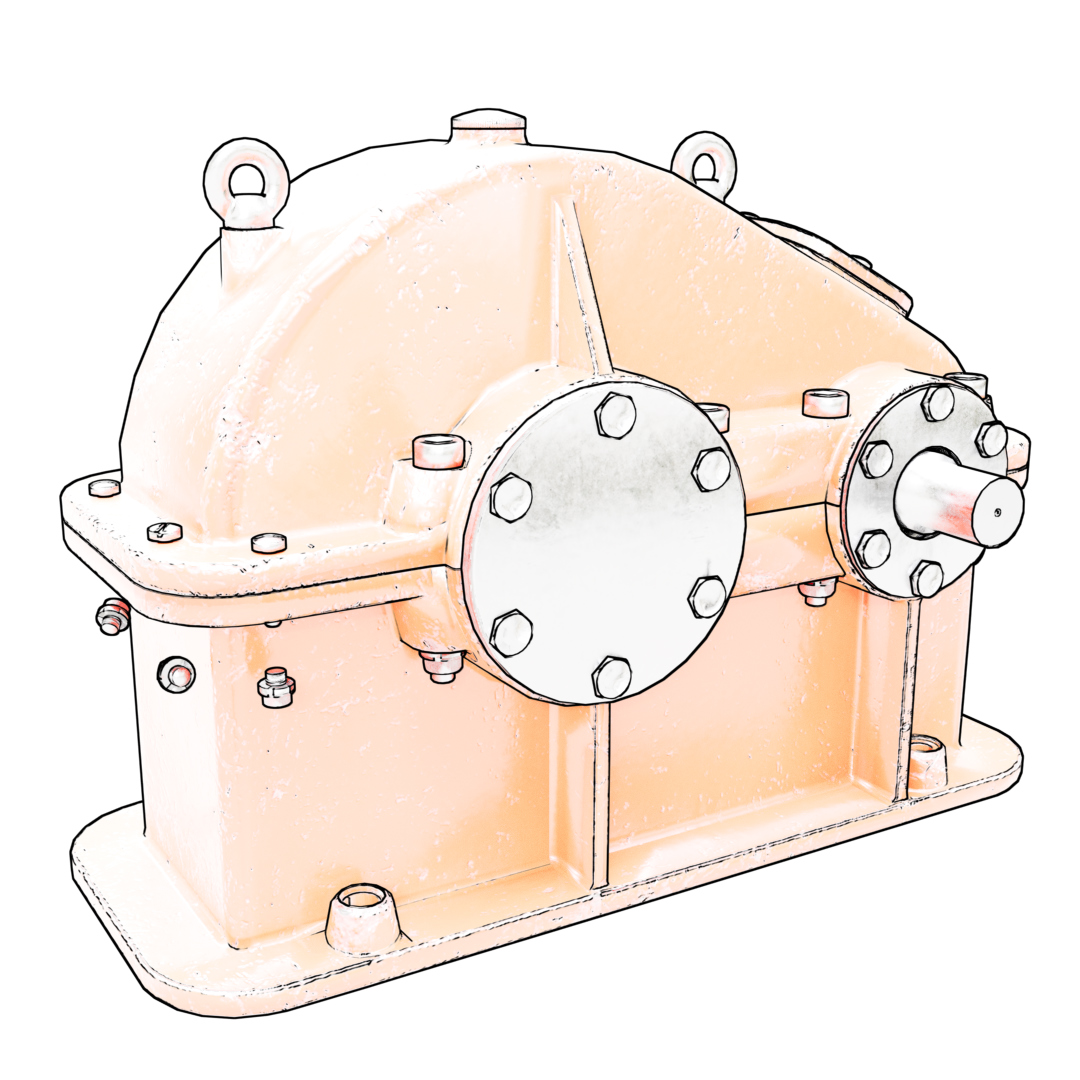
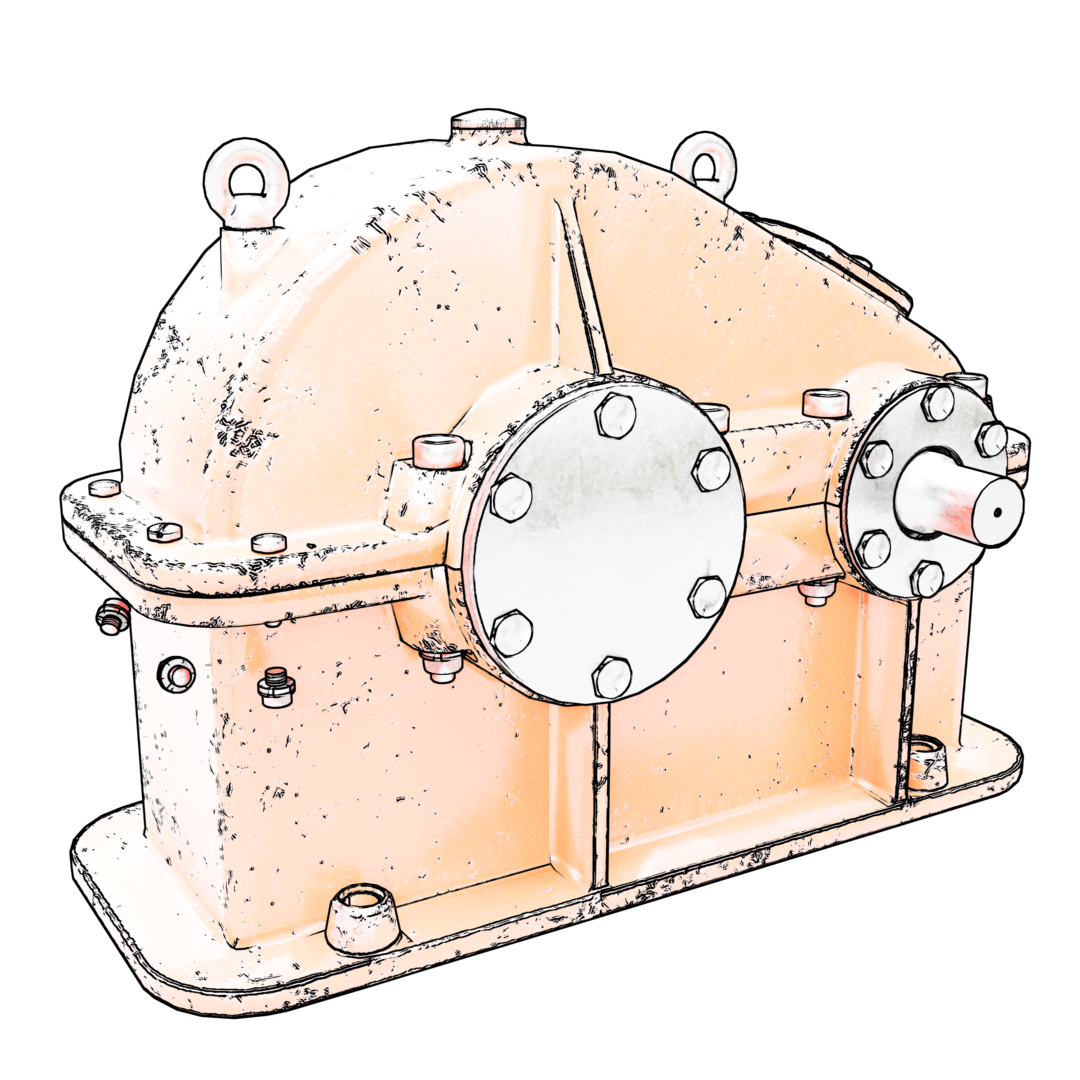
If influence is set to 0, then normal map features will not be outlined at all. As the parameter increases, the features will show up more strongly.
We are looking forward to seeing your renders! Feel free to ask any questions in our Discord community!