Tutorial: Overlay render onto a photo
To effectively showcase jewelry designs before manufacturing, it's often beneficial to illustrate how they would look on people. Today, we'll attempt this using Light Tracer Render (LT for short), along with some other freely available tools, while keeping the process as straightforward as possible.
Start using Light Tracer Render today
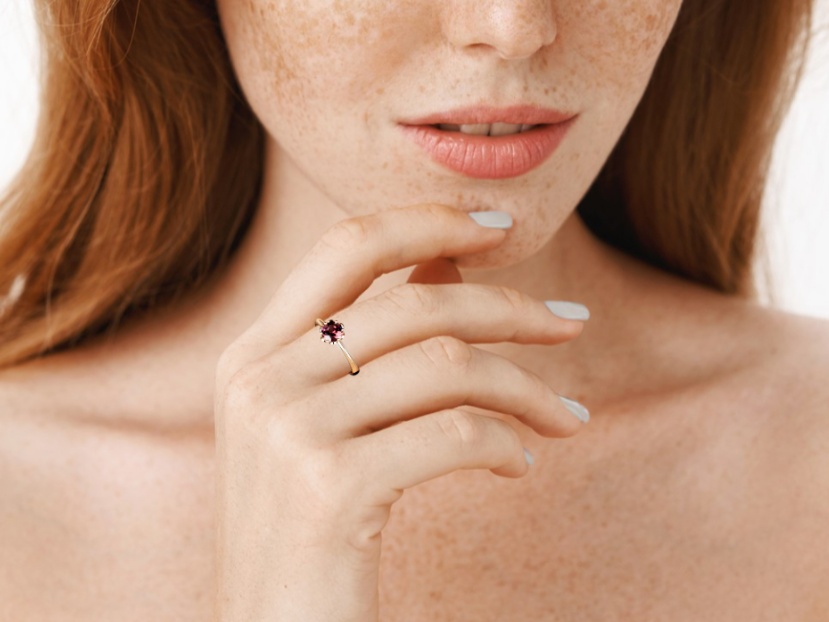
First, we need a photo or perhaps an AI-generated image of a model. For this, we've chosen a photo from Freepic.
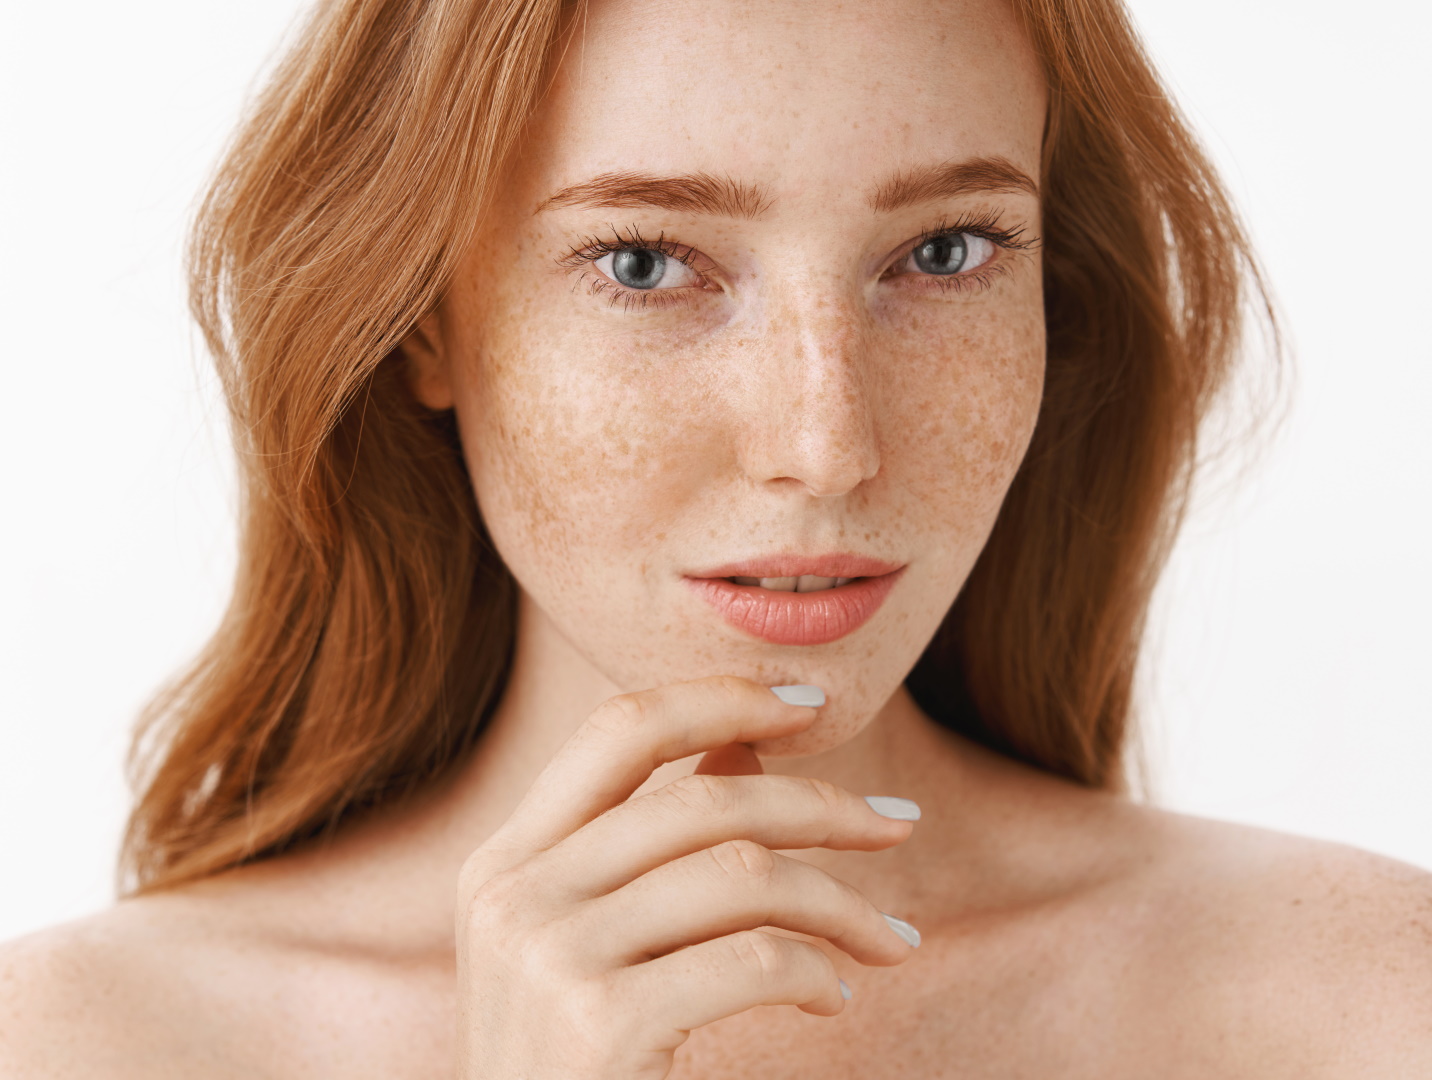
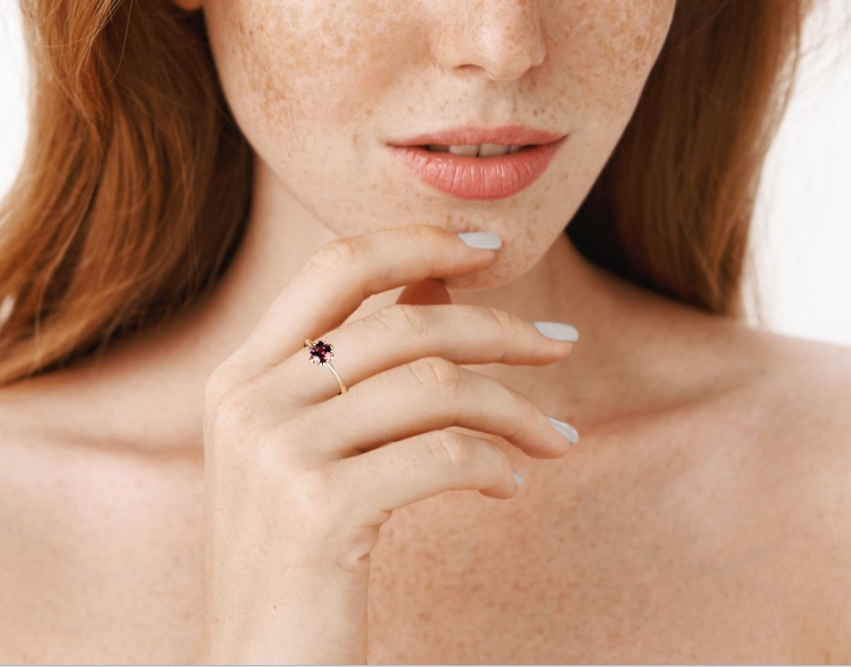
Our goal is to overlay a ring render onto this photo. Like this:

A non-obvious yet crucial step in this process is matching the lighting of the photo. Thankfully, recent advancements in AI networks offer a solution. We'll be using a new technique called DiffusionLight. This can be done through a demo hosted on Google Colab.
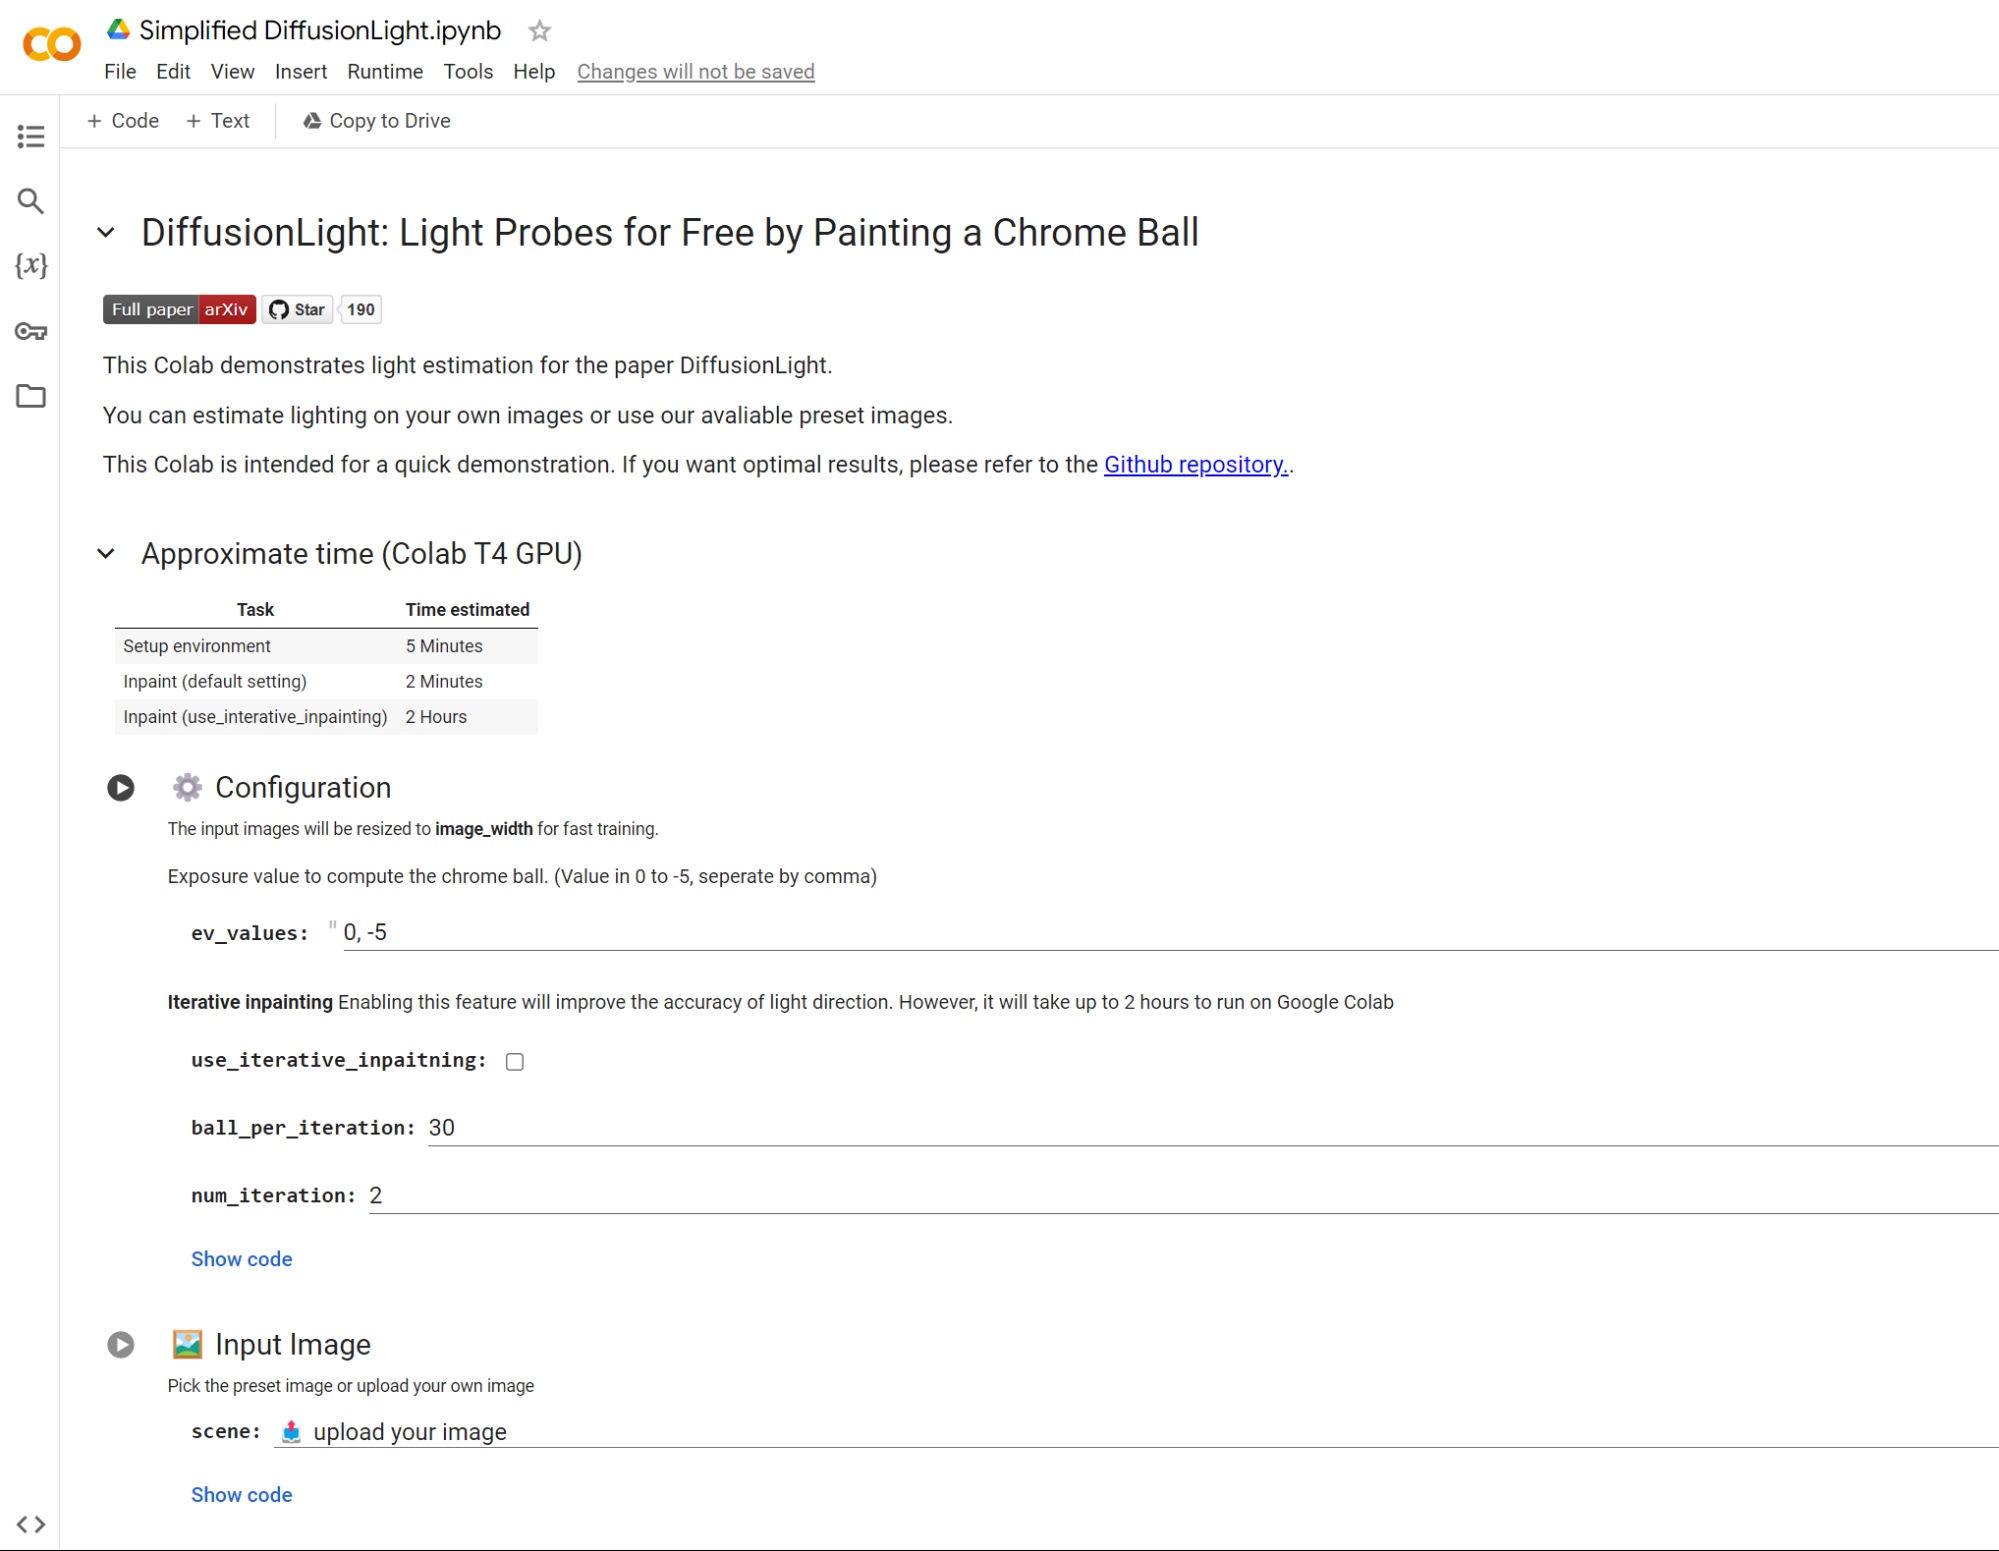
It might seem a bit daunting at first, but all you need to do is sequentially run each step with the play button on the left and upload your input image at step 2. The process should take about 5-10 minutes.
As a result, we'll obtain an EXR file featuring an HDR panorama image. This image roughly corresponds to the lighting of our input photo, making it ideal for use in Light Tracer Render.
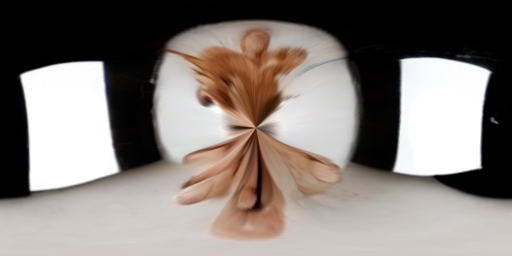
Remember to save a screenshot of the mirror ball from the Colab page, as we'll need it later.
In this instance, the neural network has inferred that the photo was taken in a studio lighting environment. This seems quite plausible, especially when considering the reflections in the model's eyes. It's important to note, however, that this entire step of estimating lighting is optional. Alternatively, you could select a suitable lighting setup from HDRI libraries like Polyhaven.
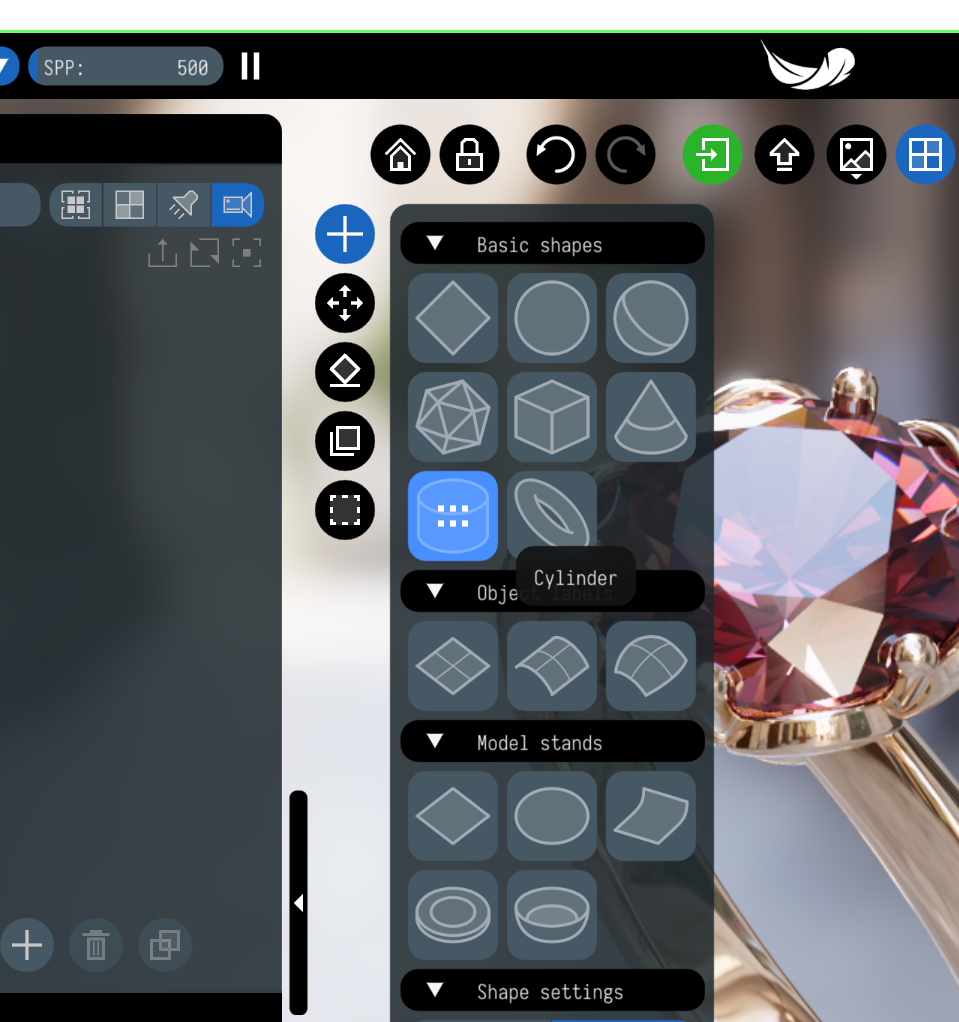
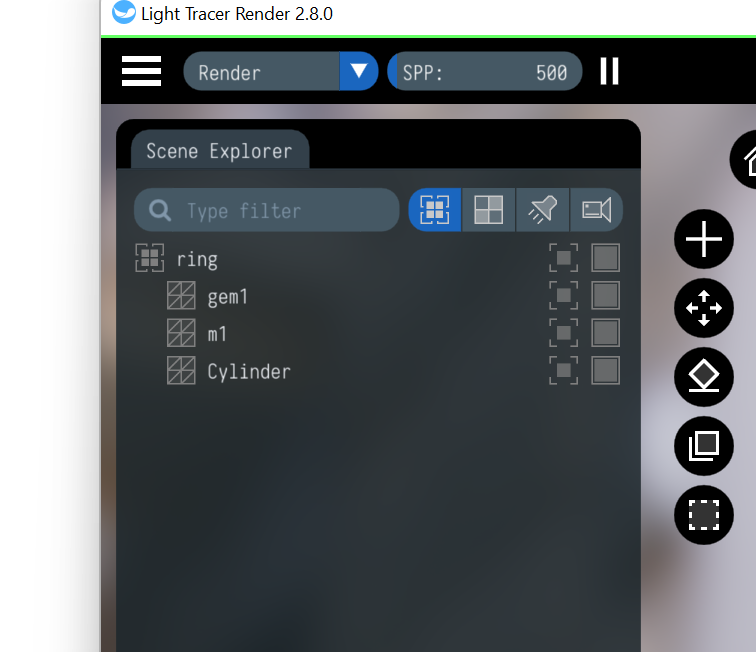
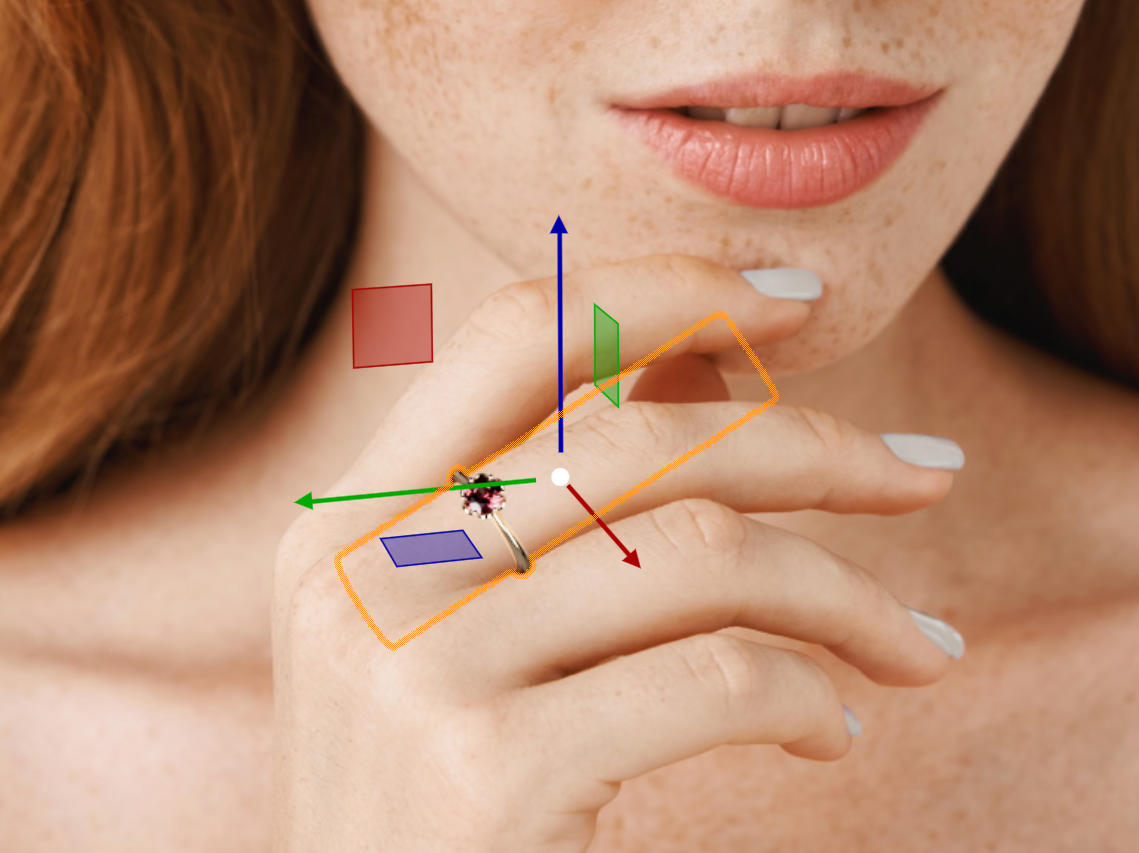
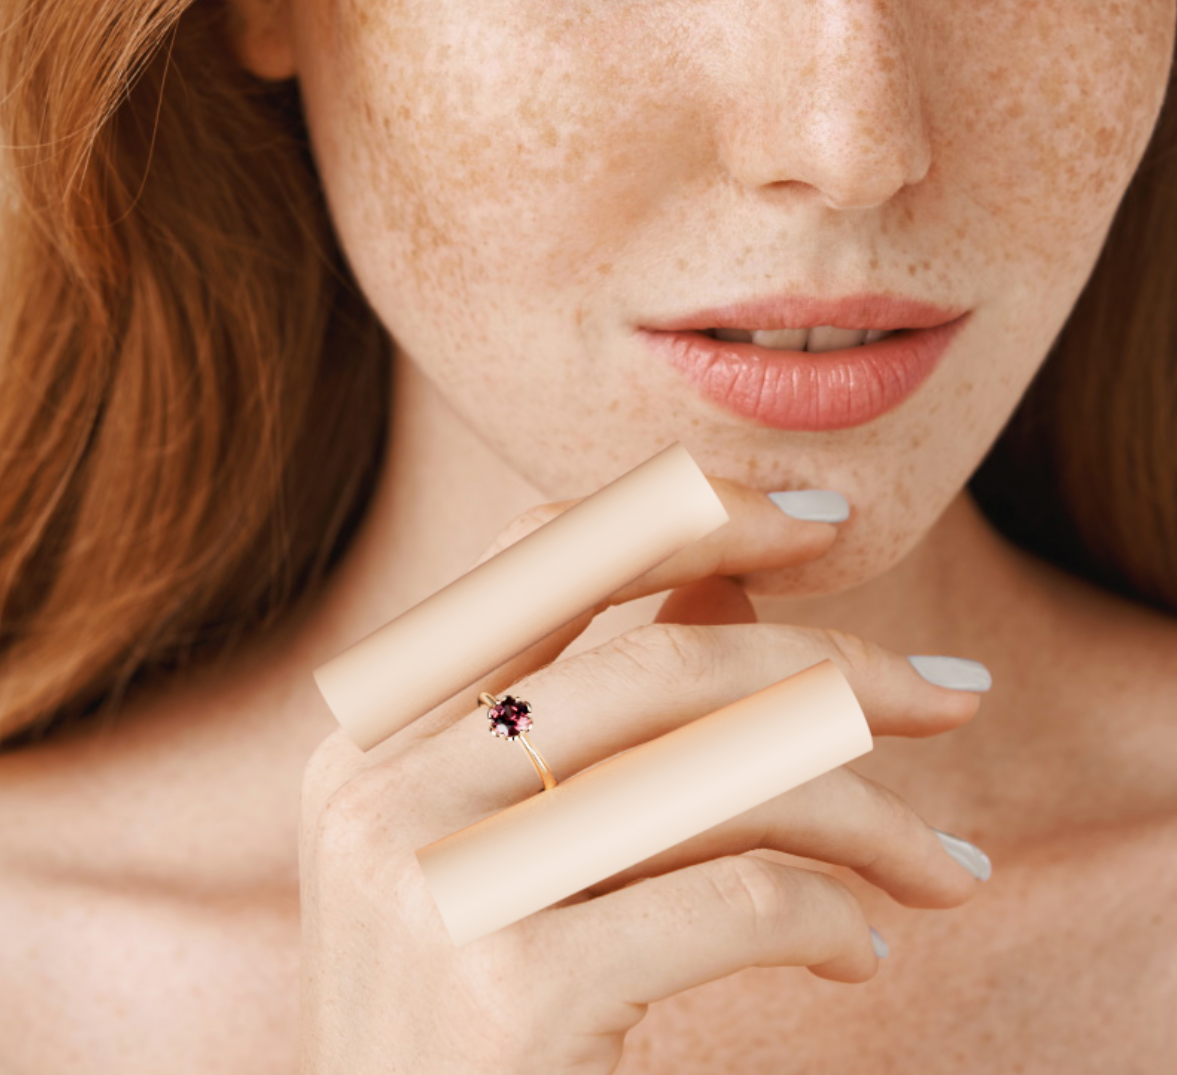
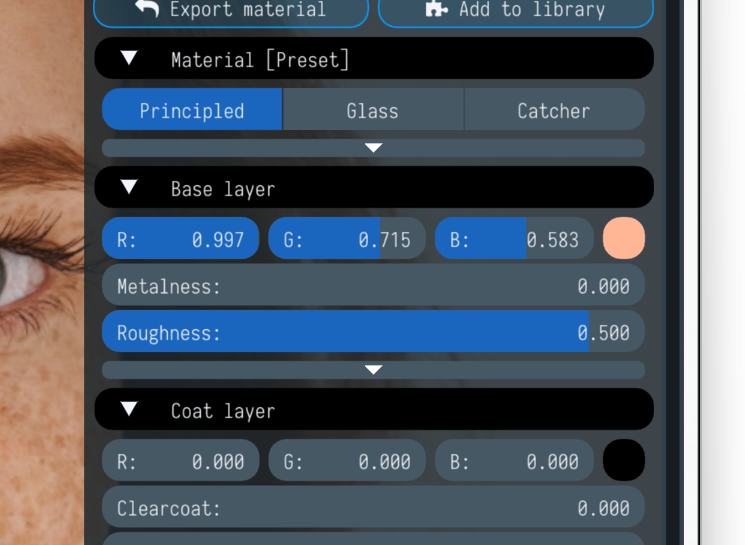
Now, let's move on to importing the ring model into LT. To streamline the process of positioning the ring and to effectively conceal parts of the ring that are hidden by the finger, we'll use a cylinder primitive. With the transform widget, we can scale, rotate, and move the cylinder to ensure it fits perfectly inside the ring.
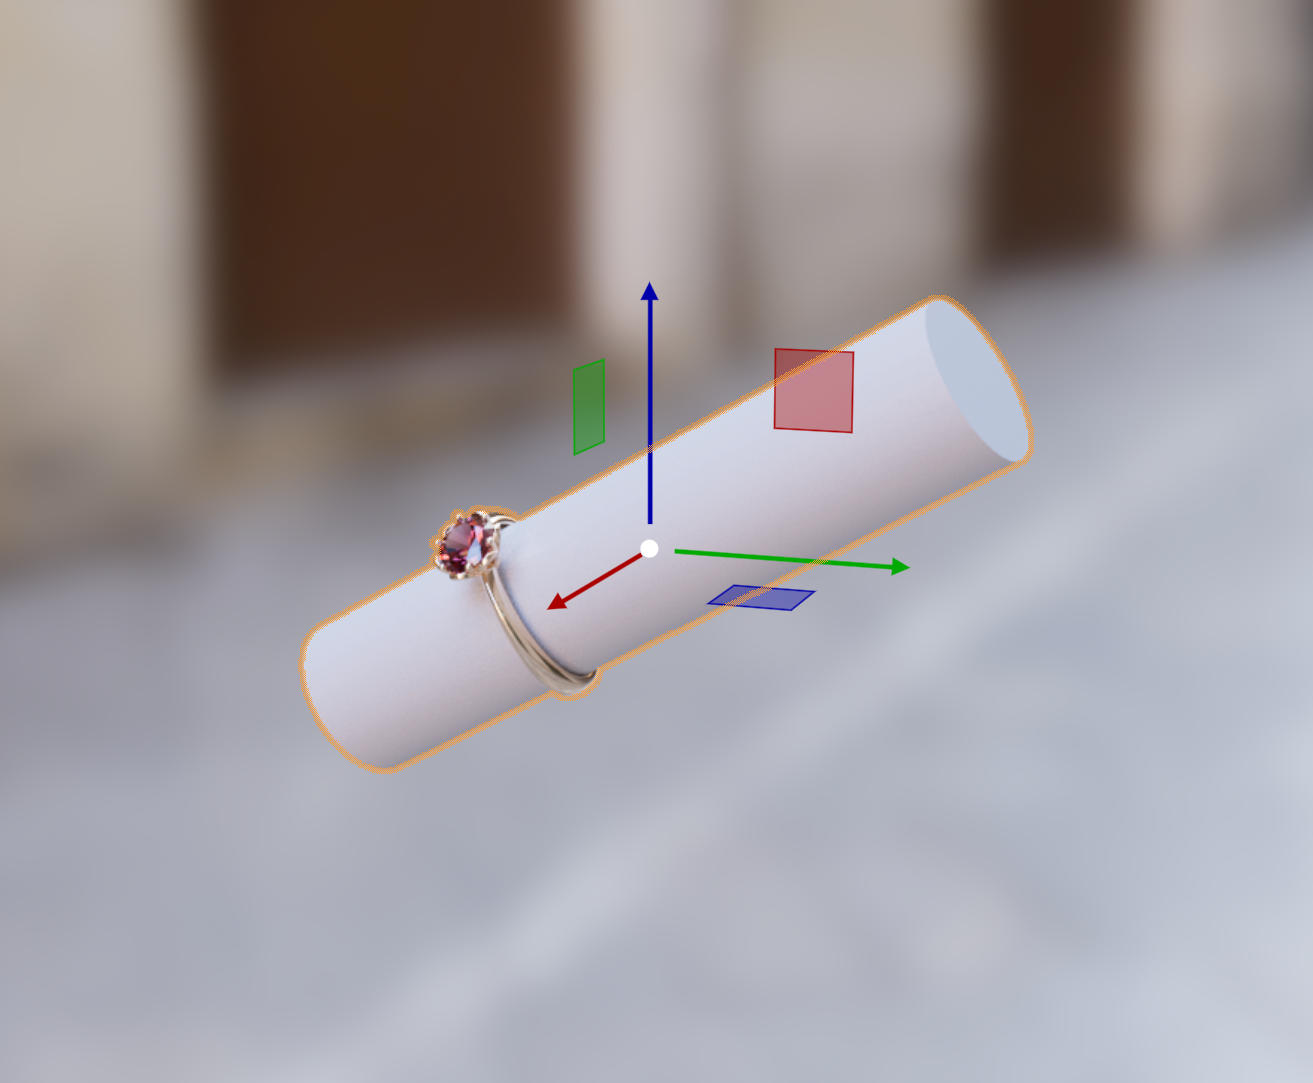
To facilitate easier movement, group the cylinder and the ring together. This way, they can be moved as a single object.
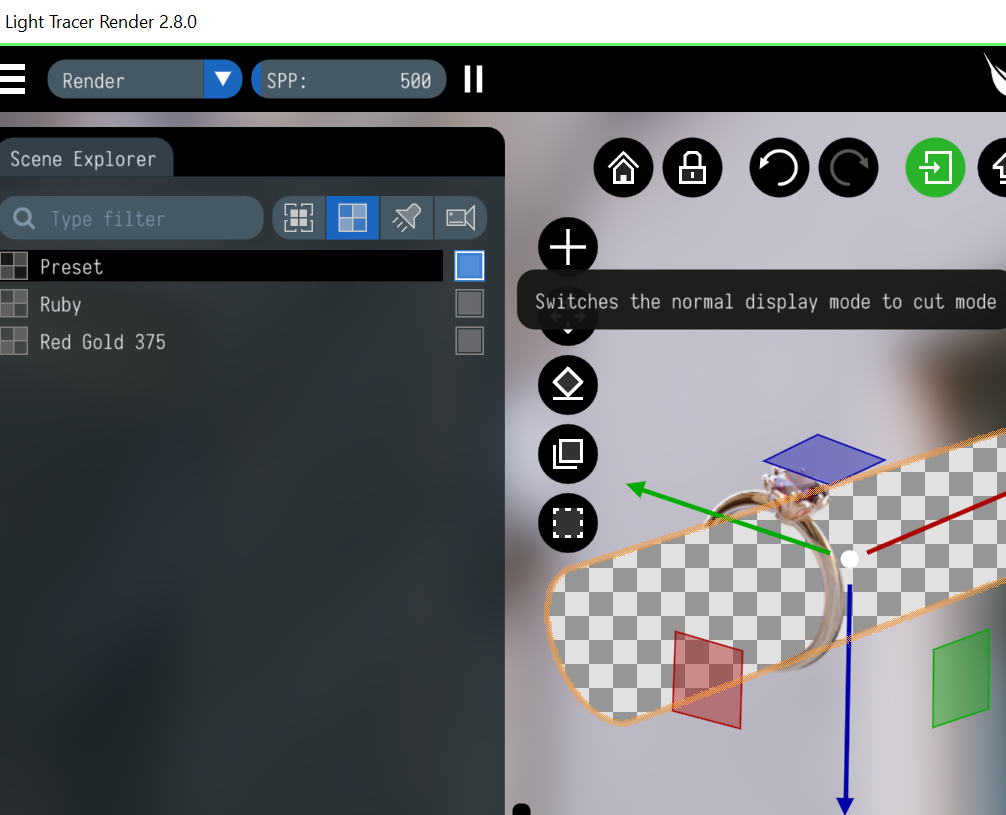
Set the cylinder material's cutout flag to make the obscured parts of the ring transparent.
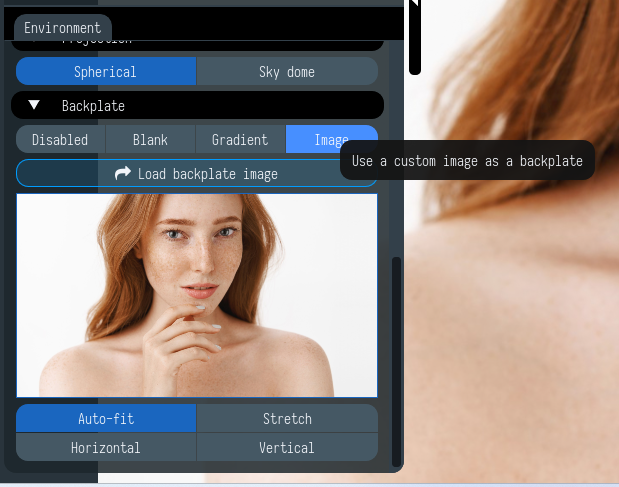
Next, we'll set our chosen photo as the Backplate in LT. It's important to adjust the rendering resolution so that it matches the resolution of the photo for a seamless overlay.
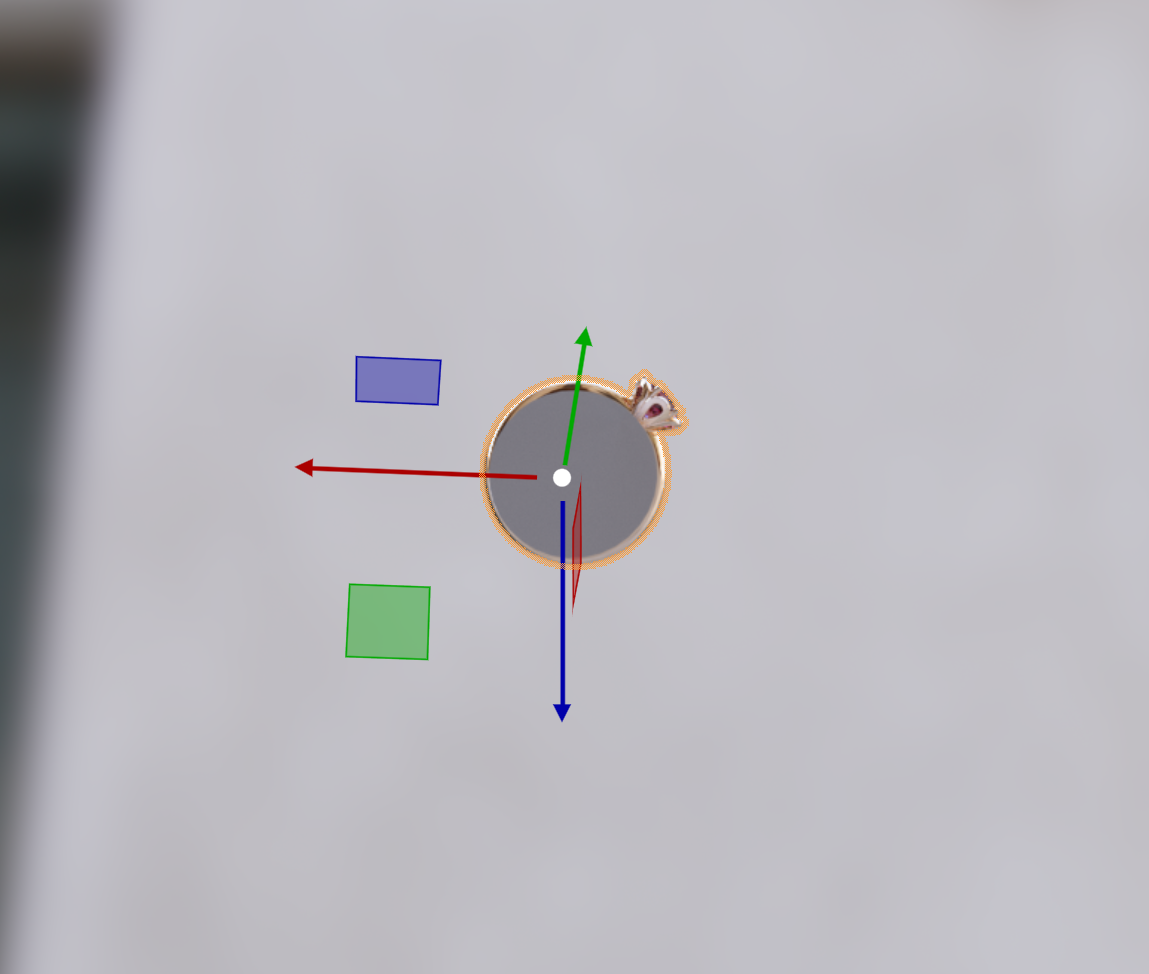
Now, focus on fine-tuning the ring's position so it looks naturally placed on the finger. Use the “V” key to save the final view in a slot, which allows to easily revert back to it later.
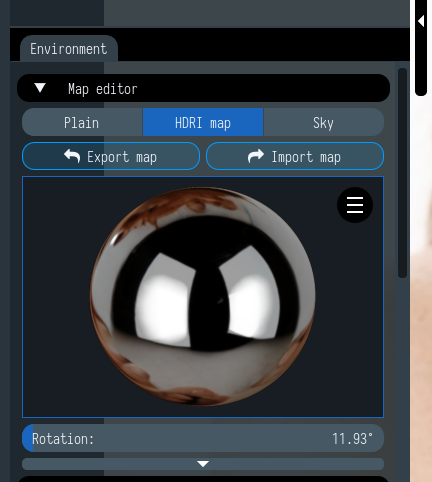
At this point, it's time to incorporate the HDR map created in the first step. We need to align it with the image of the mirror ball from the Collab page, which you can compare against the mirror ball preview in the left panel of LT. It's not necessary to achieve a perfect match; the objective is to ensure that the reflections on the ring look realistic and appealing.
Now that we've successfully positioned and shaded the ring, the next step is to refine the image by creating more realistic reflections, specifically those from the fingers. To achieve this, we'll introduce two additional cylinders into our scene.
We'll adjust their shape and color to mimic the natural reflections you'd expect from the fingers.
Although these additional cylinders are crucial for creating realistic reflections, we don't want them to appear in the final image. To ensure they remain invisible while still contributing to the reflections, we'll hide them from the camera. Here's how you do that.

The final touch involves clipping the portion of the ring that would be obscured by the second finger. For this step, instead of hiding it from the camera, we'll set the lower cylinder's material to 'cut-out'. This way, it still contributes to the reflections and clips the ring nicely.
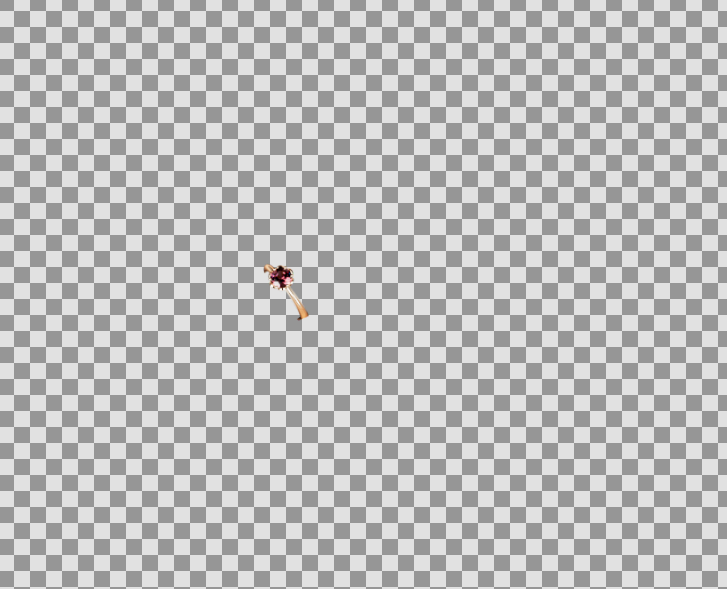
When you're satisfied with the result, you have a couple of options for exporting the image. You can export it as it is, or you can switch the Backplate to 'Blank' and export only the ring render. This will give you a PNG image with a transparent background, which can be overlaid onto the photo using an external image editor. This method provides more creative control, enabling you to perform more artistic adjustments. For instance, you can manually add shadows or perform an advanced color correction.
By following these steps, you will be able to create a convincing and visually appealing presentation of your ring model on the selected photograph. This technique opens up a realm of possibilities for presenting jewelry in the most flattering and realistic light.
We are looking forward to see your renders! Feel free to ask any questions in our Discord community!