Tutorial: Studio lights library
This tutorial shows you how to quickly setup studio lighting in Light Tracer Render
Light Tracer allows the creation of a studio lighting environment in a few clicks, all in real time. Starting from version 2.3.0, Light Tracer comes with a library of 30+ studio lights. In this tutorial, we will describe how to use these capabilities to get a perfect shot!
Start using Light Tracer Render today
Basic setup
To showcase the studio lights, we'll use a scene with clocks modeled by Megumi Hattori. The 3D models are available in a CAD-neutral STEP format natively supported by the desktop versions of Light Tracer Render.
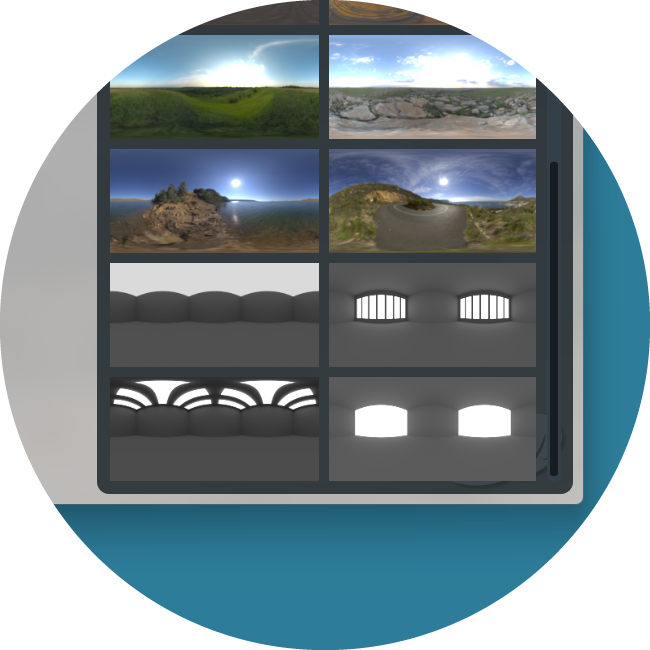
Let’s start with some neutral environment map that sets the contours of the room. You can find several such maps in the Library:
Let's choose a gradient backplate, add a shadow catcher, and perform some basic material setup (you can see how to do this in the Basic UI tutorial). After these steps, our scene looks like this:
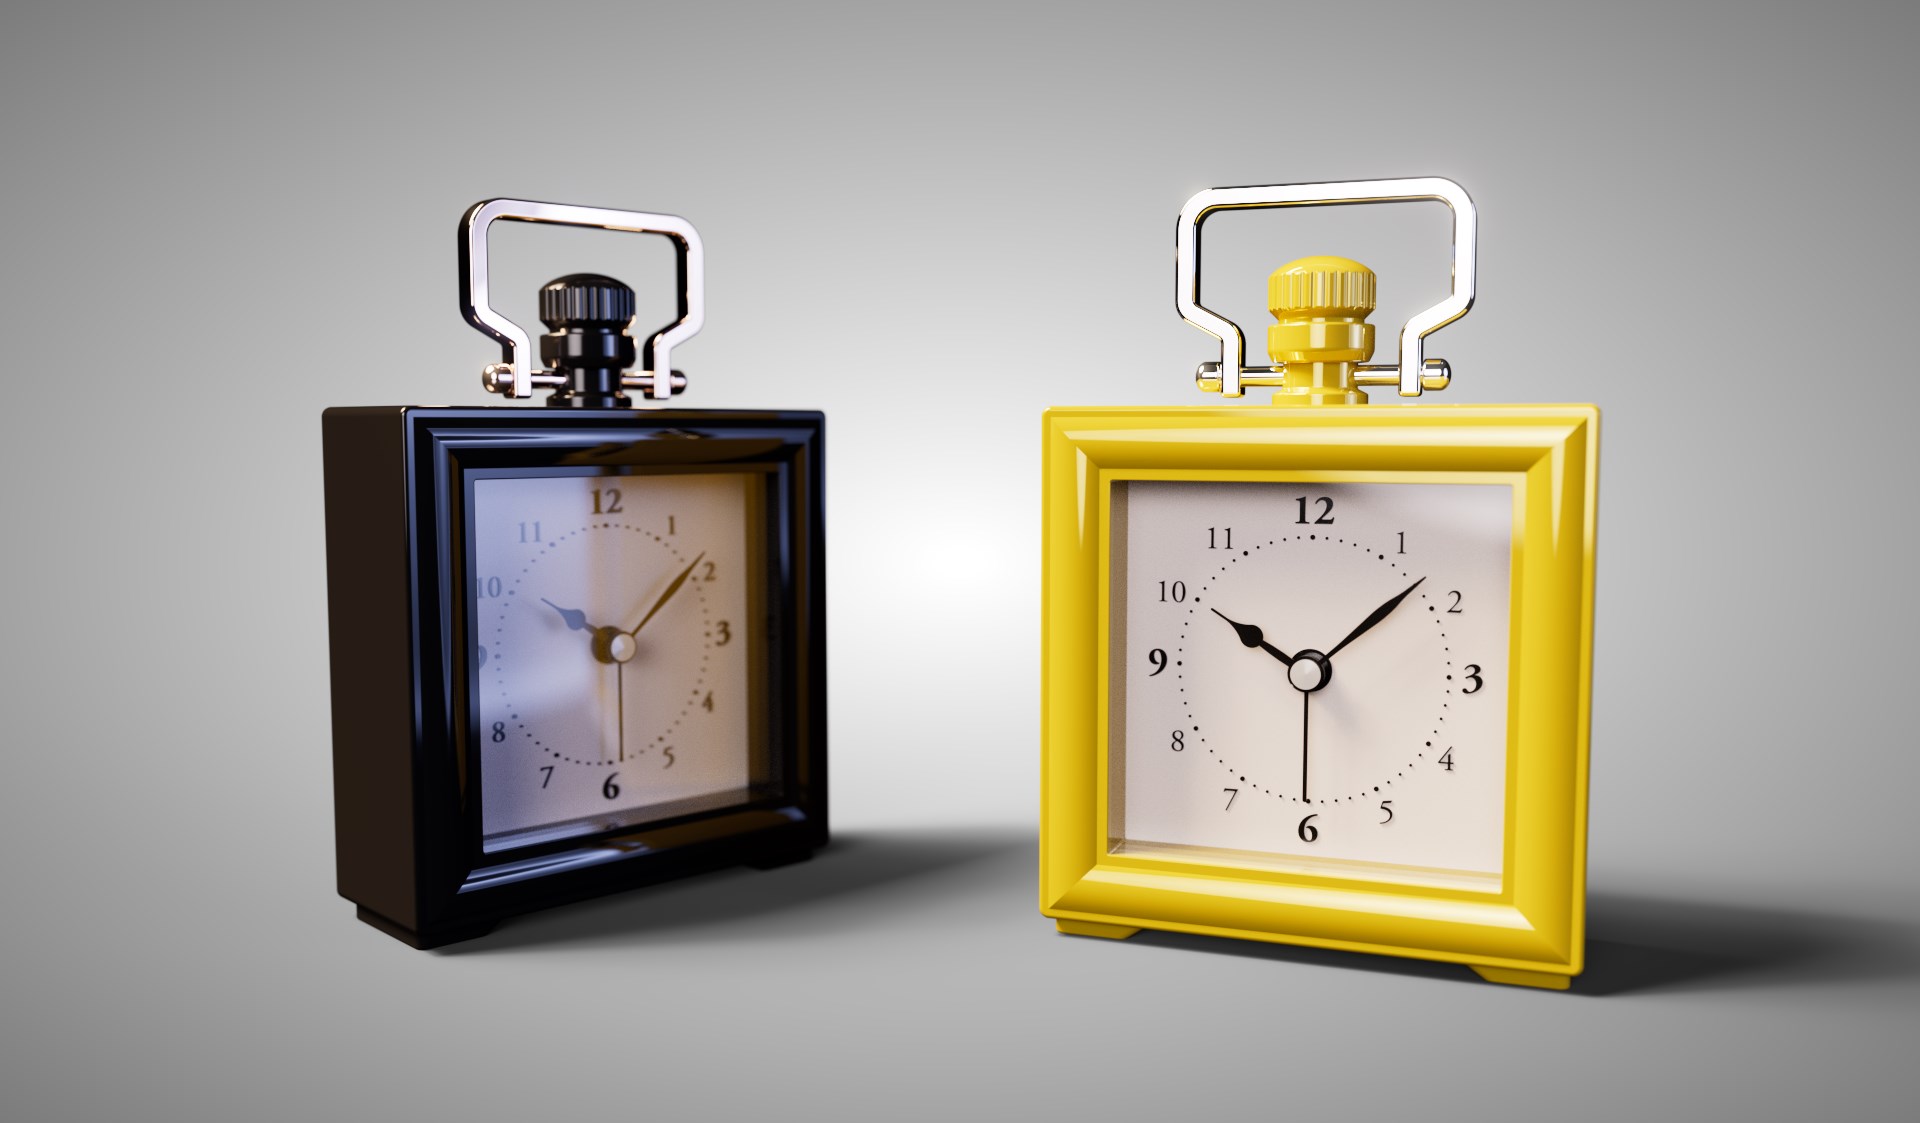
We have fairly uniform illumination that does not emphasize the shapes of objects. Let's improve this with additional studio lights.
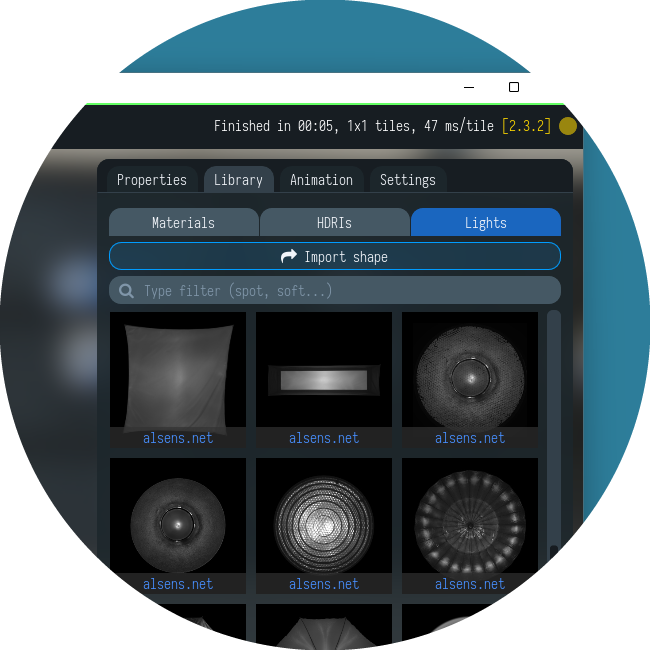
Studio lights library
Starting from version 2.3.0, Light Tracer Render allows you to effortlessly create realistic studio environments with high dynamic range lighting for life-like product renders. In the Library on the Lights tab, you'll find more than 30 studio light presets. These light sources can be used to “draw” a custom environment surrounding the scene. Some of the presets are synthetic, but most are based on the real-world measurements and capture techniques. Each is adjustable for size, color temperature, and more.
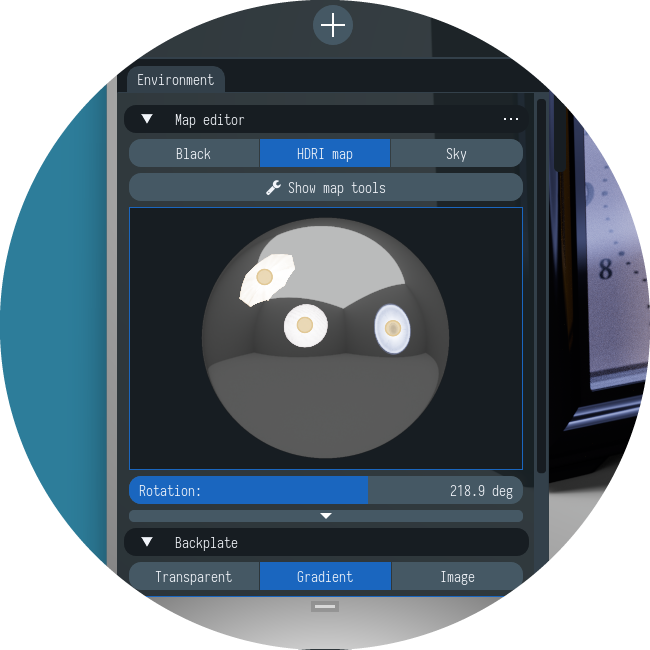
To add a studio light, click/tap on it or drag it from the Library to the viewport. The light source will appear in the part of the environment from where the observer is looking. Unlike mesh lights, these lights are not separate scene objects. Instead, they are drawn directly on the environment map. For this reason, the process of adding and adjusting such lights is essentially drawing a custom HDRI environment.
HDRI manipulator
As a rule, we would like to achieve a certain placement of highlights from light sources to emphasize the shape of rendering product. For convenient positioning of sources, a new HDRI manipulator has been introduced in version 2.3.1:
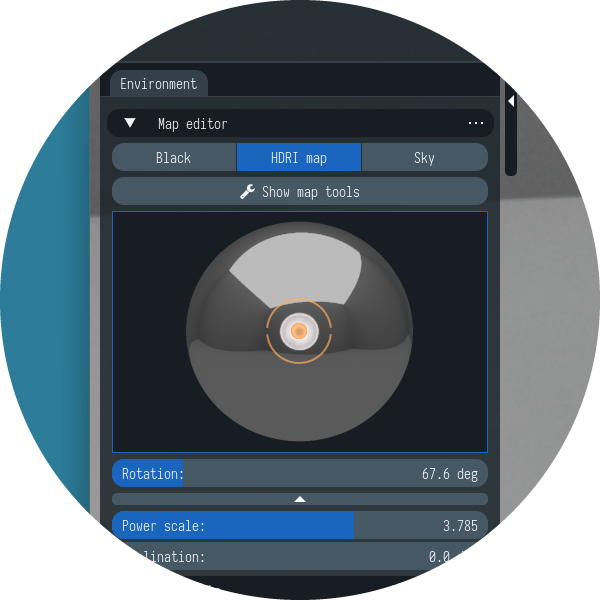
The easiest way to understand this manipulator is to imagine a chrome ball in front of the camera that reflects the entire environment around it. In particular, all the light sources added to the map are also seen on this ball.
As you rotate the camera, the reflections in this chrome ball will also change. Therefore, that is a view-dependent image of the environment map: the right side of the ball reflects the environment to the right of the scene, the left side to the left of the scene, and so on. That allows for intuitive positioning our sources, which are interactive objects displaying over the ball. Click on the desired source and drag it in the desired direction. For example, if we want the source to illuminate the product from the top right, we need to move it to the top right side of the ball. In fact, when positioning light sources, you can even skip looking at the HDRI manipulator itself: grab the desired source and look in the main viewport while moving the source to illuminate the product from the desired direction.
Setup the map light
The added sources are displayed not only on the HDRI manipulator but also in the Scene Explorer on the Map emitters tab:
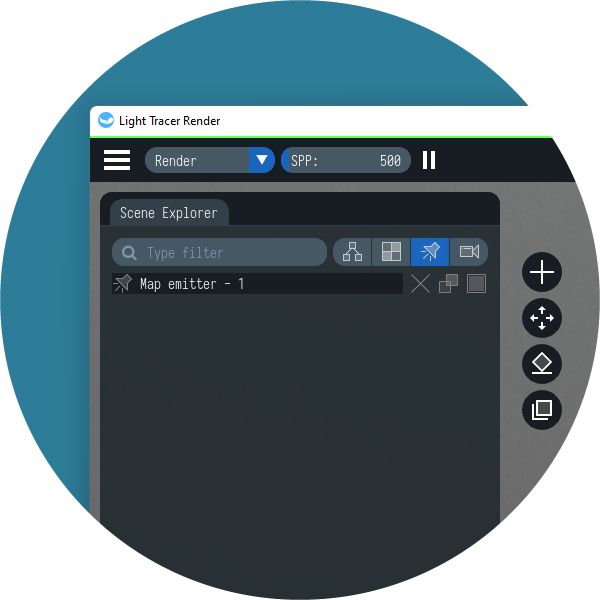
Here, light sources can be deleted, duplicated, and hidden on the environment map. To set up a source it must be selected either by clicking in the HDRI manipulator or the Scene Explorer. After that, on the Properties tab, you can adjust its parameters:
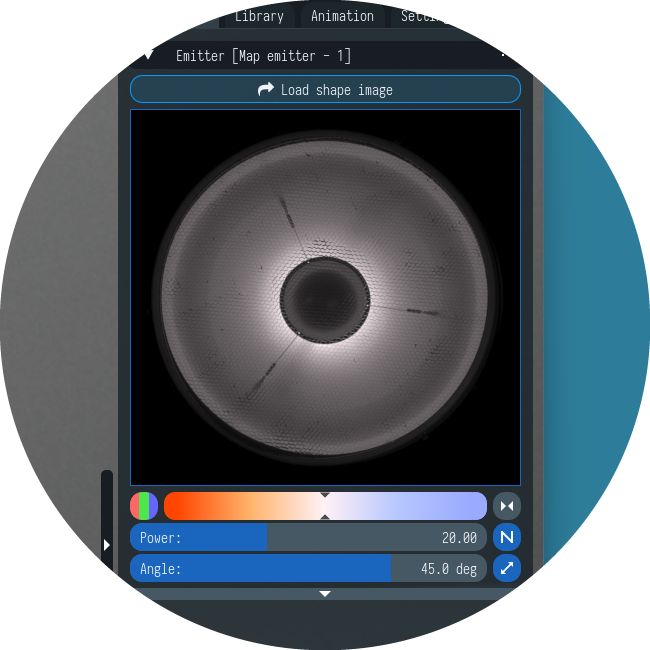
Here, you can adjust the angular size (Angle) of light source in degrees. The larger the source, the greater the highlight visible on the product. Next important parameter is Power, which sets the brightness of the source. Light Tracer allows you to adjust the color of the emitted light either directly or via color temperature (i.e., choose between warm and cool light).
In advanced settings (available by clicking on the arrow button at the bottom), the source can be rotated around its axis and moved to the desired part of the environment map. However, it is much easier to perform these operations using the HDRI manipulator.
Note that you can set your image used as a light source map by clicking on the Load shape image button (in LDR or HDR formats).
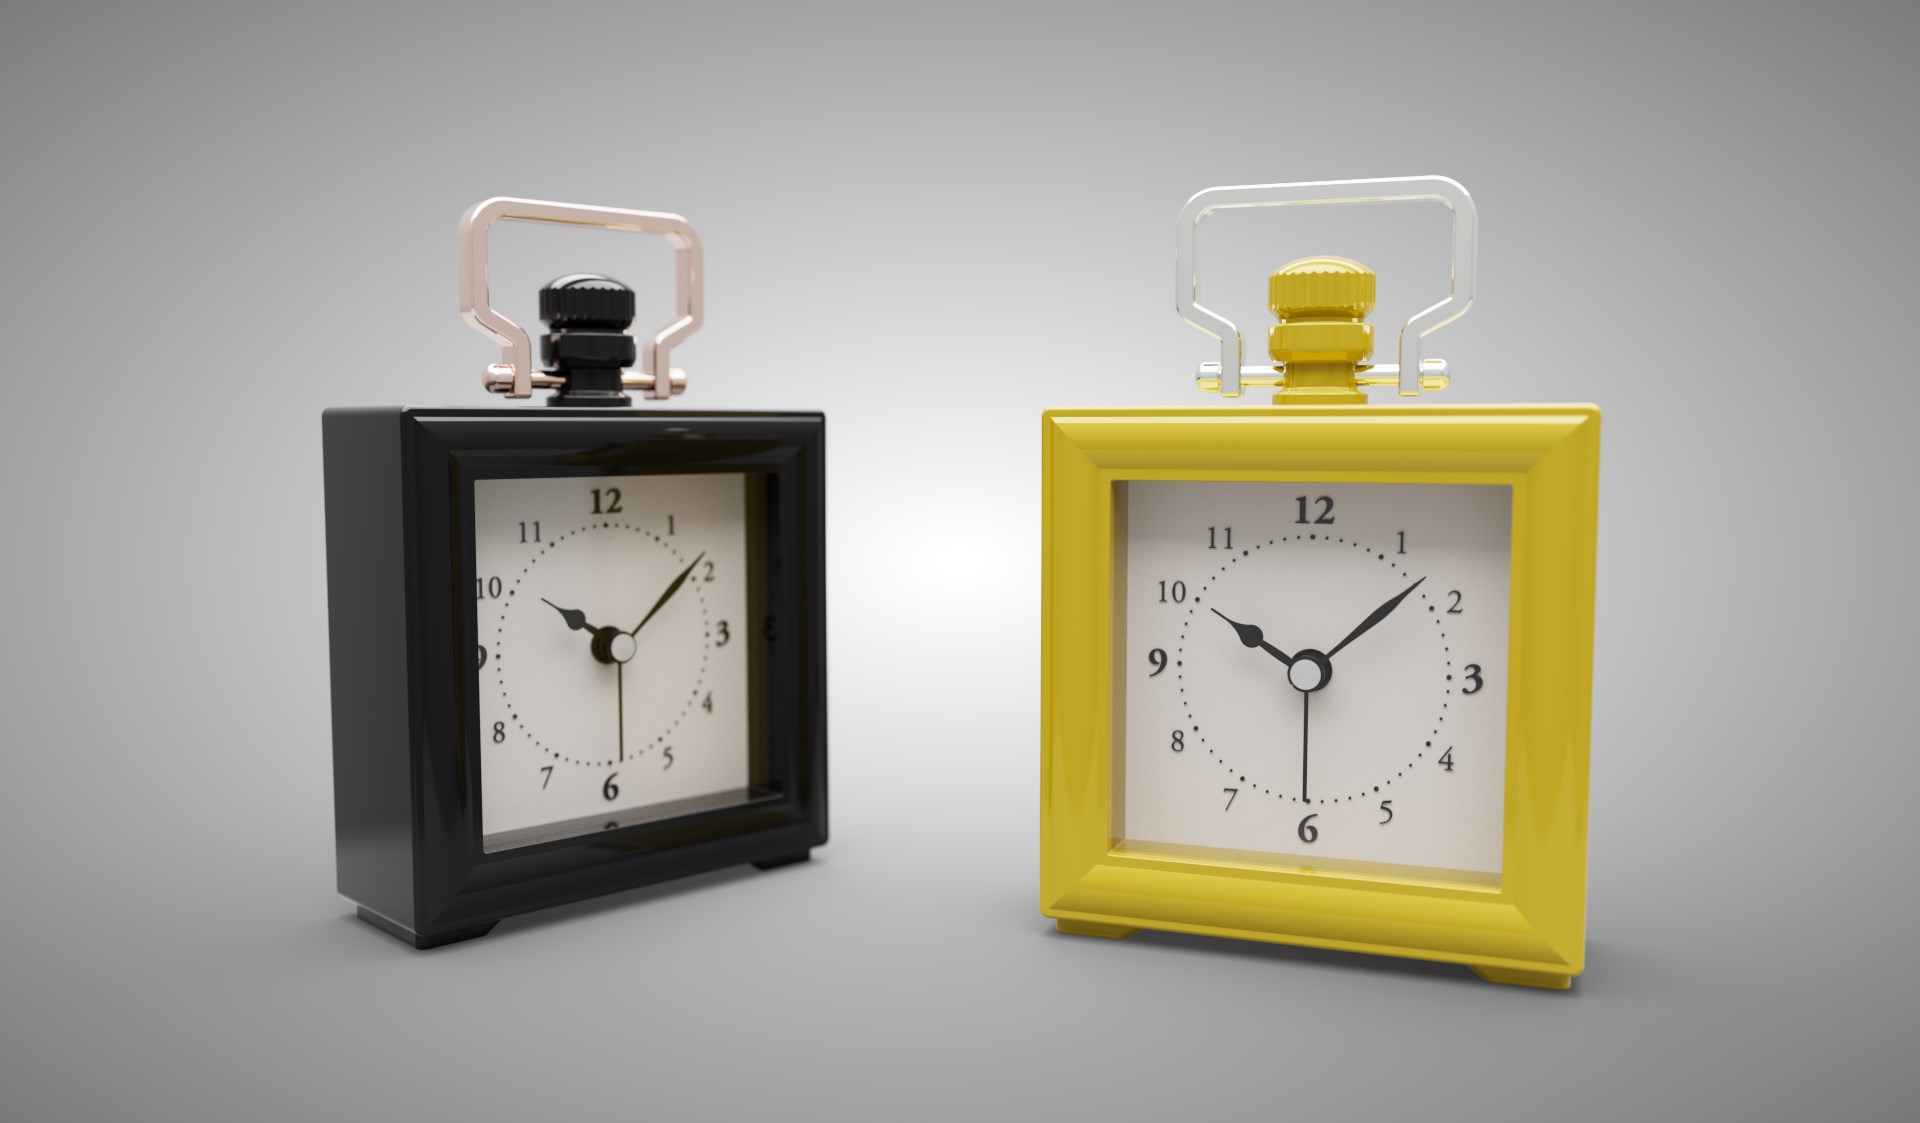
Let's add a few more sources to complete the lighting setup:
As a result, our scene now looks like this. Note how the highlights emphasize the clocks and make the picture more attractive: