Tutorial: Render caustics
This tutorial shows you how to quickly render caustics in Light Tracer Render.
What are caustics?
Caustics are bright patterns occurring when light is focused on surfaces after reflection and refraction. Caustics can be found everywhere: bright areas on a table next to a glass of water or at the bottom of a pool, rainbow-colored reflections from diamonds, and caustics from polished metals used in jewelry. Caustics play an important artistic role in both photography and visualization.
But despite this, they are rarely represented in renderings, since it is quite difficult to calculate such optical effects. The good news is that version 2.6.0 Light Tracer has a new Caustics mode that is very easy to use! In this tutorial, we will show you how to render caustics the right way!
Watch the quick video or read the full post bellow.
Start using Light Tracer Render today
Import a model
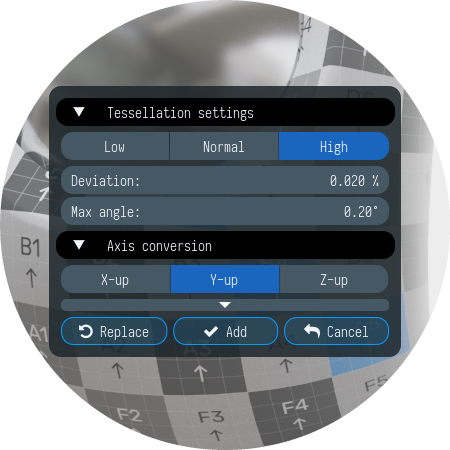
An easy way to get caustics is to make a scene with a glass goblet on the table. We found a nice CAD model of glass on GrabCAD that you can simply drag into the Light Tracer window. Since it is a CAD model in STEP format, you will see the Import dialog allowing you to choose tessellation settings. Here, you can adjust the precision of tessellation algorithms, or just use one of the predefined presets (e.g., we used the High preset for this tutorial).
Setup the scene
Let’s start with activating the special Caustics mode:

If disabled, the Light Tracer uses standard uni-directional path tracing where paths start from the camera and bounce around a 3D scene until they encounter a light source. While in many cases it works fine, for scenes with complex indirect illumination (like caustics) there is a very low probability that a path started at the camera will ultimately hit a light source. That results in a noisy image and practical impossibility of handling such complex cases. This is where the light tracing comes in. Opposite to path tracing, this method generates paths starting from light sources and bouncing around the scene until they encounter the camera. This works particularly well for caustics or scenes lit through indirect lighting. By combining the two approaches, we get bidirectional path-tracing that can produce lower variance than either method alone. And this is the method used in Caustics mode.
In general, to get caustics, we need to ensure three things:
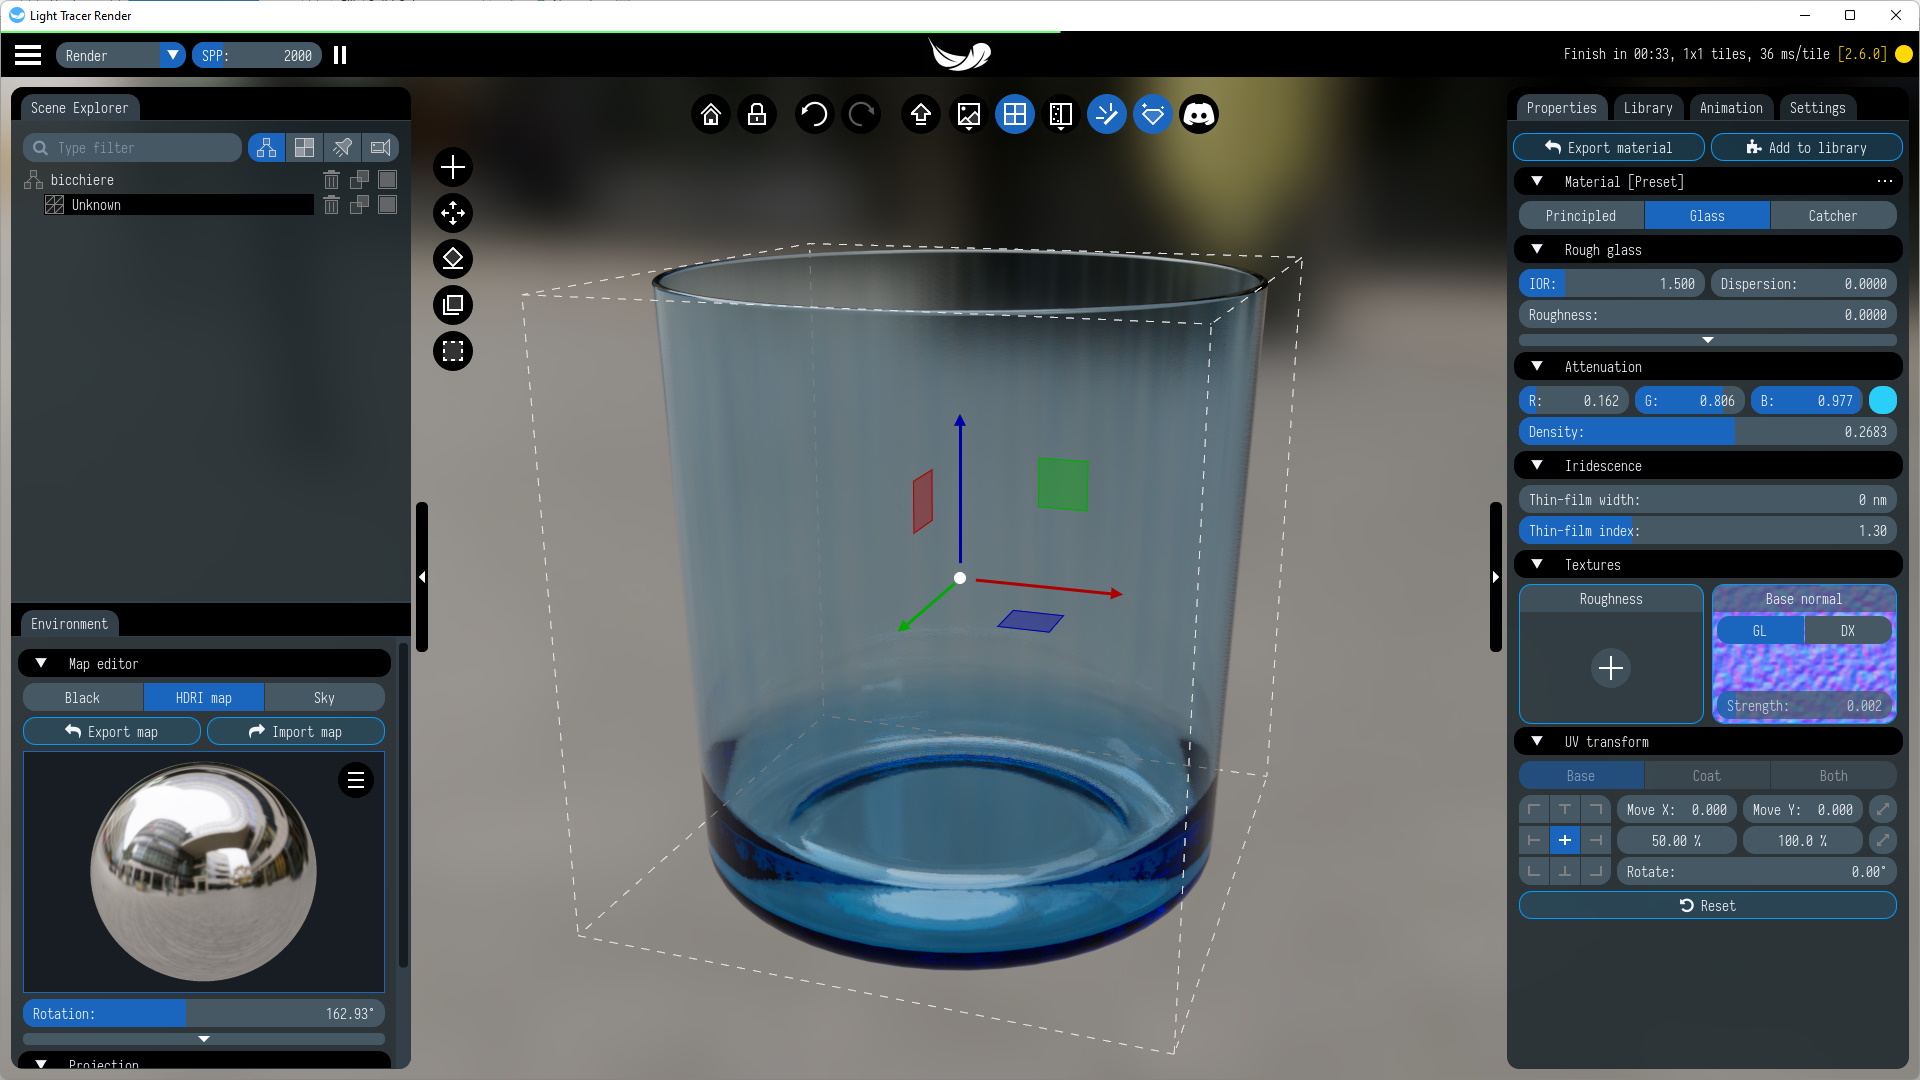
First, we need an object that can focus the light. It can be reflective (like polished metal) or refractive (like glass, water, or gemstones). In our case, it is the glass, and to refract the light, it needs the Glass material applied. Additionally, you can use a bump map to get some surface imperfections and set attenuation to get colored glass:
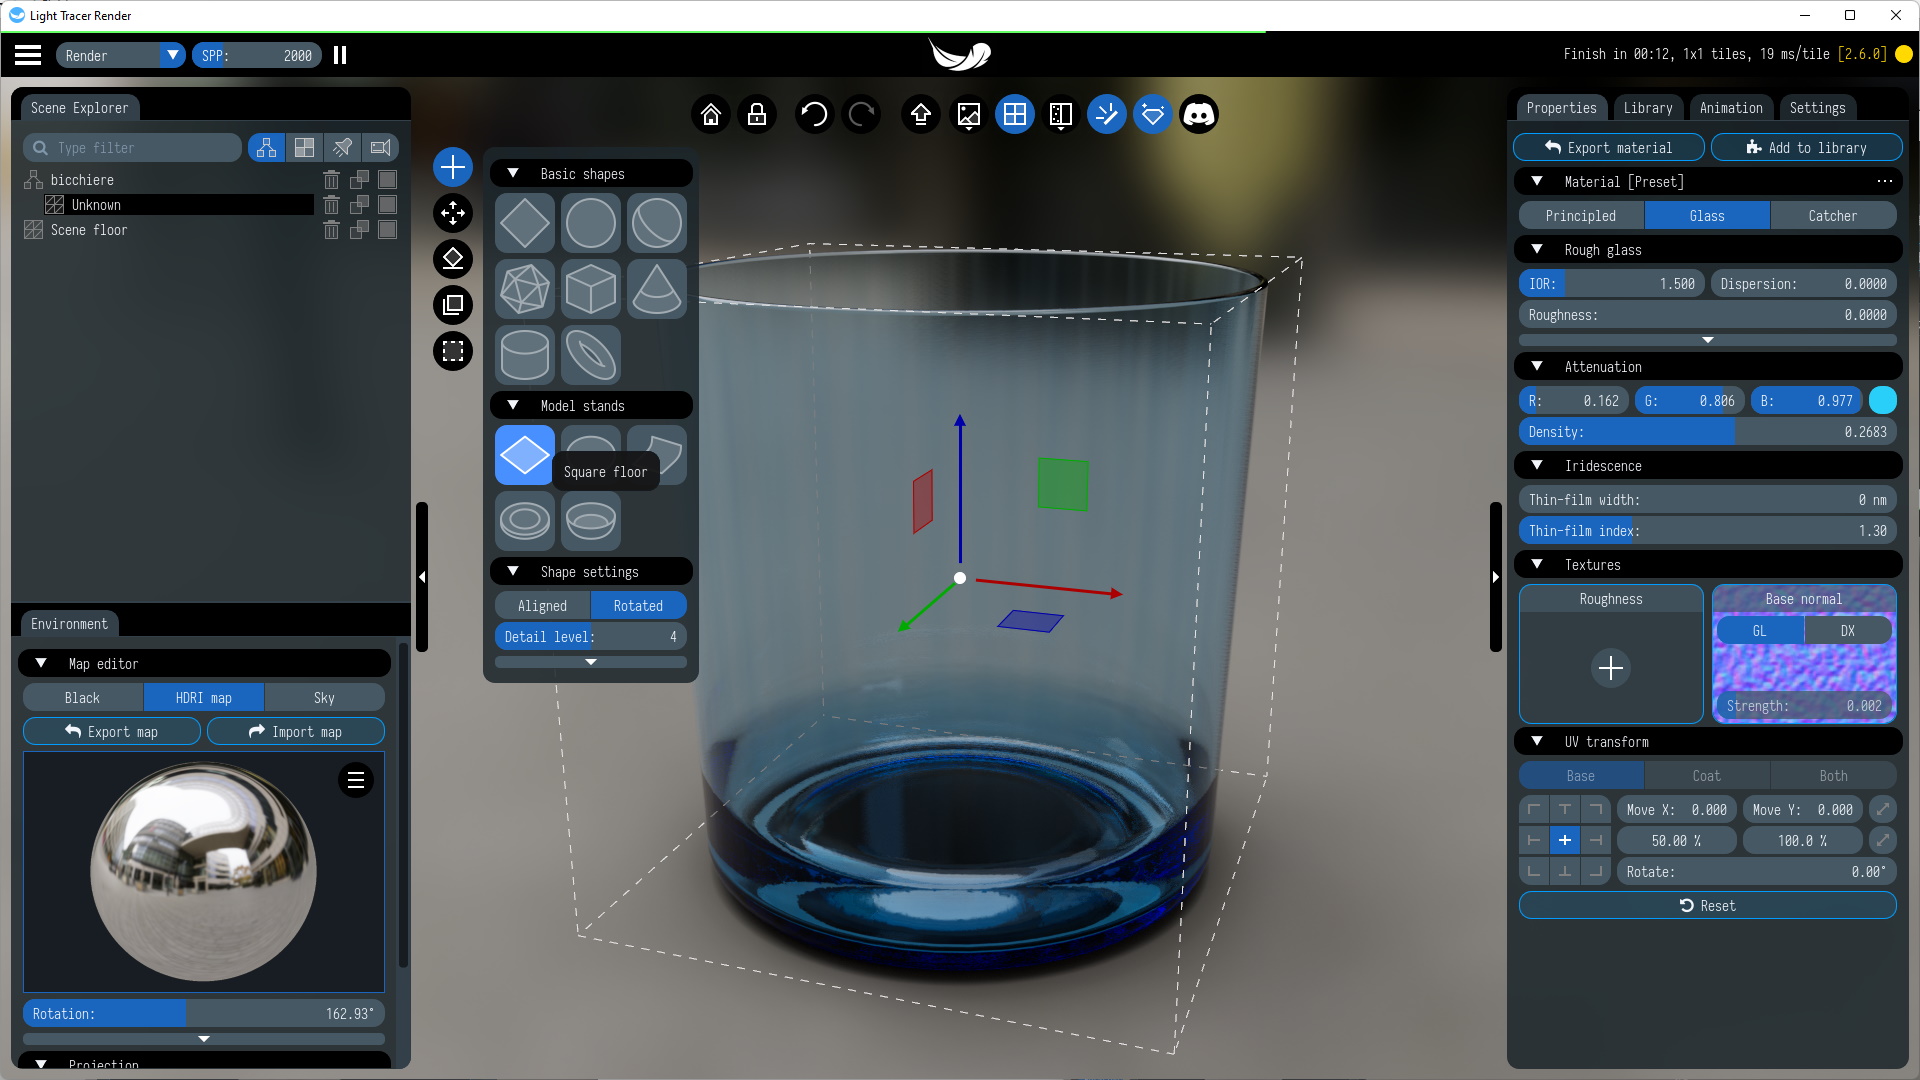
Second, we need a receiving surface where we can see the focused light. Typically, it should be a rough diffuse surface with high albedo. For that purpose, we'll add a floor to our scene and switch its material to Principled.
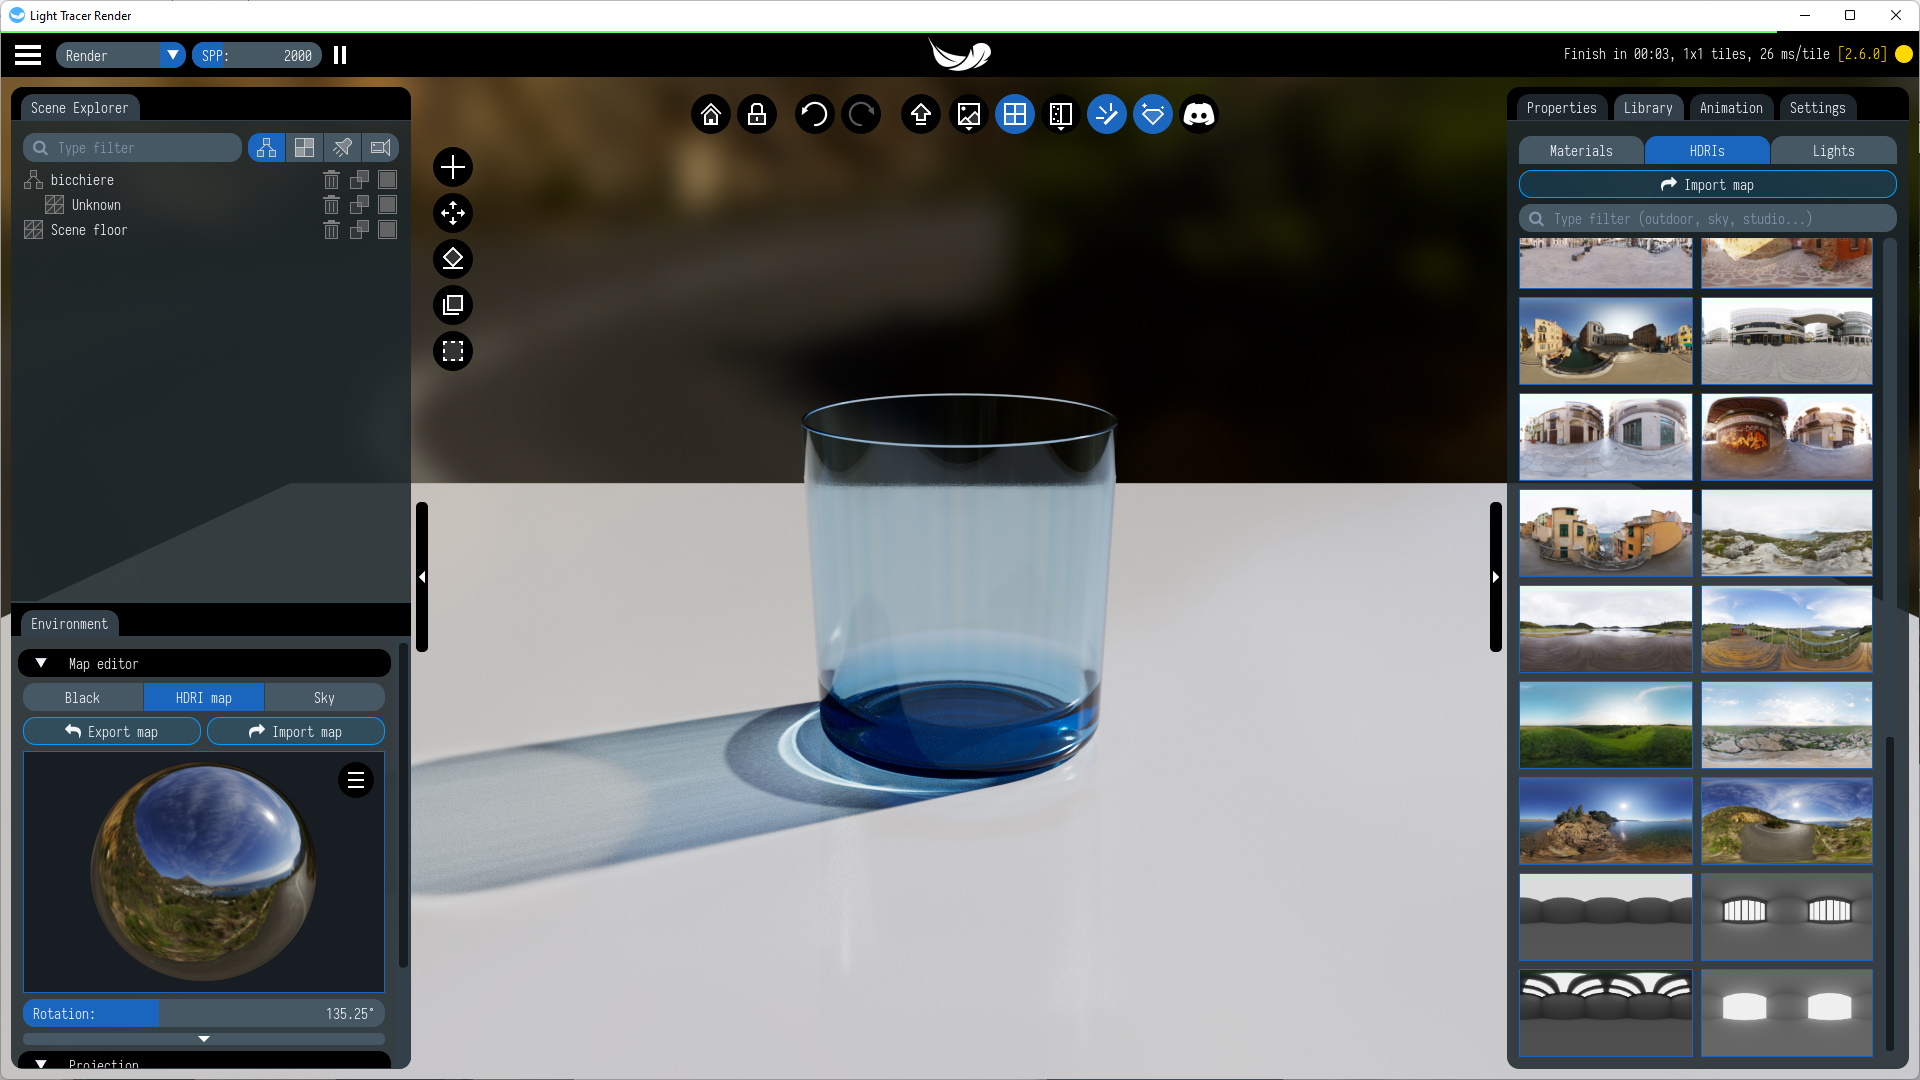
Finally, we need a small bright light source, such as the sun or a bright spotlight. Note that Light Tracer Render has a built-in analytical Sun-and-Sky model (in the Environment tab), and the sun is a good example of such a source. Alternatively, you can use one of the HDRI maps from the Library tab or import your own in the HDR or OpenEXR format (Import map button in the Environment tab). Finally, Light Tracer supports mesh lights, so you can make something like a bright spotlight from a small disk or square. Also, you can set an IES profile for it to focus the emitting light in a particular direction. In any case, the source must be small (tens of times smaller than the object that focuses the light). As its size increases, the caustics will become more blurry and darker.
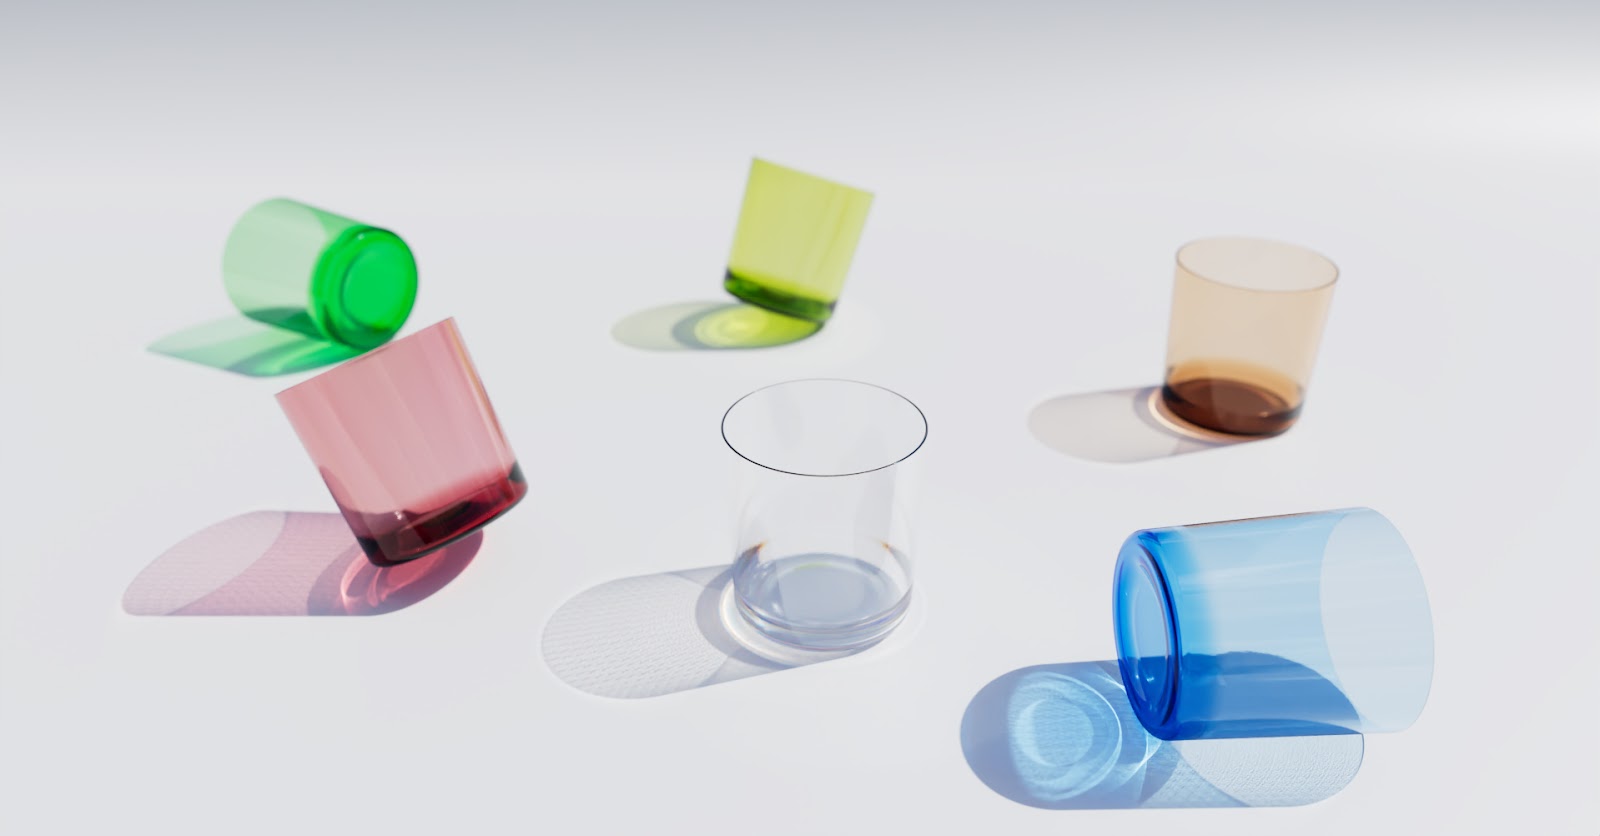
To make our scene more interesting, let's duplicate our glass several times (in Light Tracer, there is a Shift + 'D' hotkey for this). After that, we can scatter them over the scene and set different attenuation colors.
Make sure to set enough samples per pixel to get a noise-free render. For complex scenes, you may want to set up to 8,000 SPPs or more (just type desired number of SPPs with keyboard). Also, you can use one of the AI denoisers to remove any remaining noise. On all systems, except web, you can use Intel AI Denoiser (now in both Windows and macOS versions). But, if you have a dedicated NVIDIA GPU, you can also use OptiX AI denoiser. Denoisers allow for decreasing the time needed for the generation of noise-free renders.
We are looking forward to see your renders! Feel free to ask any questions in our Discord community!